vRA SaltStack Config supports two installation methods:
- Standard installation – Installs the architectural components needed for SaltStack Config in four or more separate nodes.
- vRealize Suite Lifecycle Manager (vRLCM) installation – Installs SaltStack Config and all of its architectural components on a single node. This method also installs the Salt master host and configures a required vRealize Automation property group.
In this blog post we will go through the process of deploying vRA SaltStack Config with vRLCM. At the time I am writing this post vRLCM 8.4 is suited to deploy SaltStack Config 8.4 for small production environment (up to 1000 managed machines), test and proof of concept environments. If your needs go beyond this scope, today you need to go for the standard installation process that I covered in another post.
VMware provides vRealize Suite Lifecycle Manager as part of the vRealize Suite, this is a comprehensive application lifecycle and content management solution for the vRealize family (vRealize Automation/Operations/Log Insight/Network Insight). Its main features are:
- Product Installation
- Ongoing Management (Passwords, Certificates, License Keys, etc.)
- Upgrade
- Content Lifecycle Management
- In-Product Marketplace
- License Usage Metering
- Best Practice Implementation
The requirements for this process are:
- vCenter admin grants access
- vRLCM admin grants access
- Network configuration for the SaltStack Config appliance
- A valid license for SaltStack Config
Let’s get started!
Get the SaltStack Config appliance in vRLCM
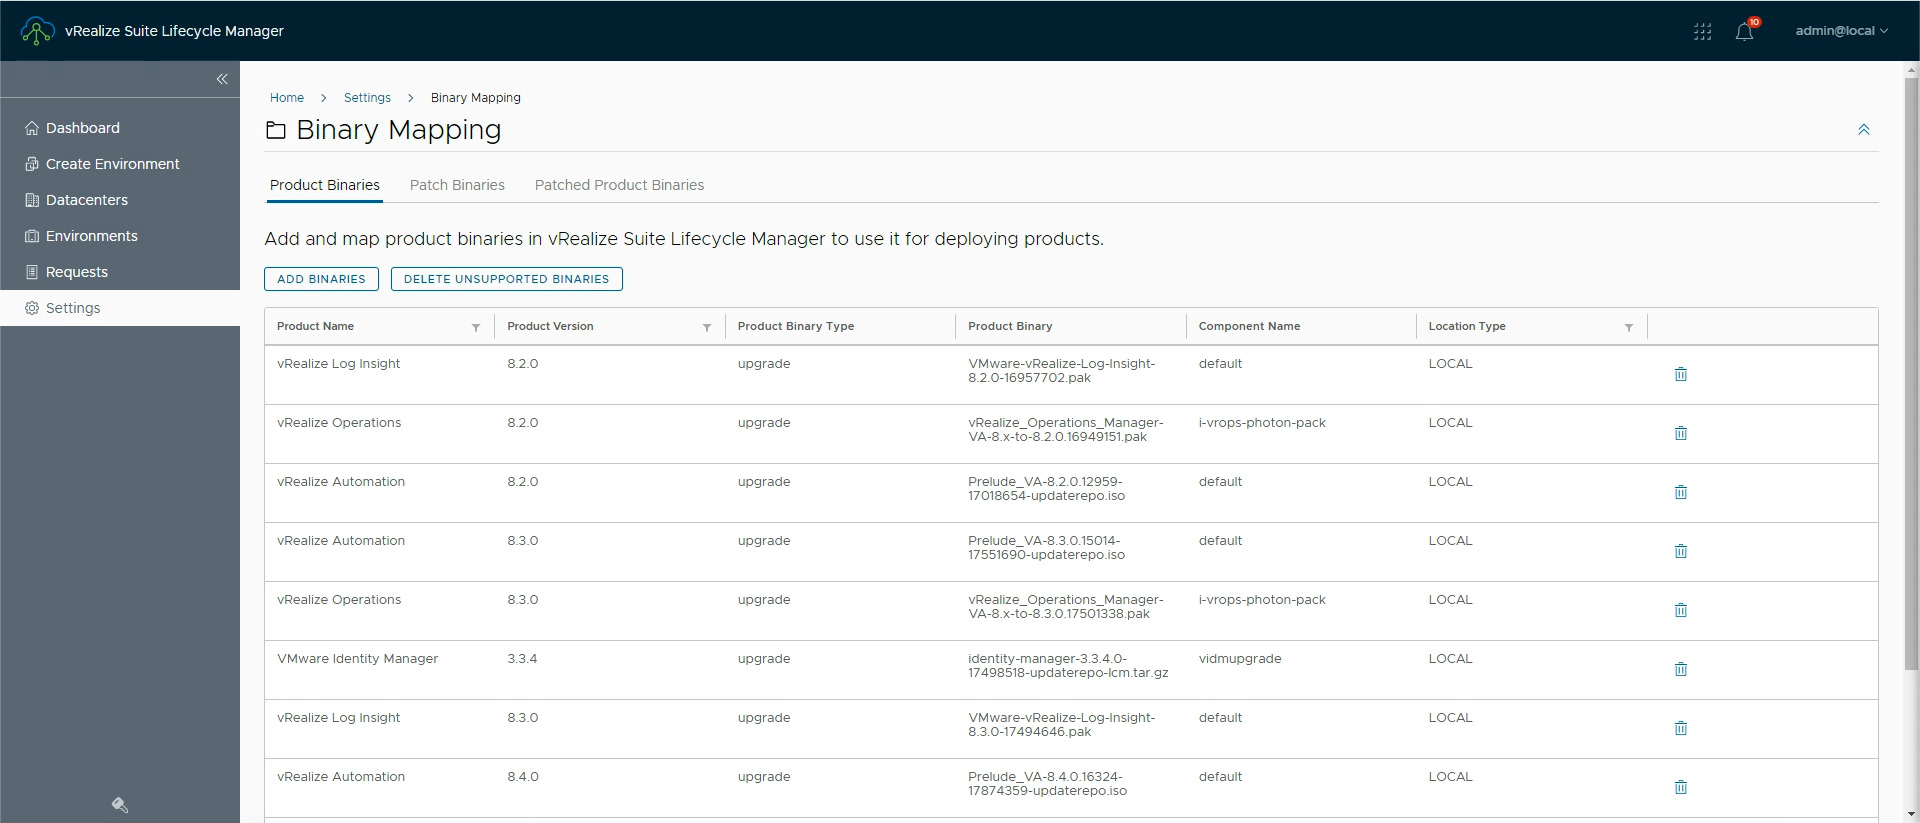
You can automate the process of downloading the required software with vRLCM, as I am working in a shared environment with a lot of MyVMware accounts configured in a single vRLCM I found it more easy to go for the option to manually downloading the SaltStack Config appliance from myvmware.com and save it on the vRLCM appliance filesystem, I opted to save it under the following path /data/upload. Click on images below to view with better quality (I still need to find a way to have a better pictures in these posts).

Once the ova is on the local filesystem you need to make vRLCM aware of it, this is the Binary Mapping procedure that allows you to add and map product binaries in vRLCM to use it for deploying products. To do this you need to login in the vRLCM user interface and navigate to Lifecycle Operations > Settings > Binary Mapping.
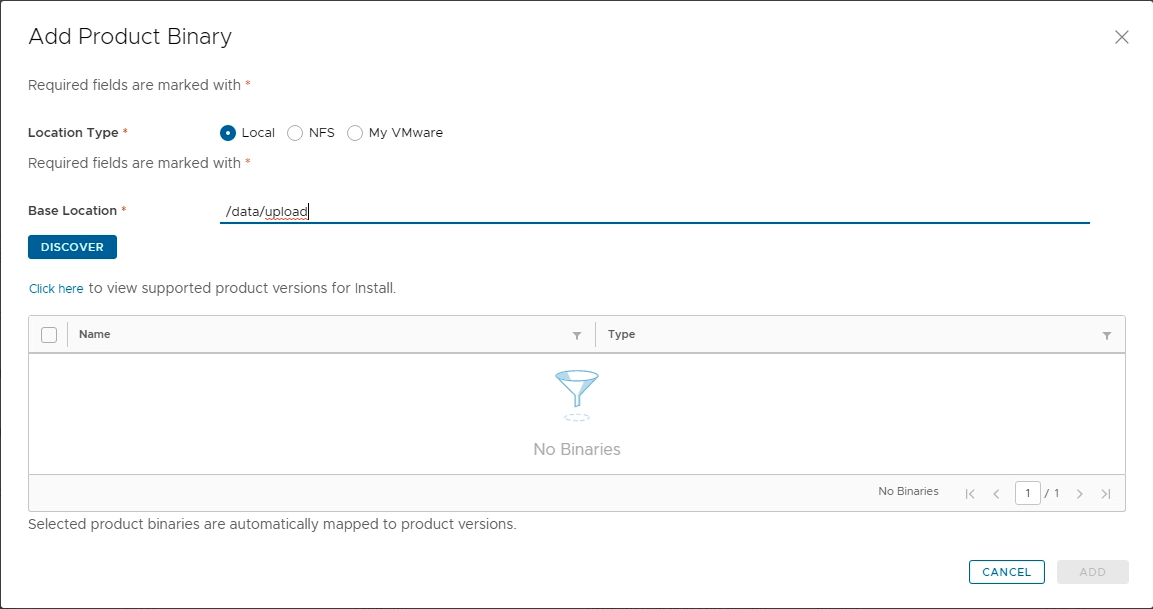
Here click on the Add Binaries button. In the pop window you have the chance to specify where you source the binary, as mentioned before we have the ova in the local filesystem in the directory /data/upload, so you can fill the form as in the picture below and than click the Discover button.
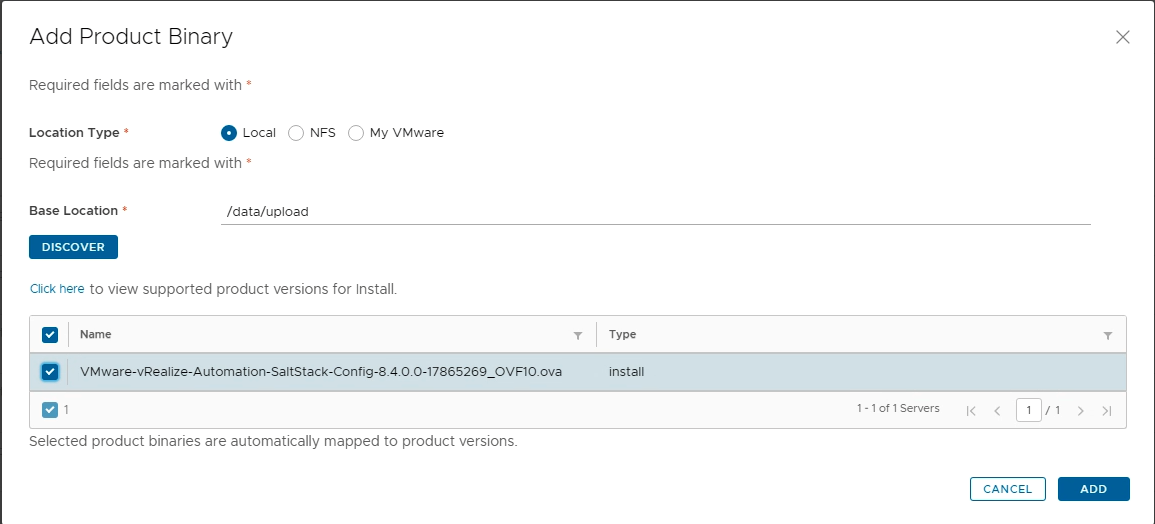
Once the discovery procedure identifies your ova select it and then click the Add button.
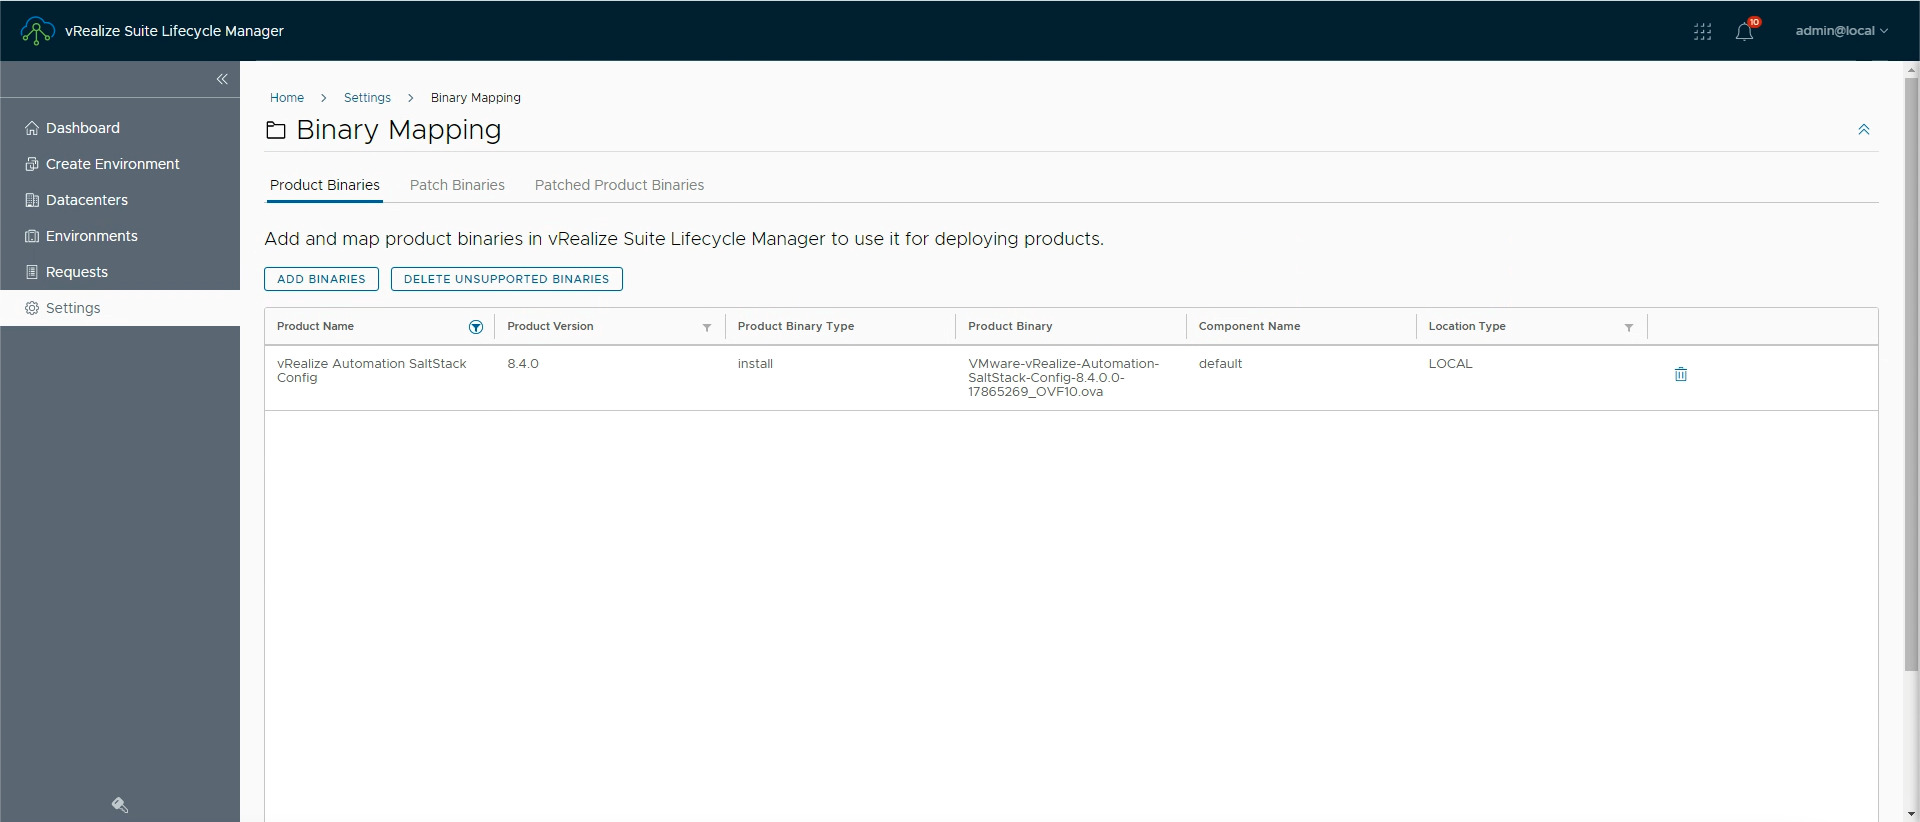
Make sure the ova is added in the binary list, if you do not see it you can filter by product name as in the picture below.
Ok, now you are ready to deploy SaltStack Config.
Deploy SaltStack Config
vRLCM has the concept of Environments, you can choose to deploy SaltStack Config in a new Environment or add it to an existing Environments. Please, note that the deployment procedure is the same with the exception that in the first case you also need to create a vRLCM environment while in the second you also have the option to integrate SaltStack Config with an existing vRA deployment. In this post I cover the second options and I am going to deploy SaltStack Config in an Environment where I have a vRA deployment.
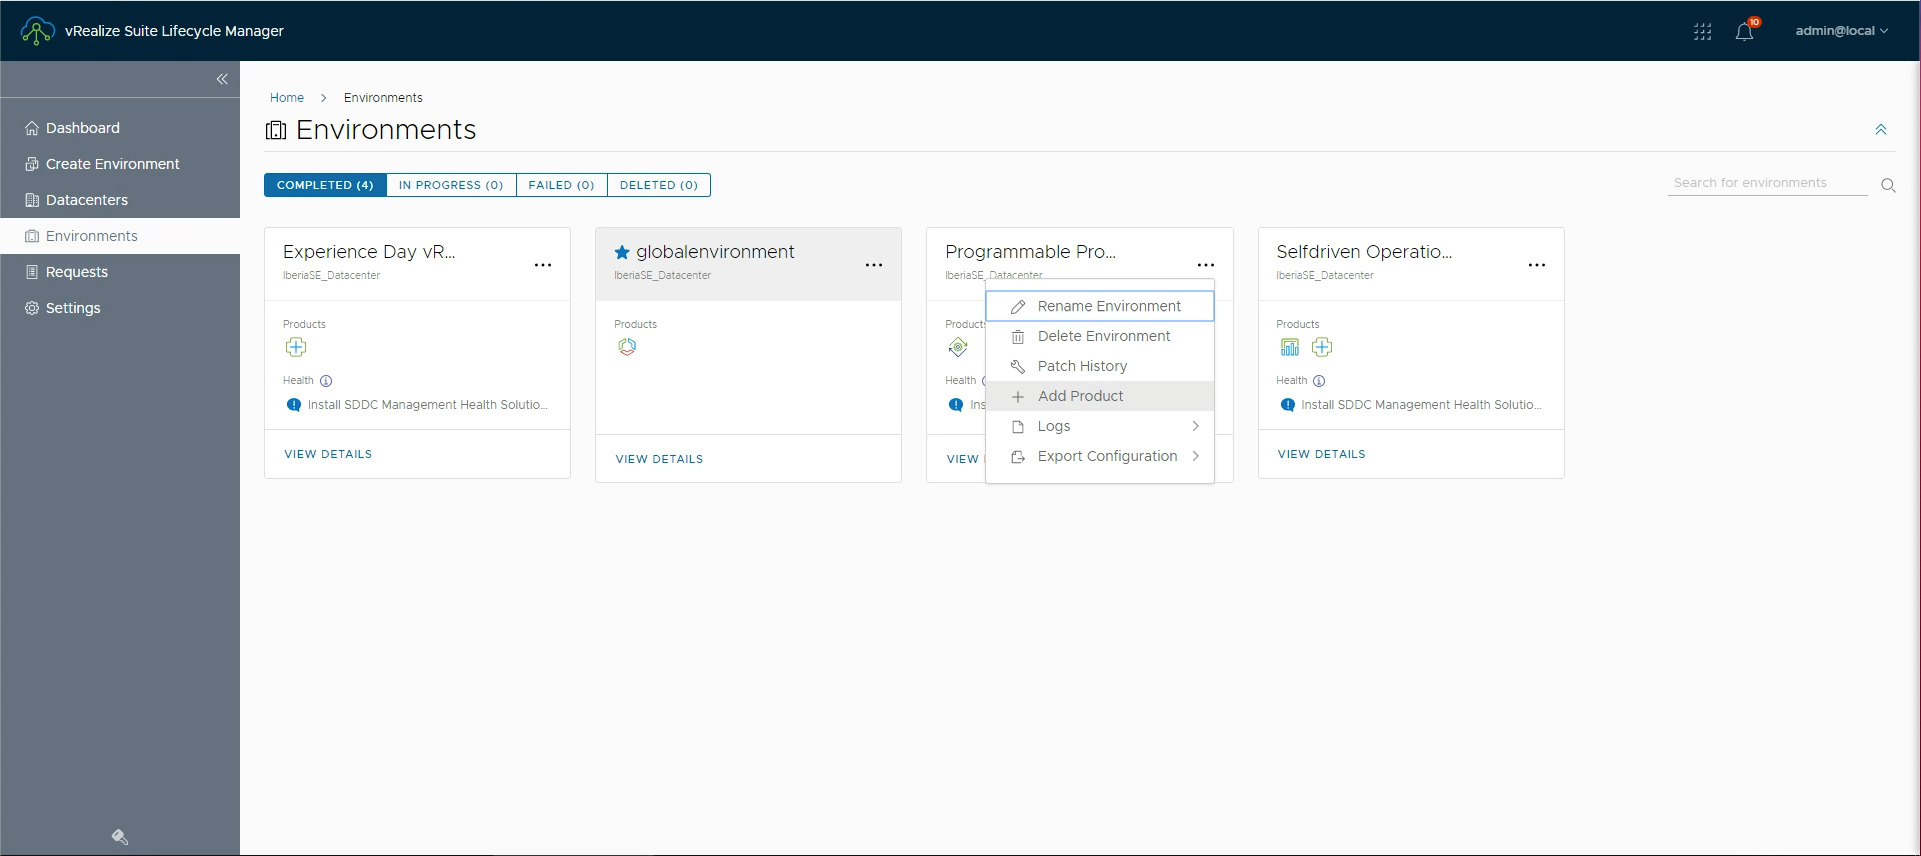
In the vRLCM navigate to Lifecycle Operations > Environments click on the ellipsis icon of the Environment of choice and select the Add Product option.
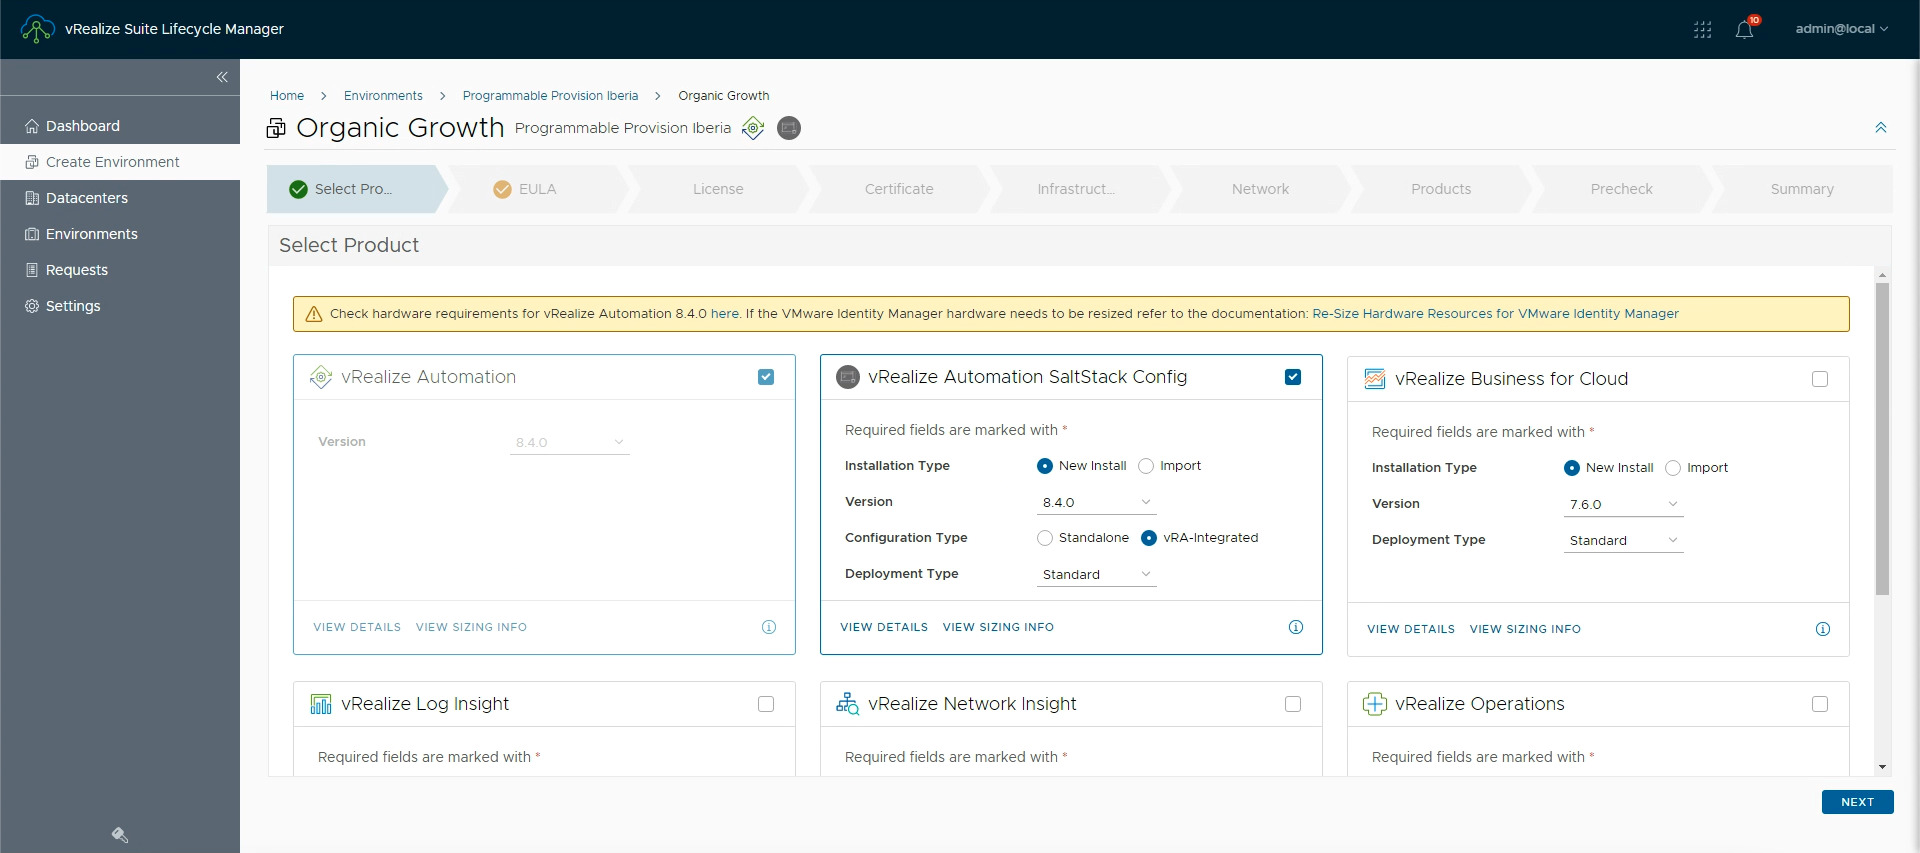
Here you start with the Add Product workflow (aka Organic Growth), it is good to know that throughout this workflow you can save and exit at any stage and resume whenever you want without losing your job. The “paused” procedure is accessible in the Request section and marked with Status “Pending Action”. I did it and it worked just nce.
The workflow is pretty straightforward, in the first stage it is only worth to mention that you can choose whether your instance is going to be integrated with a vRA deployment (vRA-Integrated configuration) or a standalone instance (Standalone configuration). Of course for the first option you need to have a vRA deployment. Once you made your choice click on the Next button.
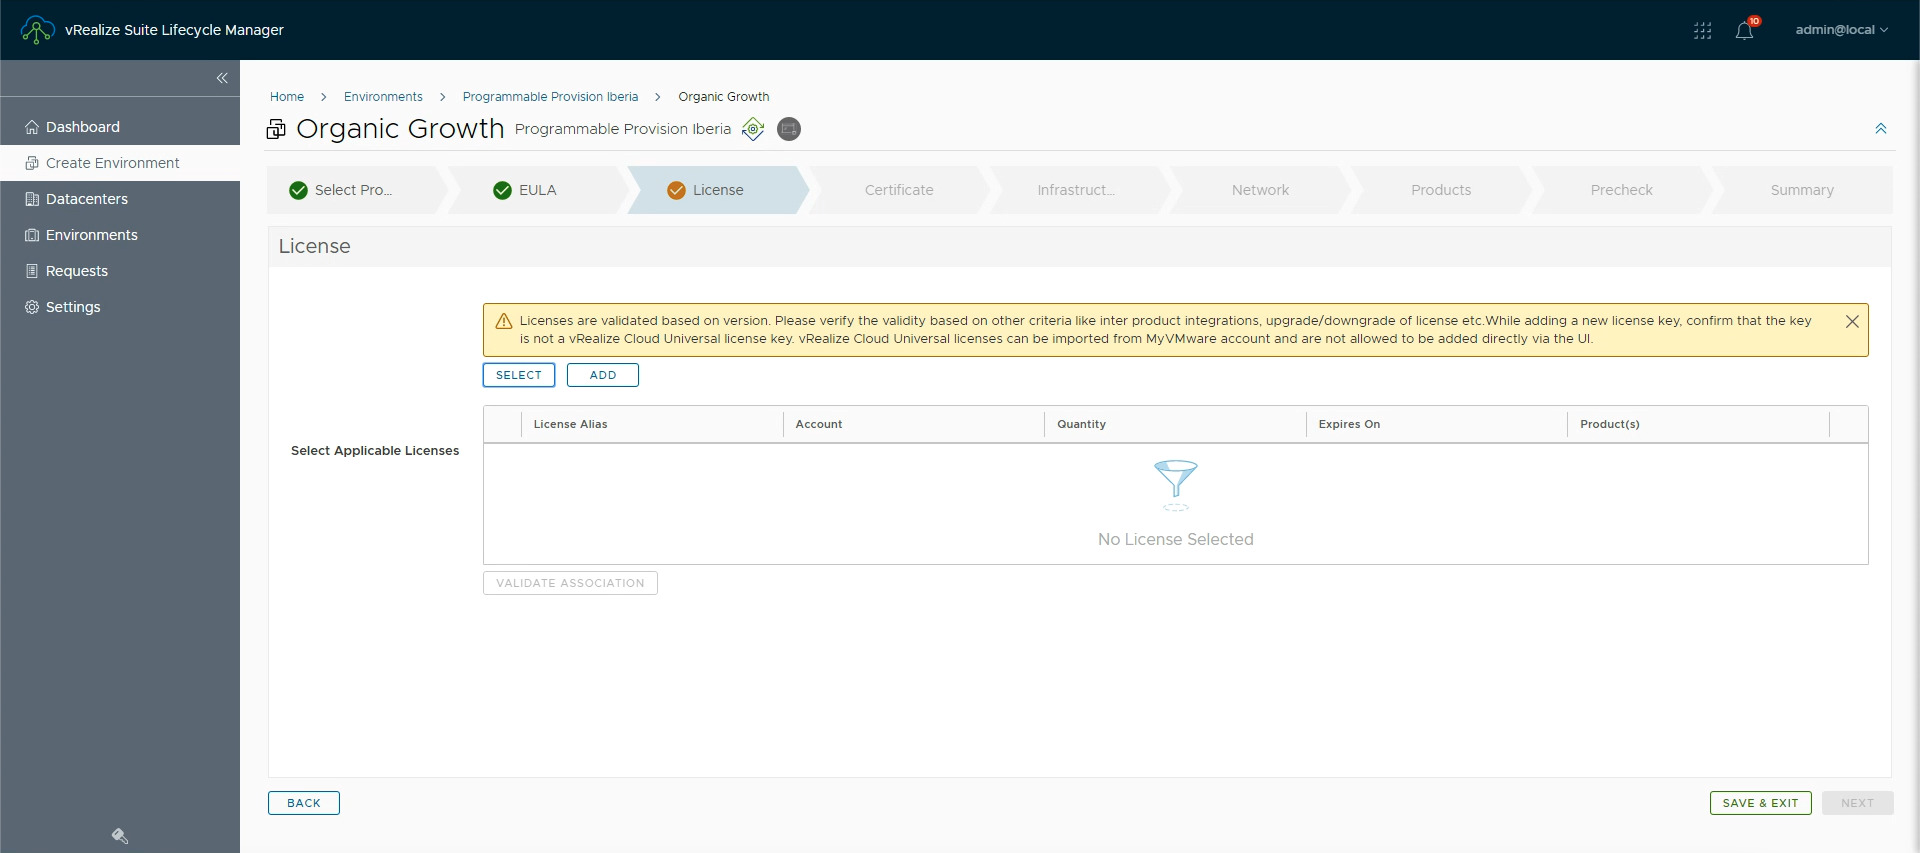
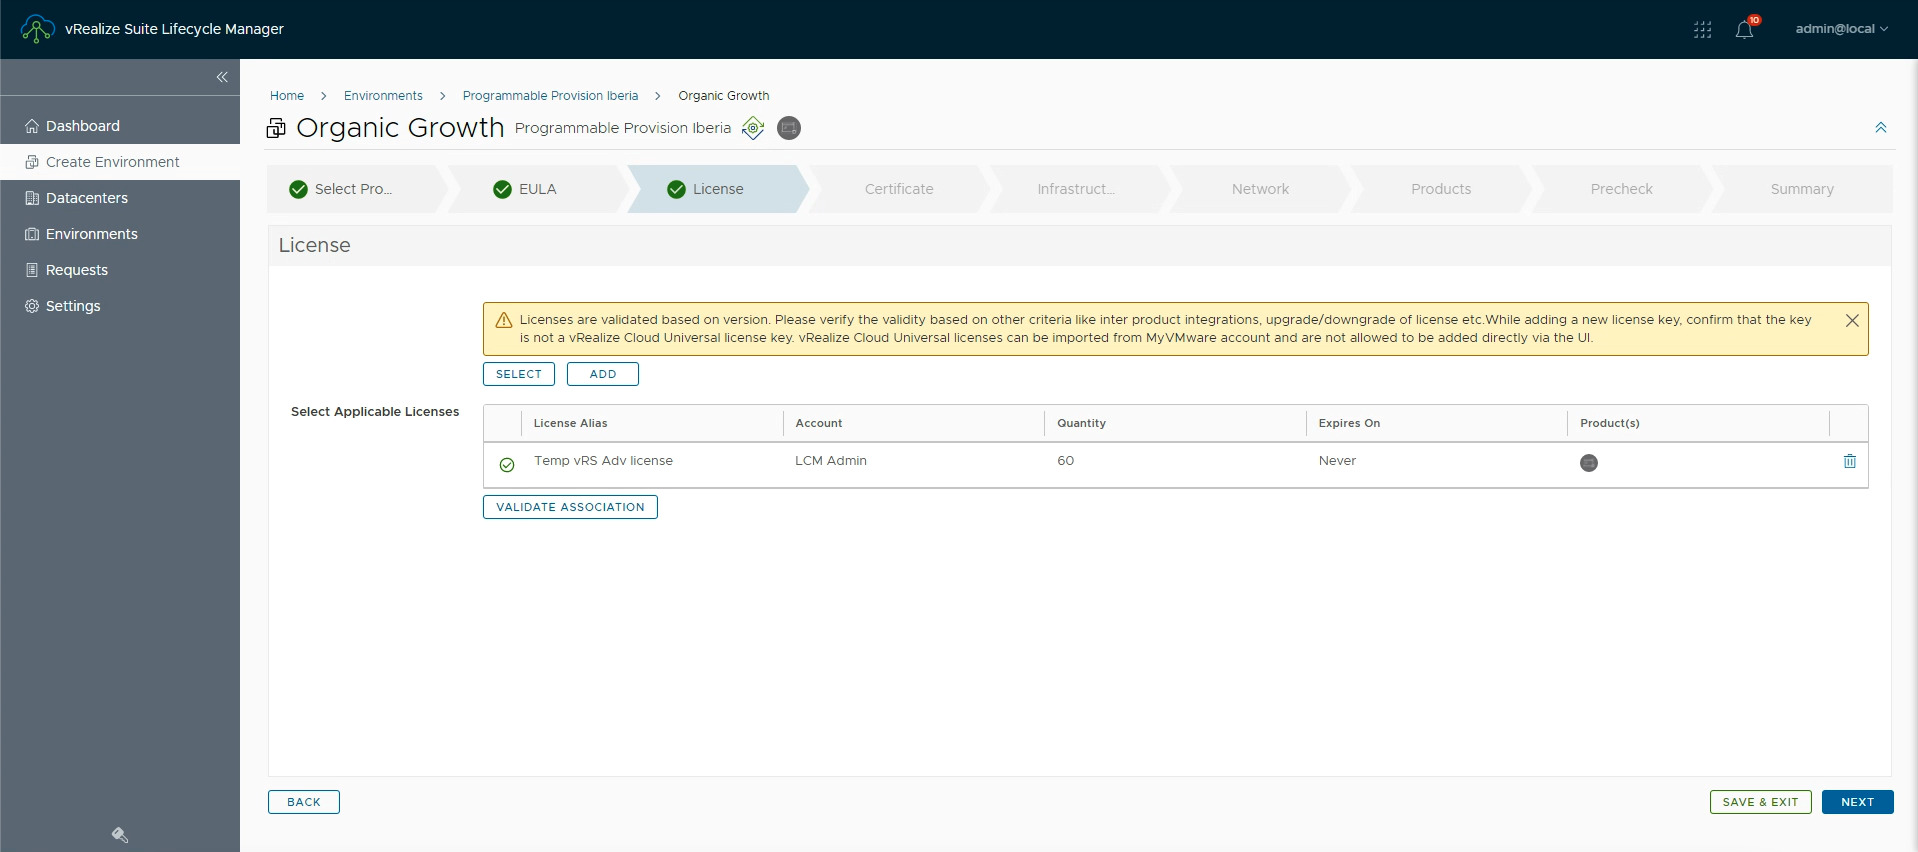
In the License stage you can either select a license key you previously added to vRLCM or add a new license key. Then you validate it and go ahead.
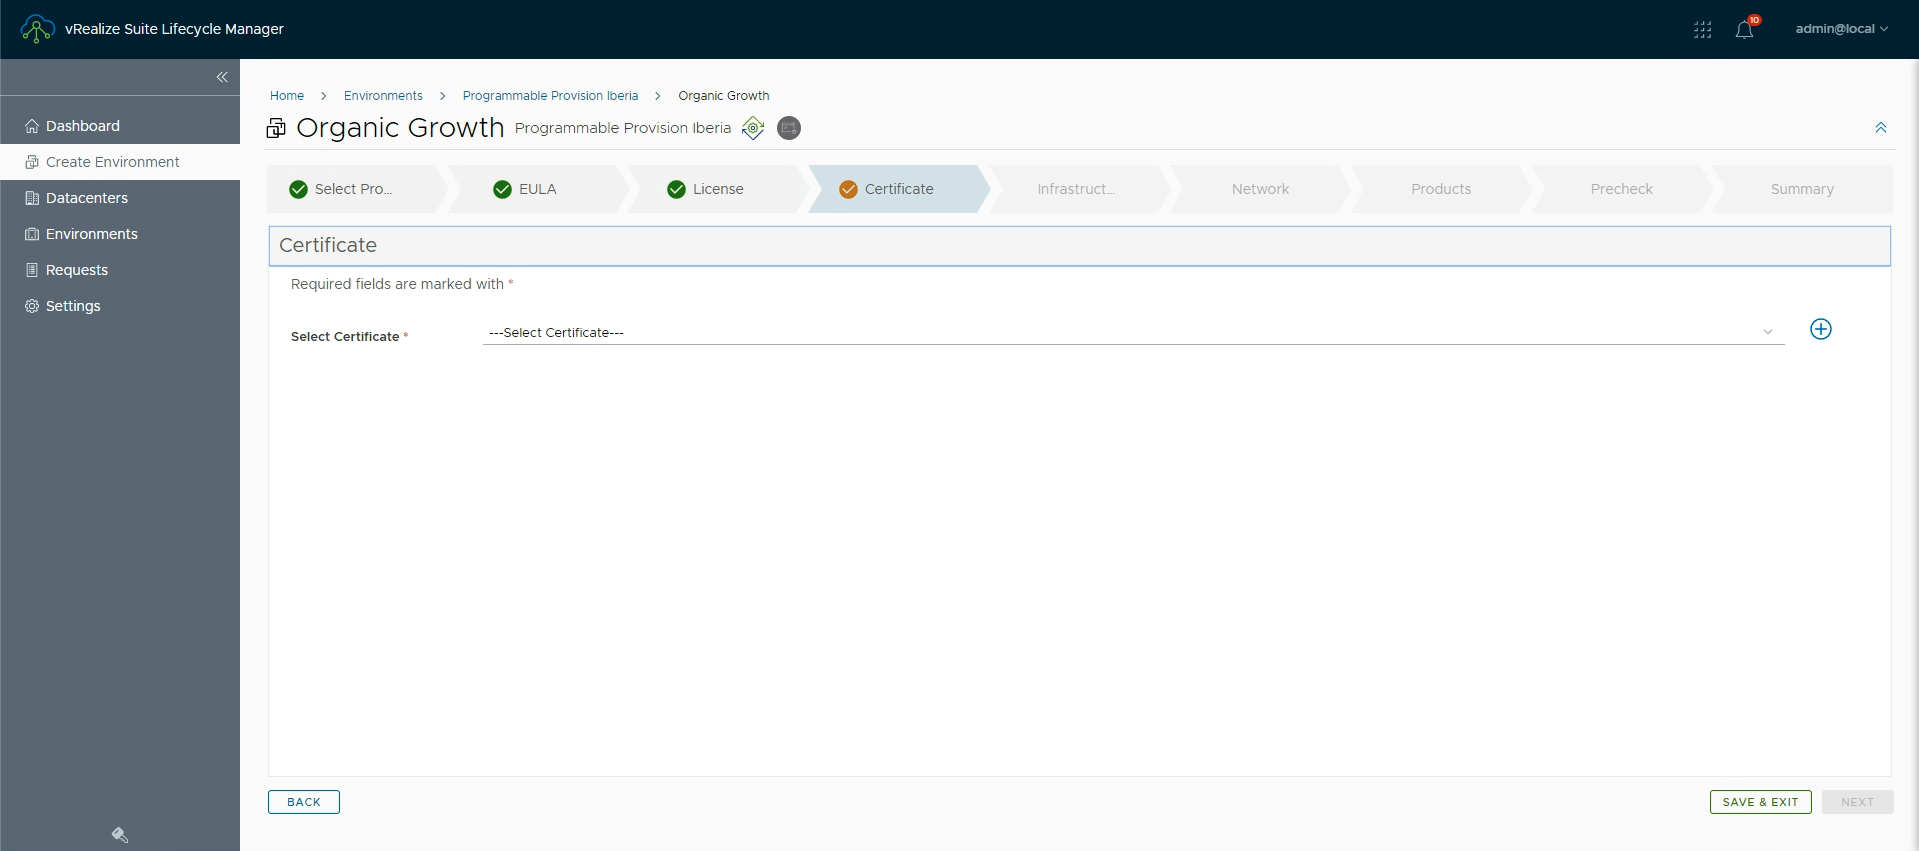
In the Certificate stage you either select a certificate that you previously added to the vRLCM Locker or craft a self-signed certificate by clicking on the + button in the far right of the page.
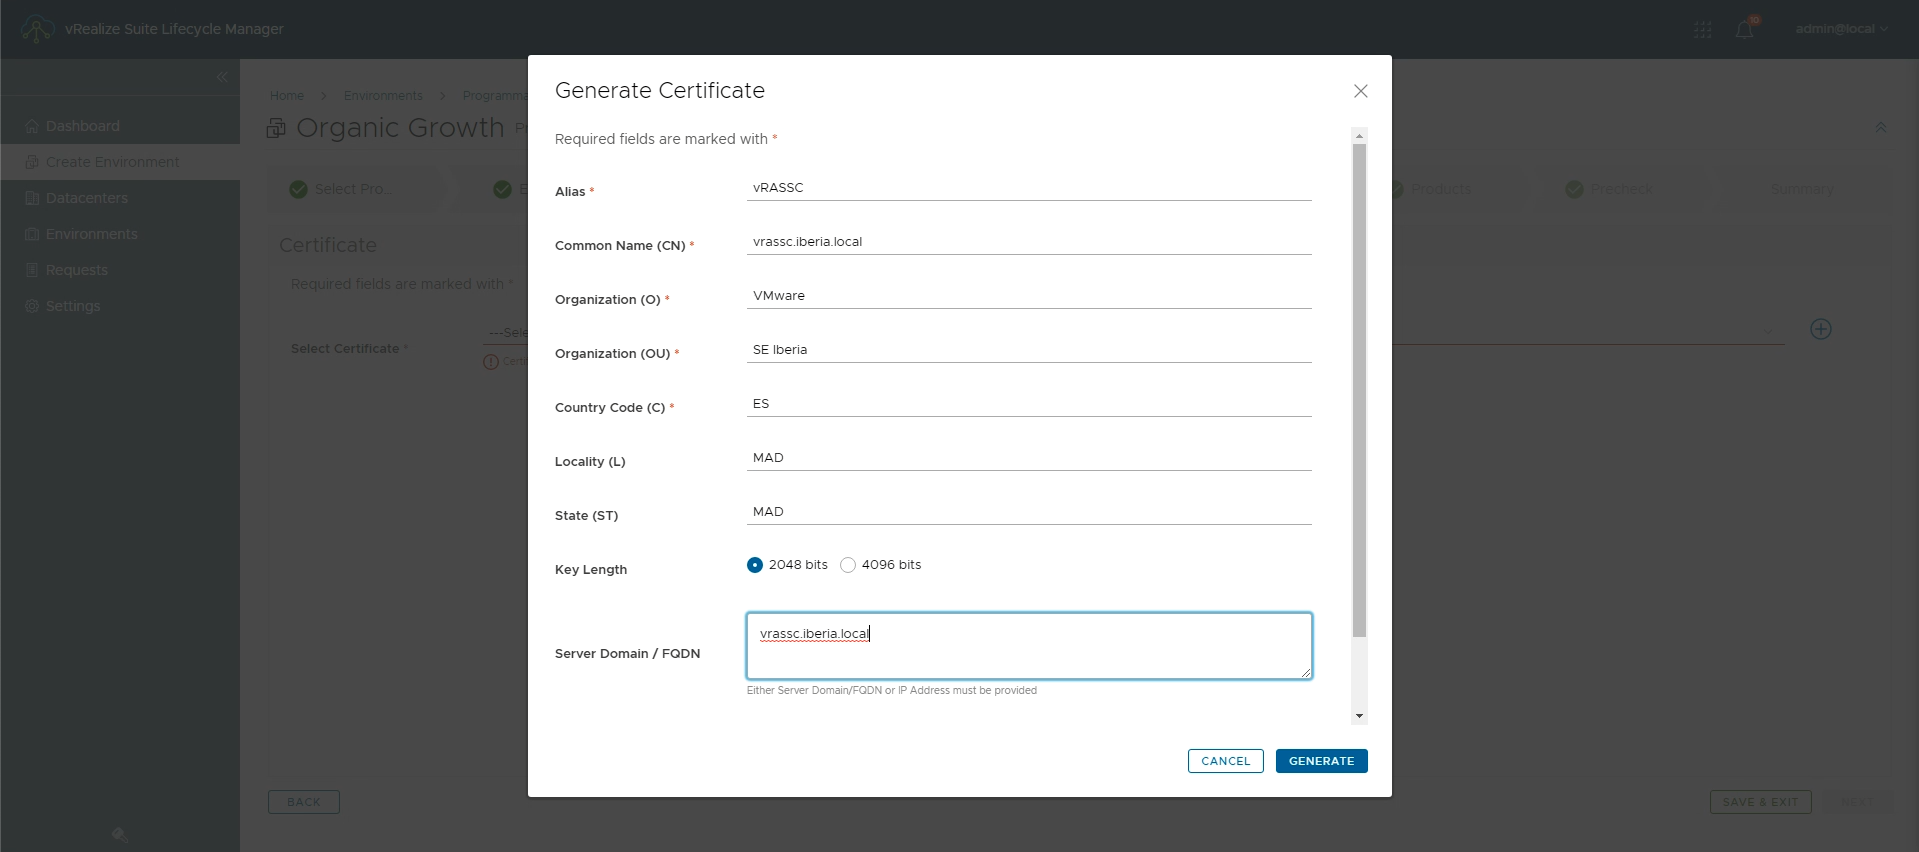
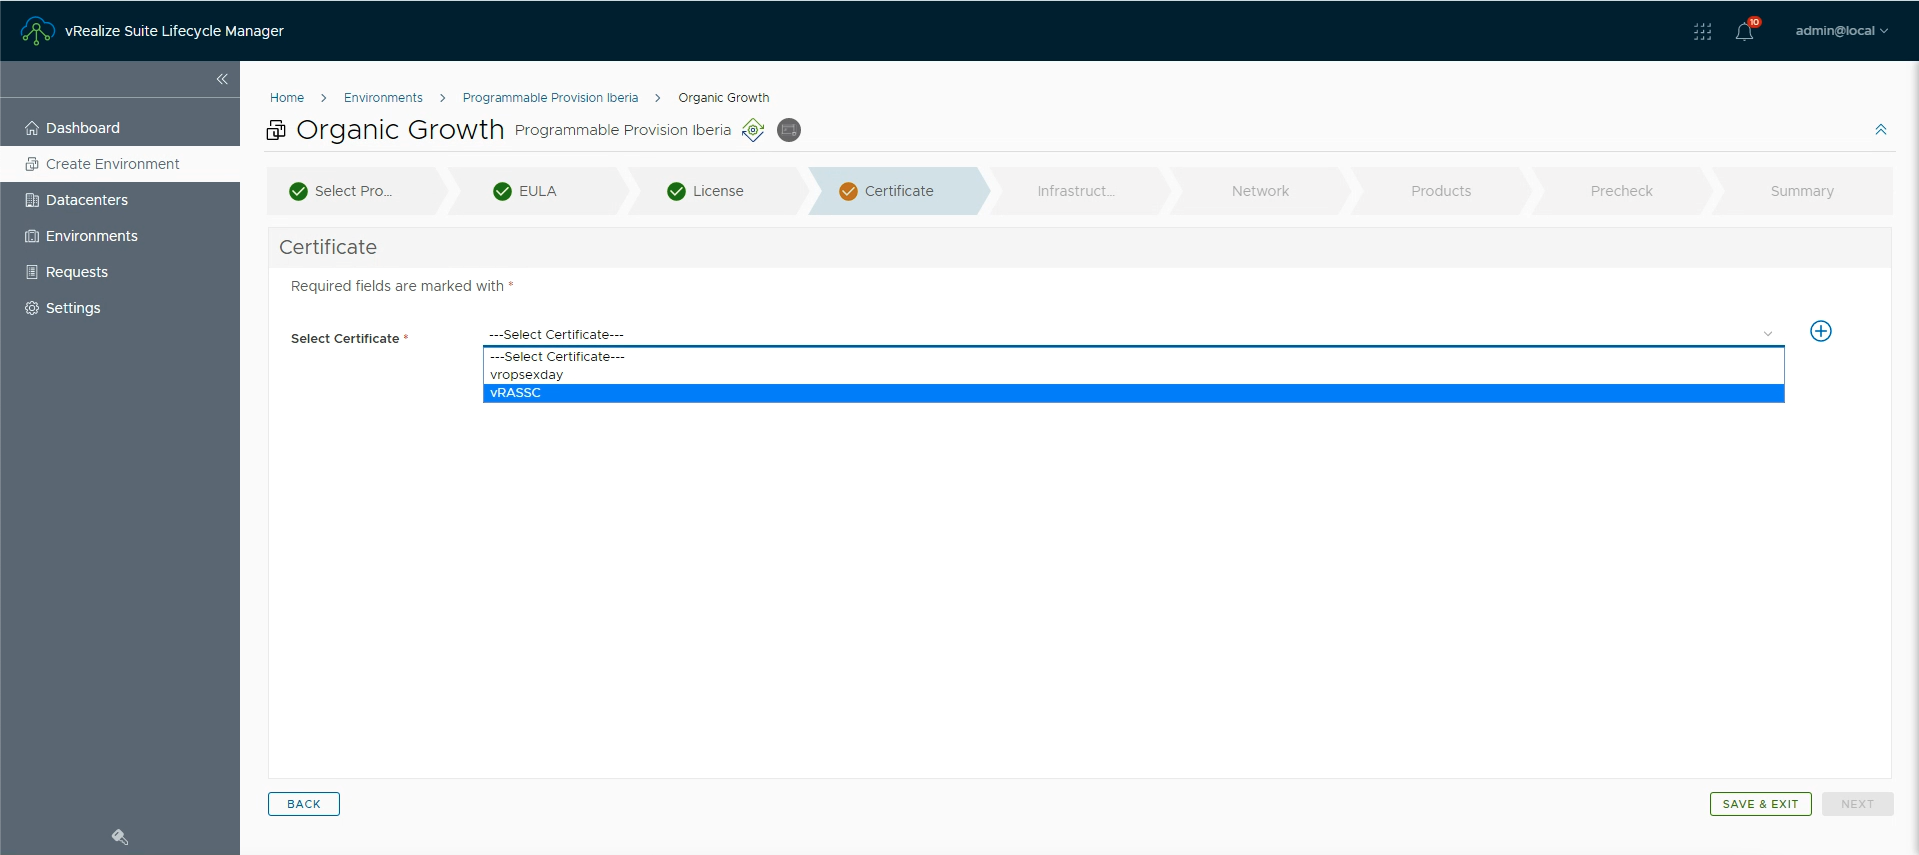
In my case a created a new self-signed certificate and then selected it as shown in the images below.

In the Infrastructure stage you provide details for the vCenter where you are going to deploy the appliance.
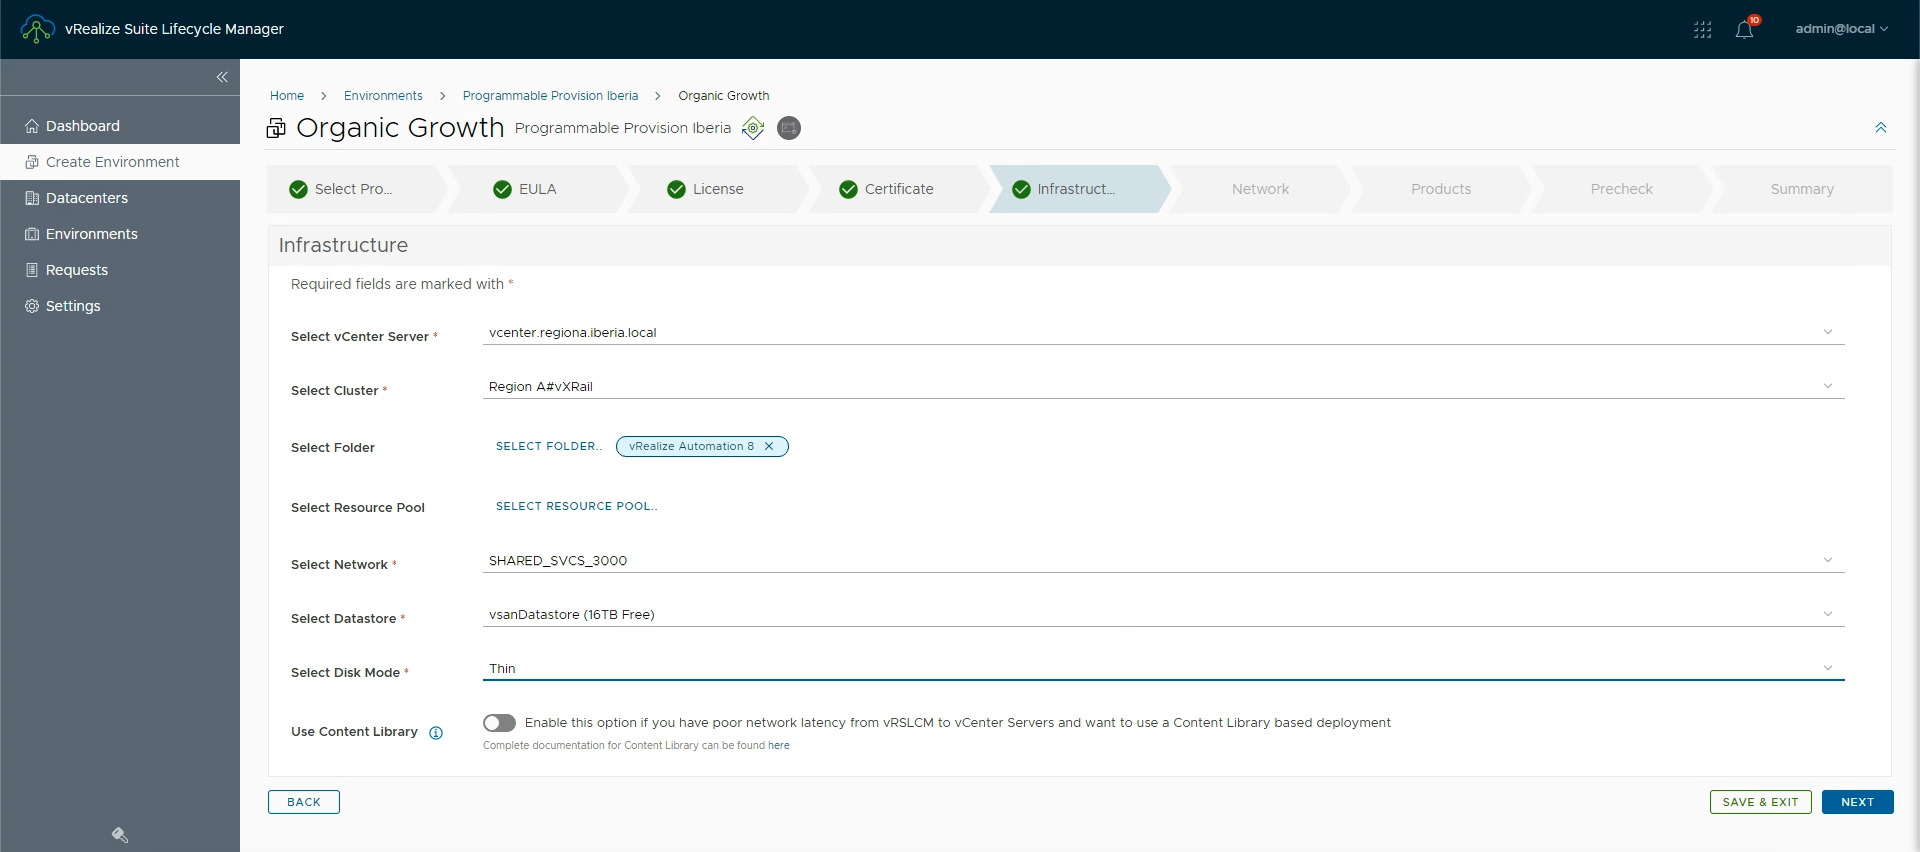
In the Network stage you provide the network configuration of the vSphere network you selected in the Infrastructure stage. Side note: I would expect to provide here IP and FQDN for the appliance, but this is requested in another stage.

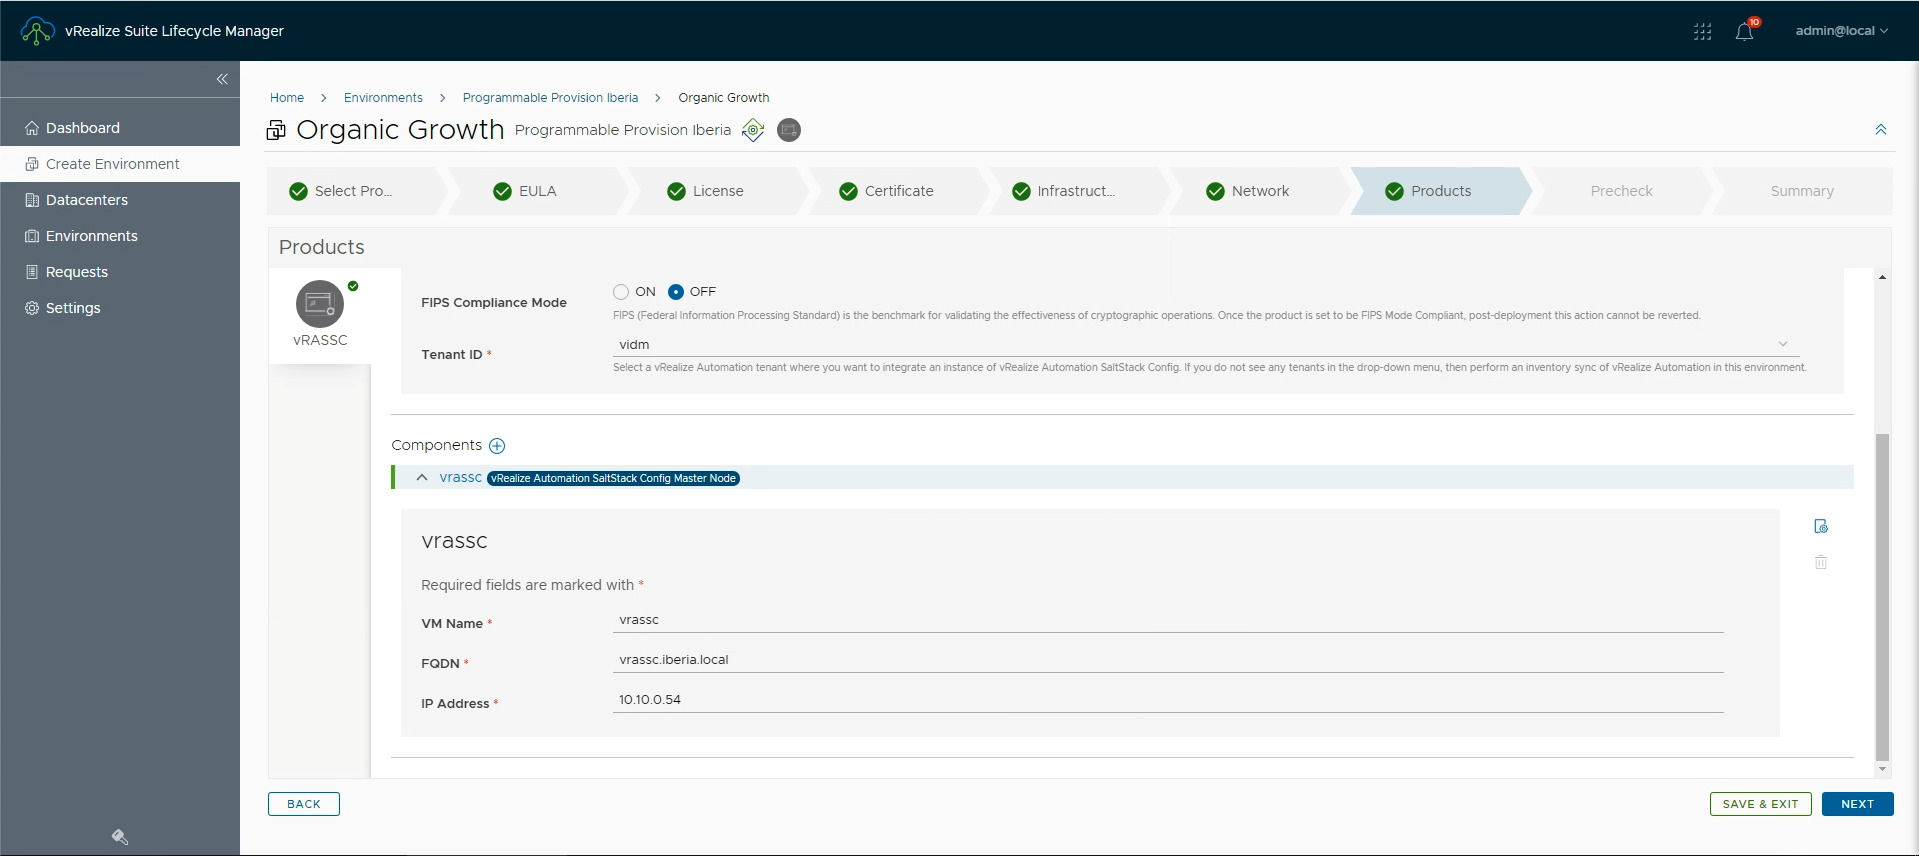
The Product stage has two sections, in the Product Properties section you are requested to provide a password as usual by either selecting a password that you previously added to the vRLCM Locker or craft a password by clicking on the + button. Select the certificate you previously configured/created and assign this instance to a vRA Tenant. This option is only available if you are deploying a vRA-Integrate SaltStack Config.
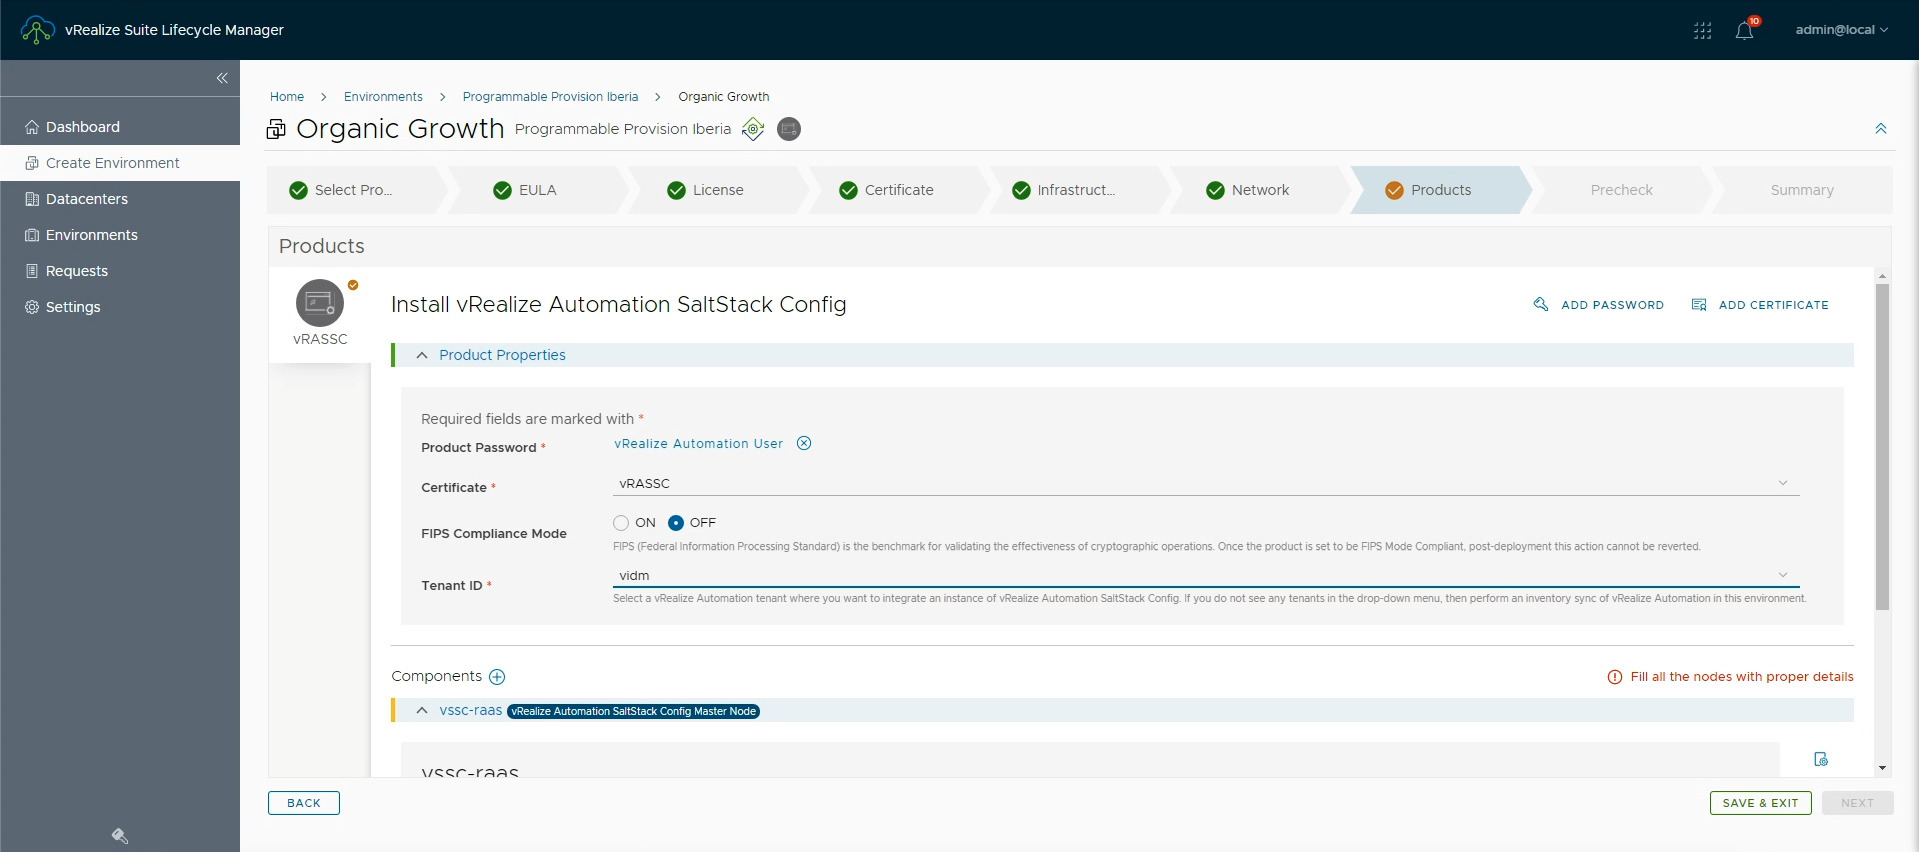
In the Component section you you are requested to provide VM Name, FQDN and IP Address for the SaltStack Config appliance.
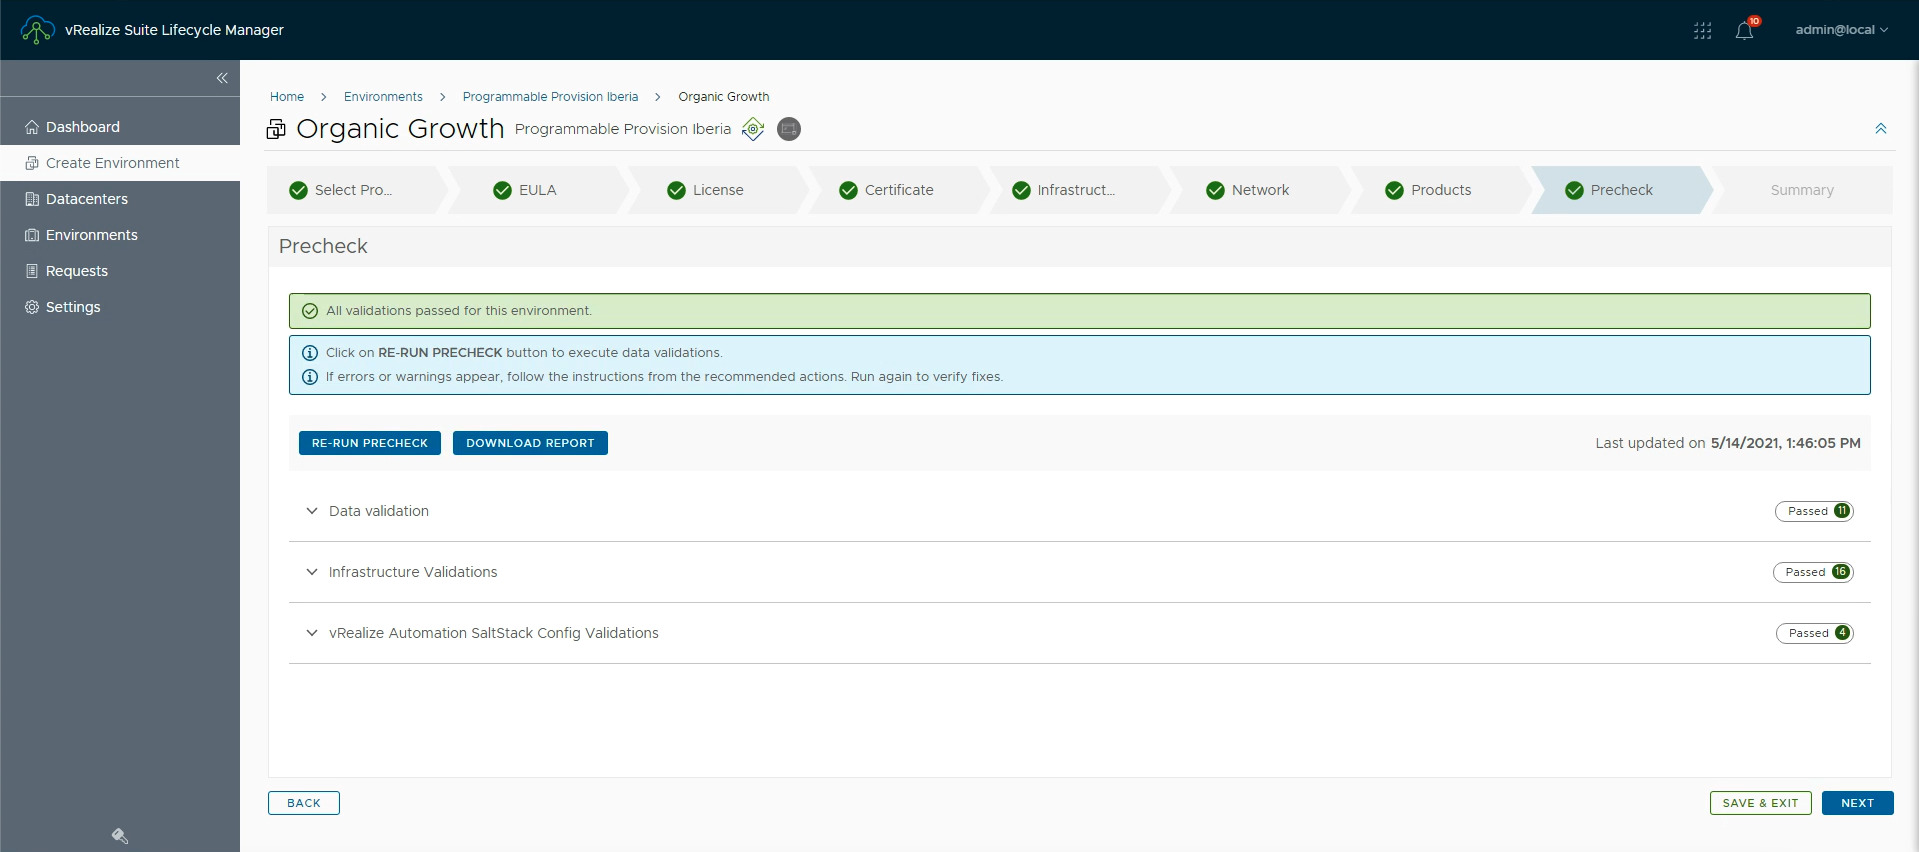
Before executing the deployment vRLCM checks that everything is fine, this is done in the Precheck stage as shown in the following pictures.

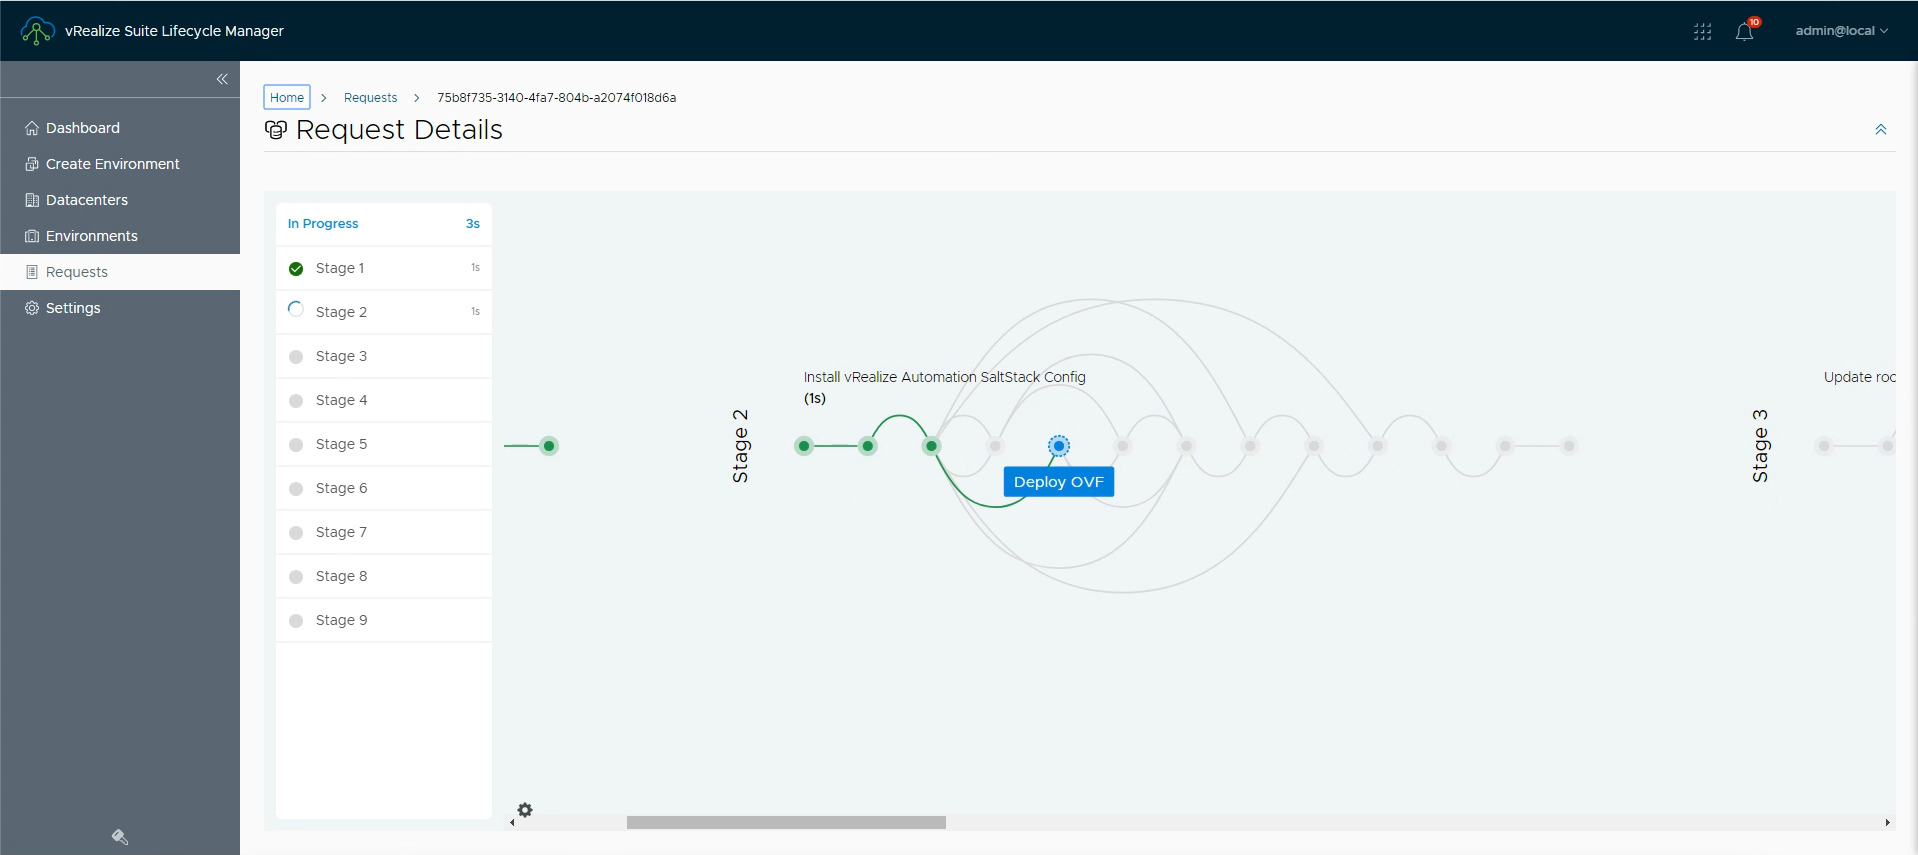
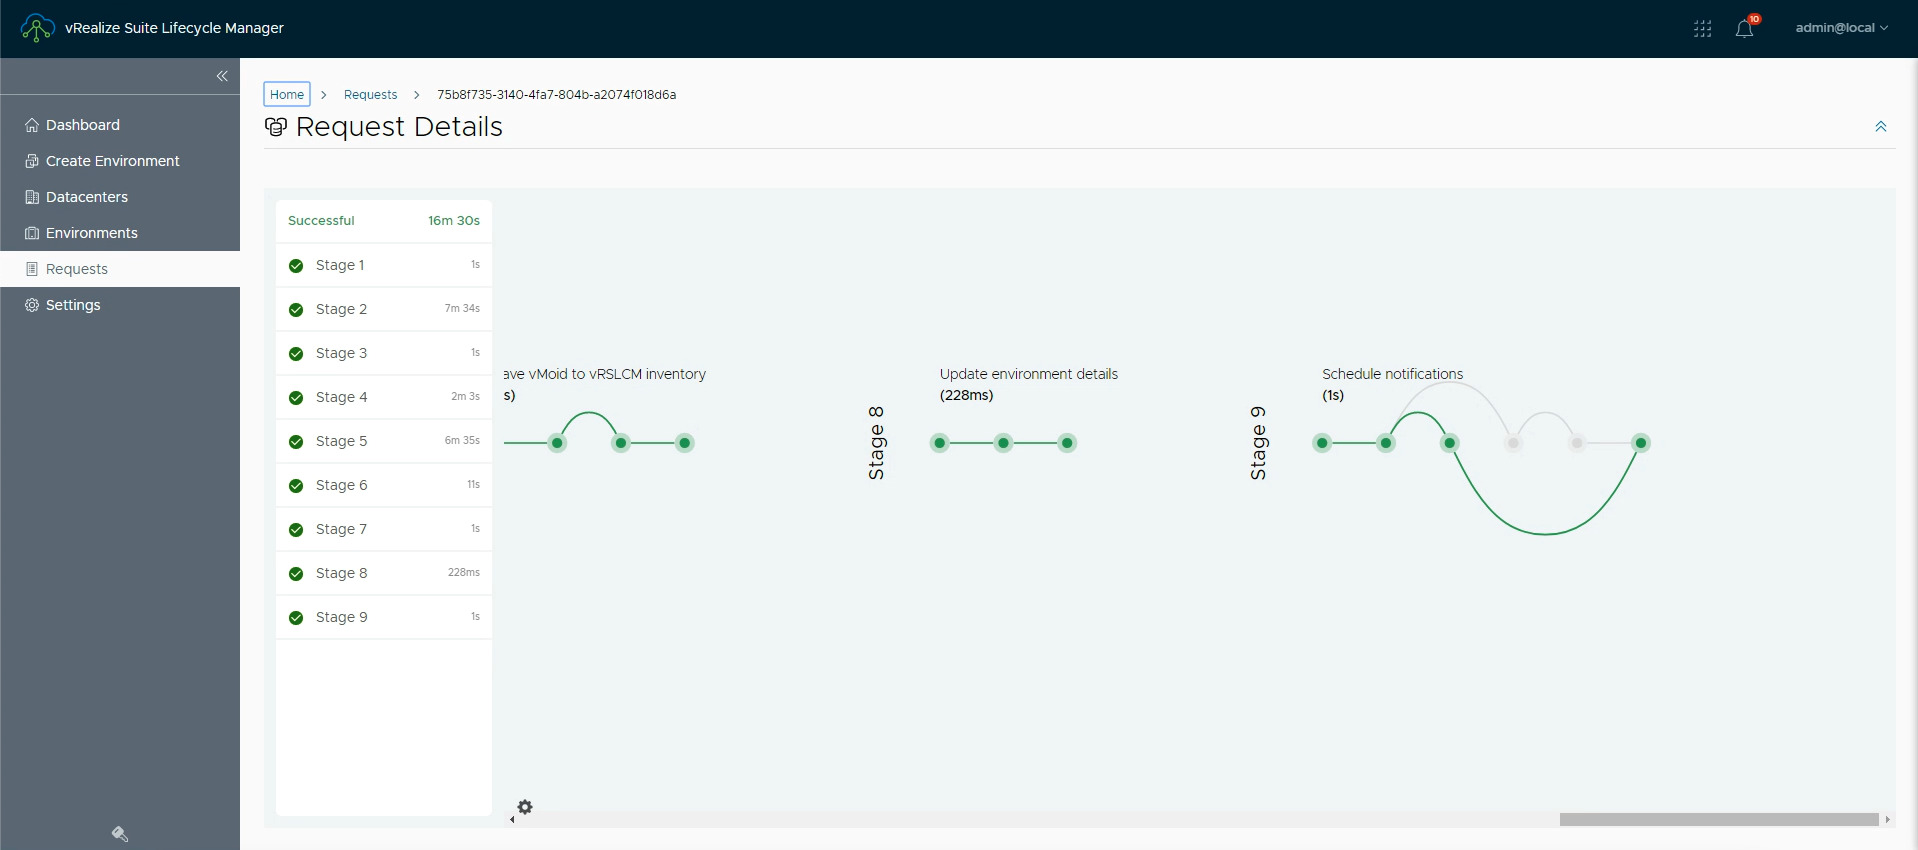
Once vRLCM confirms everything is in place to deploy SaltStack Config you can submit your deployment request and from time to time check the progress.


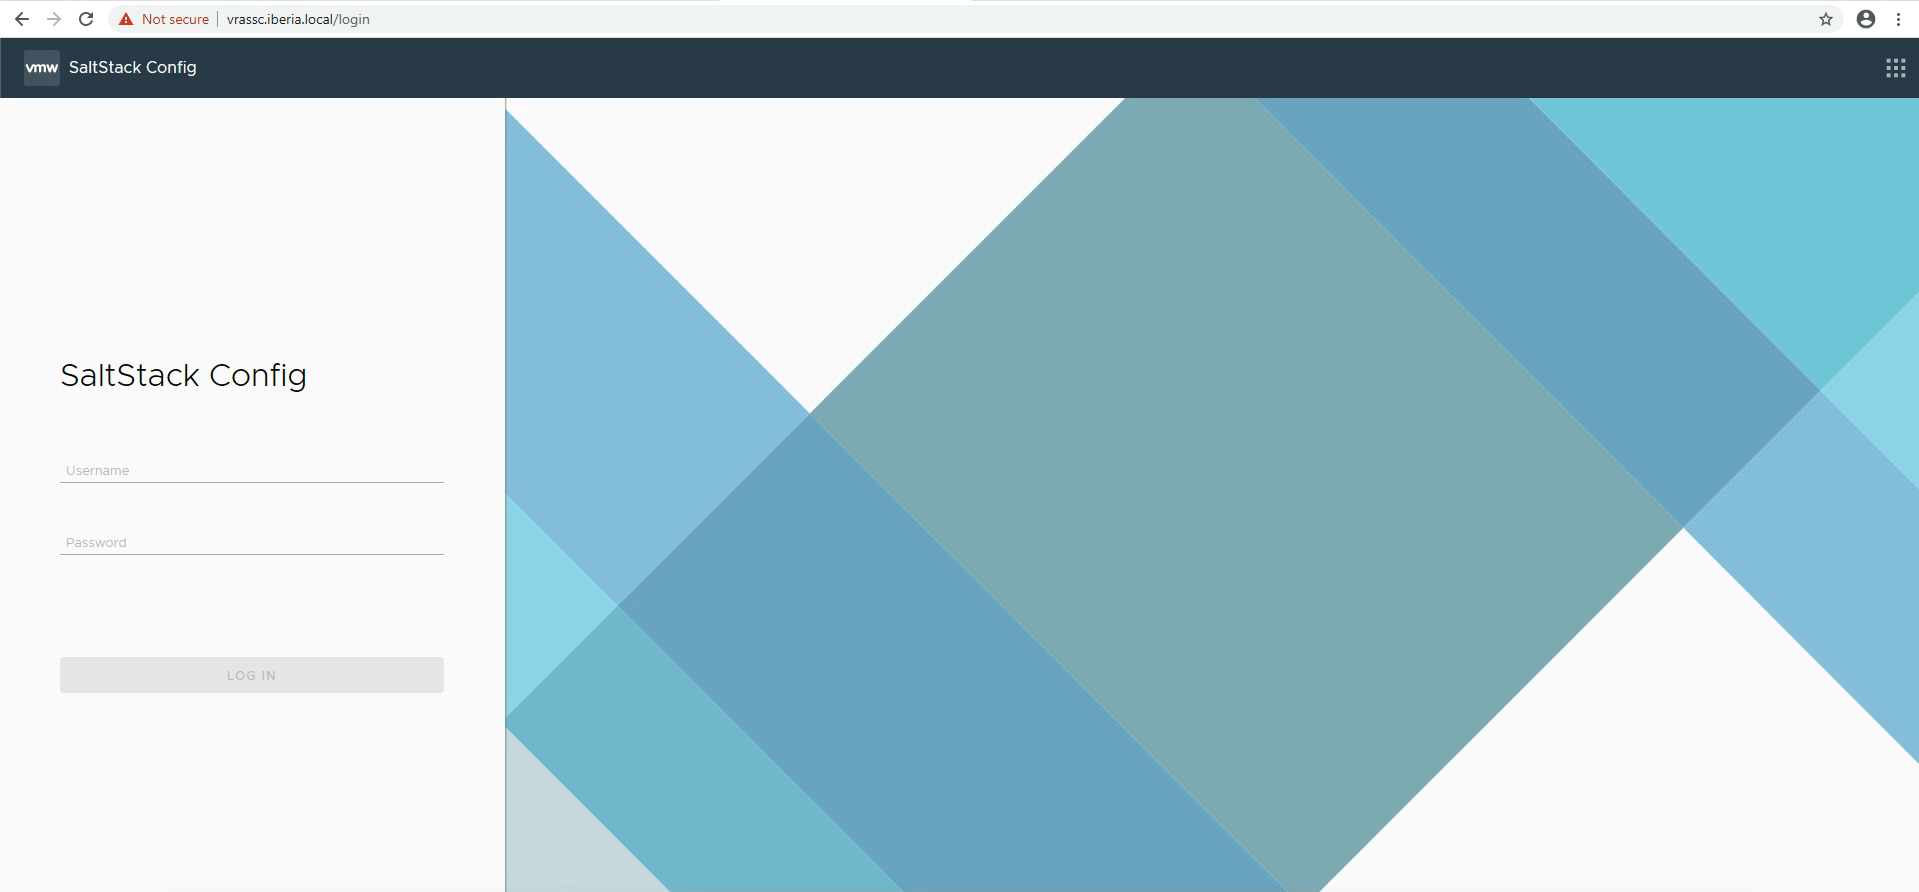
Once the deployment request is successfully completed you can access the UI at the following URL https://<fqdn> (with FQDN you specified in the Products stage), the username is root and the password is the one you selected in the Products stage.
Since I deployed my isntance of SaltStack Config as vRA-Integrated a Property Group was created in vRA.
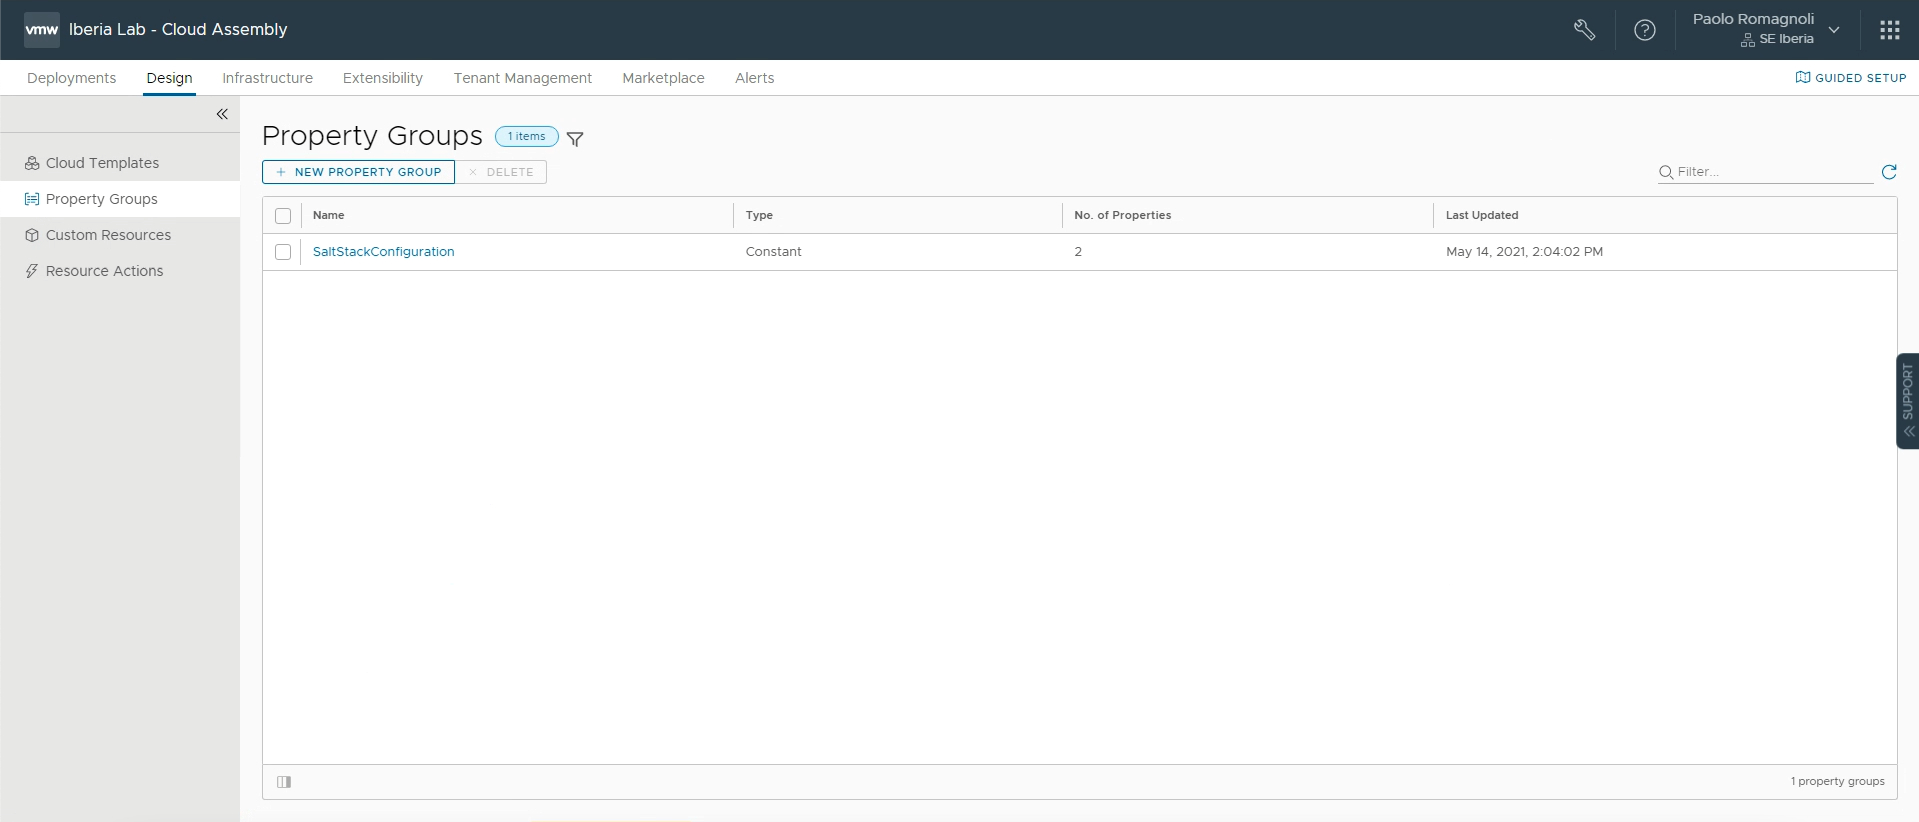
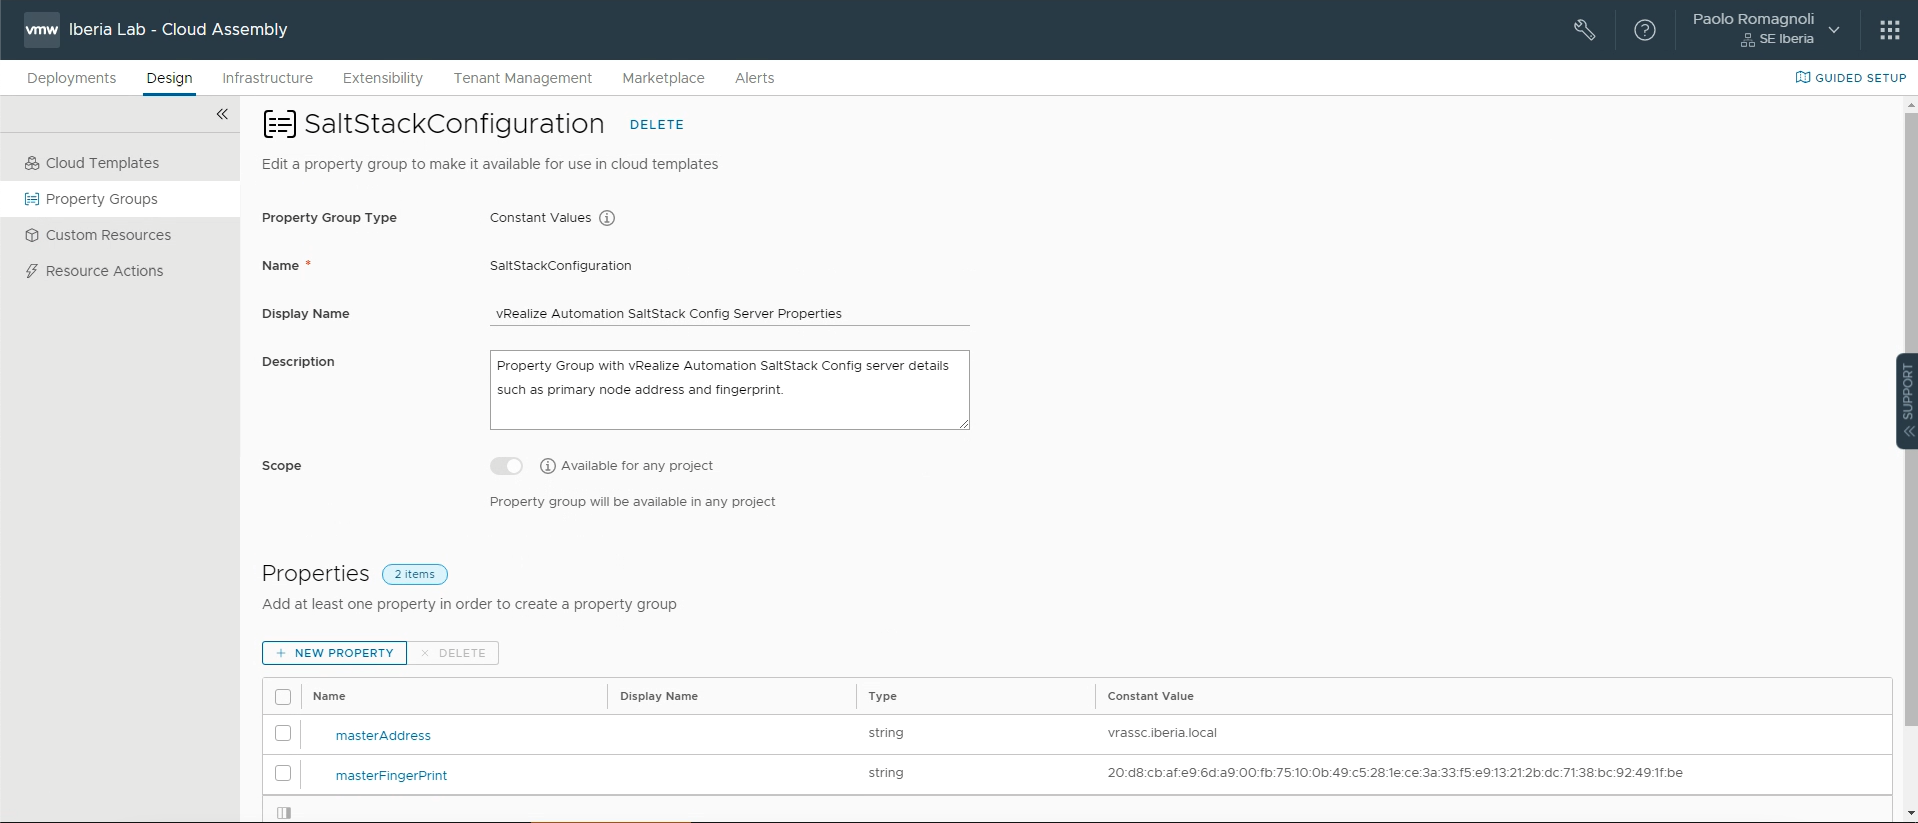
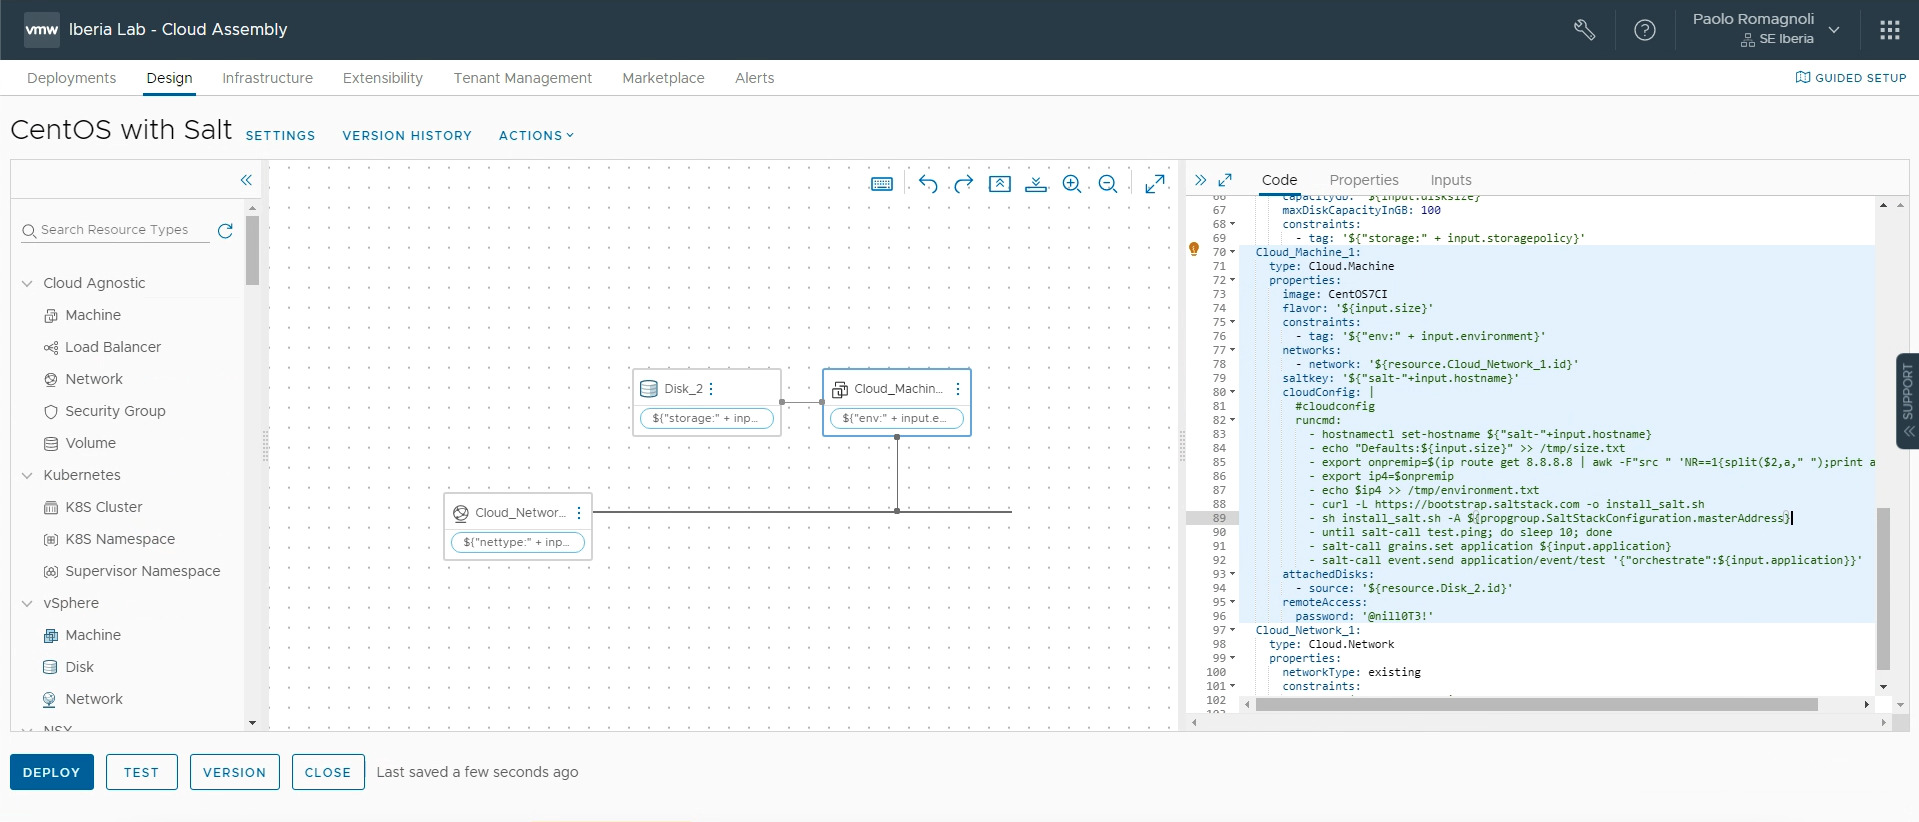
The Property Group is intended to be used in Cloud Templates in order to allow vRA provisioned VMs to install Minions and register them to the SaltStack Config Master. The Cloud Template in the picture below installs the Salt Minion and set SaltStack Config as its Master, then it waits the Minion Key to be accepted, it applies a grain to the newly created Minion and fire an event to the Master to trigger a Reactor that apply a state to the Minion.
Apply SecOps AddOn License
If you have a SecOps AddOn license, to apply it you have to download the license key from the MyVMware portal. I am reporting this specific detail as it was not immediately clear to me.
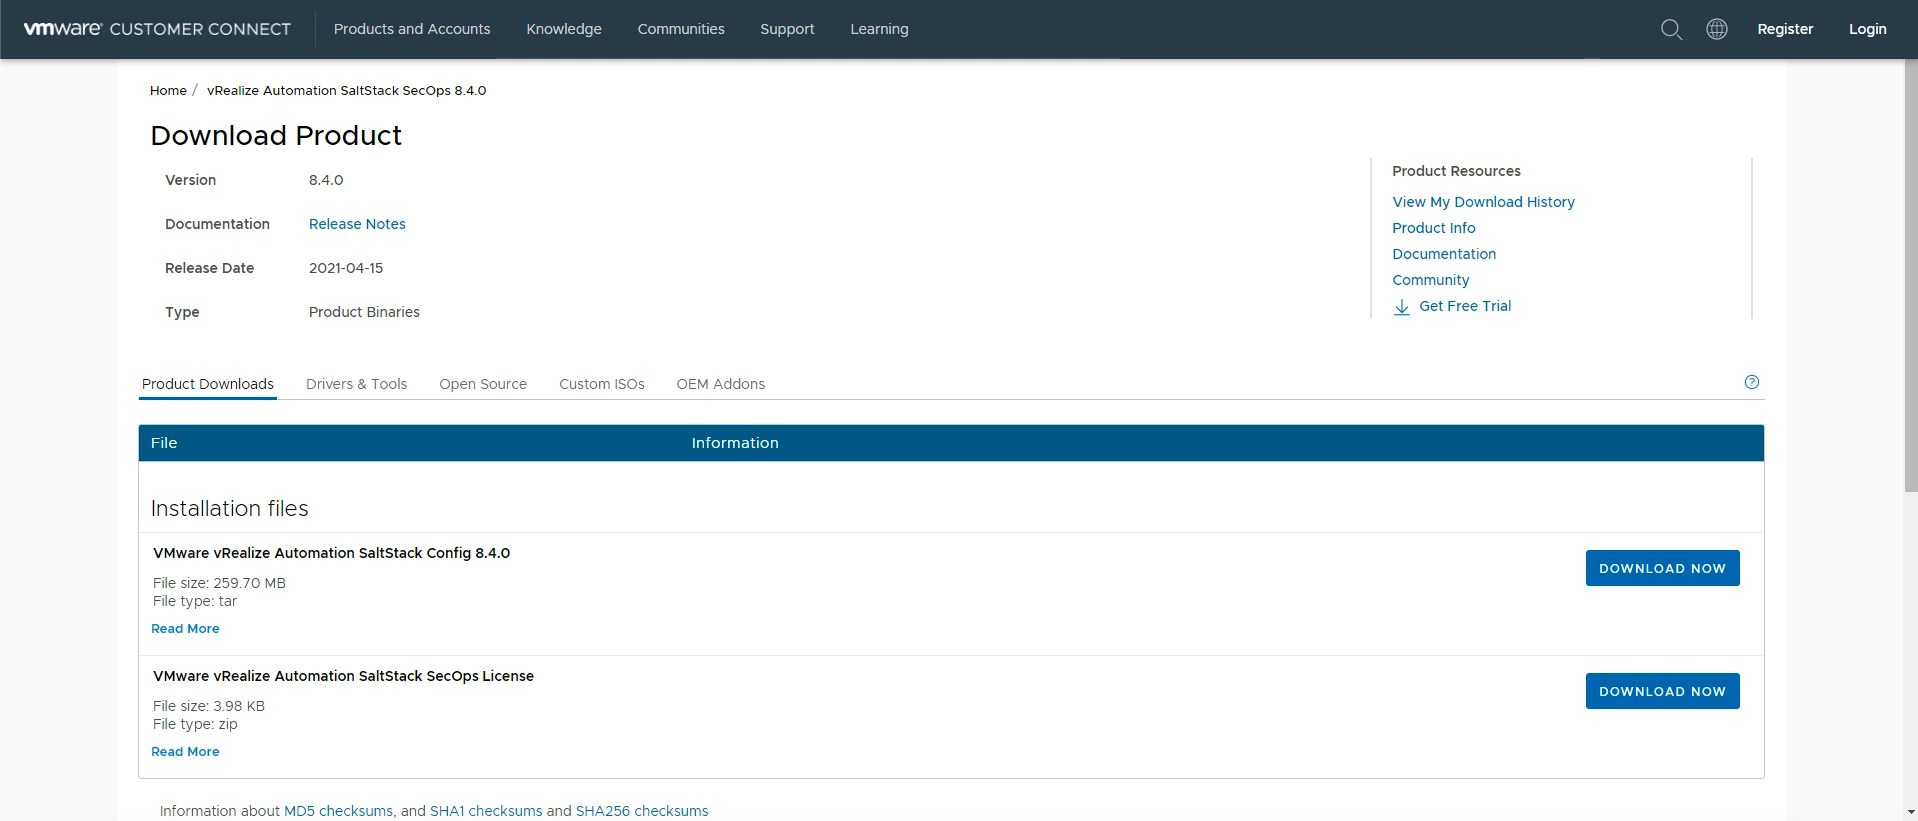
This will give you a zip file with the SecOps AddOn license that you can apply following the documentation reported here.