Salptoject.io recently released a collection of open source (of course!) Salt-maintained extension modules for VMware vSphere, VMware Cloud on AWS and NSX-T. You can find these modules on Github here, the documentation here and a pretty cool quickstart guide here. This is quite early days for these modules, so at the moment I am just planning to cover this topic with a couple of posts, hopefully helping a bit the project to get momentum.
These extension modules are currently undergoing rapid evolution, so it’s a good idea to start playing with them in a dev or lab environment. Please, note this could also be your laptop (Python virtual environment or a Virtual Machine). This post assumes that you have installed Salt by following directions on https://repo.saltproject.io/, of course this also apply to vRA SaltStack Config that you can deploy using its installer as described here or by using vRealize Suite Lifecycle Manager here.
Configure your system
I did the following as root user in a lab virtual machine with Salt installed in the system-wide Python 3. This isn’t necessarily a good configuration and definitely it is not the most secure, but I am just kicking tires here. Here I am using both master and minion on the the same machine, however these extension modules work with a remote minion as well.
The idea is to configure these extensions modules in local configuration that doesn’t affect the the system wide Salt deployment. In order to do that as first step I created some directories under my user home directory:
cd
mkdir -p salt/etc/salt/pki/
mkdir -p salt/var/cache/ salt/var/log/
mkdir -p salt/srv/pillar/ salt/srv/salt
cd salt
Add file ~/salt/Saltfile with the content below:
salt-call:
  local: True
config_dir: etc/saltNote: a Saltfile is a local configuration that is used to define a configuration/CLI option for any Salt utility such as:
salt, salt-call, salt-ssh,etc. The Saltfile configuration provides options that override the default utility behaviour. A Saltfile can be located at: i) current directory (this is applied in this post); ii)SALT_SALTFILEenvironment variable; iii)--saltfileCLI option and iv)~/.salt/Saltfile
In our case the Saltfile applies to the salt-call utility only and we are specifying this is a local configuration and pointing salt-call to a specific (alternative) configuration directory (please note that the this is provided as a relative path).
Add file ~/salt/etc/salt/master with the following content:
user: root
root_dir: /root/salt/
file_roots:
  base:
    - /root/salt/
publish_port: 55505
ret_port: 55506
This master configuration will be used by the salt-call utility when executed from the ~/salt directory.
Add file ~/salt/etc/salt/minion with the following content:
id: master_minion
user: root
root_dir: /root/salt/
file_root: /root/salt/srv/salt
pillar_root: /root/salt/srv/pillar
master: localhost
master_port: 55506
This minion configuration will be used by the salt-call utility when executed from the ~/salt directory. Here it is important to note that we are setting minion id to master_minion, instructing salt-call to pick State files from /root/salt/srv/salt and pillars from /root/salt/srv/pillar.
Note:
master_minionis the minion ID of the minion installed on the master machine. While working on this lab I also learned thatmaster_minionis a kind of special parameter that is dynamically derived from the/etc/salt/minion_idfile on the Salt master.
Add file ~/salt/srv/pillar/top.sls with the following content.
base:
  master_minion:
    - my_vsphere_conf
Add file ~/srv/pillar/my_vsphere_conf.sls with the following content (of course you need to replace content in angular bracket with your actual details). The data in this pillar file will be used to connect to your vCenter.
vmware_config:
  host: <my-vcenter-fqdn-or-ip>
  user: <my-vcenter-admin-username>
  password: <my-vcenter-password>
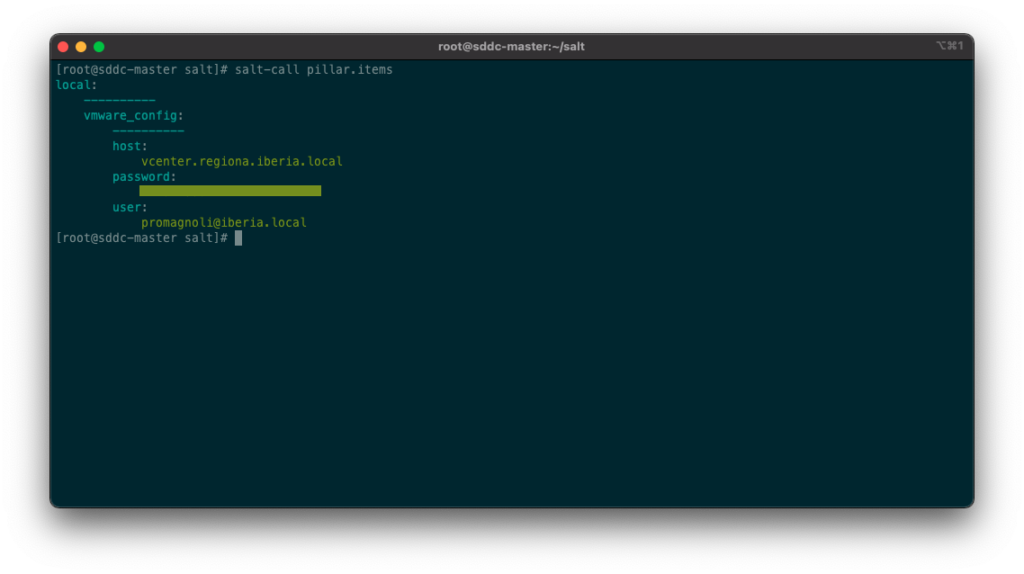
Test the configuration is correct by running the command salt-call pillar.items, you should have an output as follows. Make sure you issue this command from ~/salt directory.

If you get no output, verify that your minion ID in ~/srv/pillar/top.sls matches the ID configured in ~/etc/salt/minion. Try again using the debug level logging with salt-call -ldebug pillar.items.
Install the SDDC Extension Modules
Now that you’ve got your salt instance configured, it’s time to install the extension modules. These modules are installed using pip as reported below. In my lab I run this on the master machine, but these modules can also be installed on a remote minion that you want to communicate with your VMware SDDC (vSphere, VMware Cloud on AWS, NSX-T). In this case instead of salt-call use salt <your-minion-id> and change Saltfile accordingly.
salt-call pip.install saltext.vmwareIf everything went well you should see Successfully installed saltext.vmware-<your-installed-version> at the end of the installation output message. That’s it! You have SDDC Modules installed, now you can do some tests by running some salt command (using execution modules).
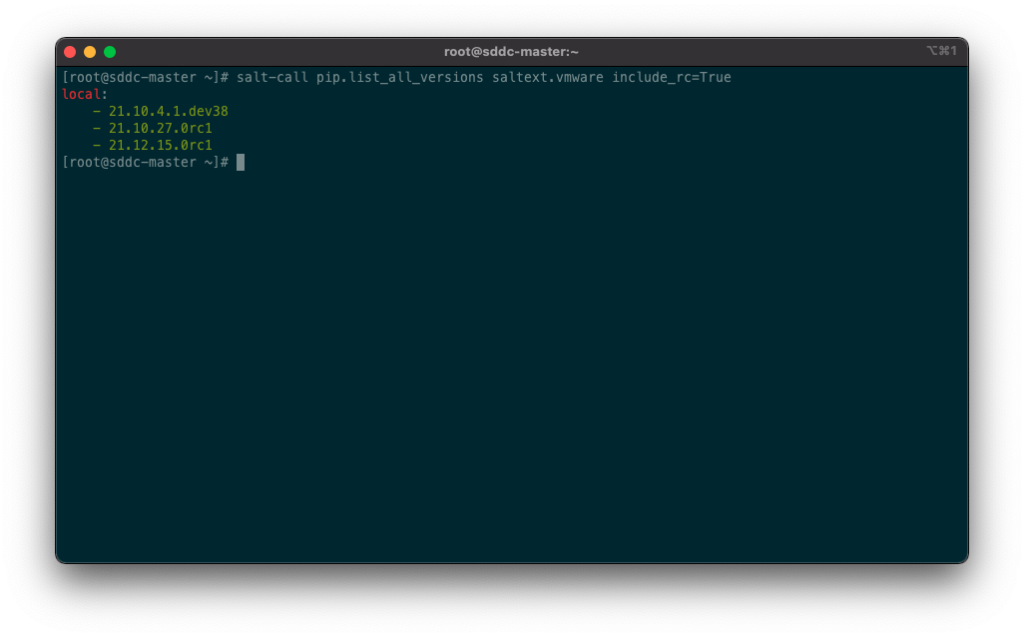
Note: as stated before this project progresses quite quickly so I suggest you to follow @Salt_Project_OS on Twitter and regularly check for new releases with the command below. The
include_rc=Trueoption gives you access to release candidates that I suggest to check in these early days of the project.
salt-call pip.list_all_versions saltext.vmware include_rc=True
If you spot a newer version you want to try, you can upgrade with the following command:
pip3 install --upgrade saltext.vmwareRun commands
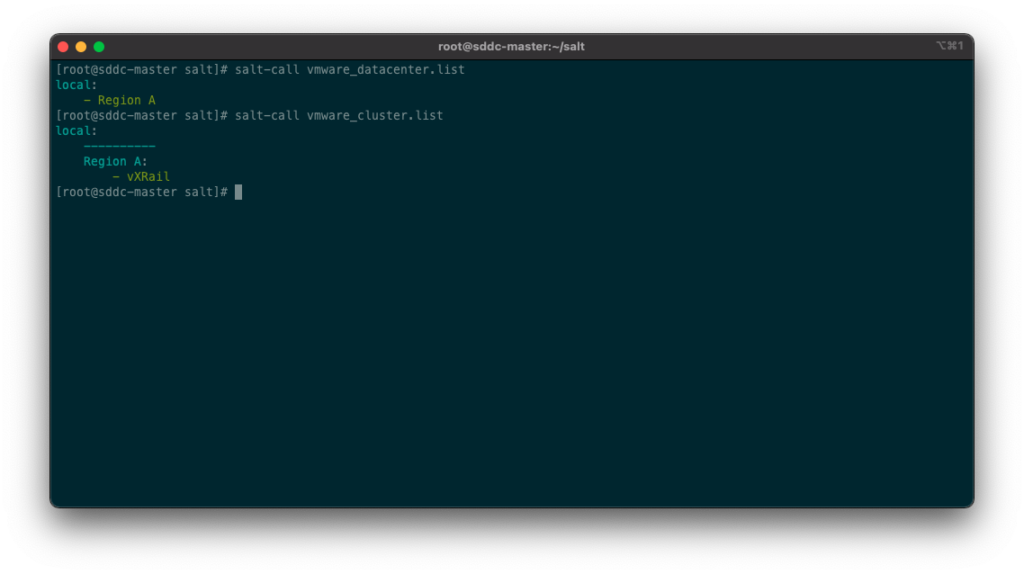
We will start getting some information from the vCenter by using list function for datacenter and cluster modules:

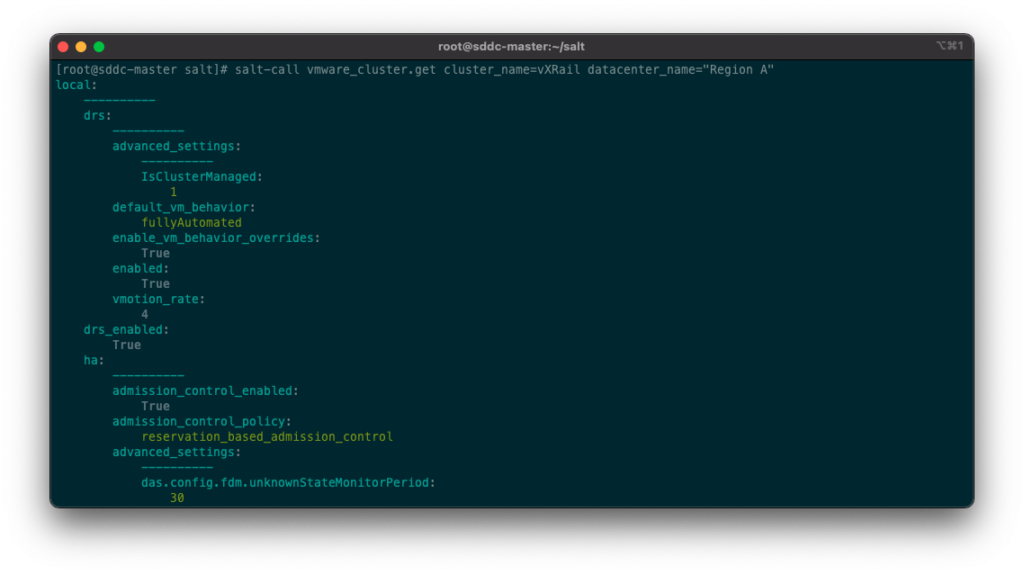
And now we can get some properties from our cluster:

Note: one thing that puzzled me a bit is the modules naming, you need to prefix vmware_ to the module name in the command. For instance: according to the documentation the datacenter module is referred to saltext.vmware.modules.datacenter and when you run the command the module is named vmware_datacenter.
Commands are great and we all love them, however the power of Salt lies in the State files. We will cover States files in the next post. Hope you enjoyed this.
