There are two main vRA SaltStack Config installation scenarios: single-node installation and multi-node installation, for more info about installation scenarios, architecture and requirements refer to my previous post about vRA SaltStack Config Architecture. For my lab I pick the single-node installation scenario and this post guides you through this scenario step by step. Hereafter there is the installation process overview I’ll go through, it looks more complicated than actually is:
- Salt Pre-Install
- Salt Install
- Salt Post-Install
- vRA SaltStack Config Pre-Install
- vRA SaltStack Config Install
- vRA SaltStack Config Post-Install
Before we get started it is worth to mention two important notes:
- You might have noted that the install procedure above covers both Salt and vRA SaltStack Config, actually VMware as the time of writing this post provides a single installer script that can installs both Salt and vRA SaltStack Config, but it can also install vRA SaltStack Config only. Installing Salt beforehand is a best practice and is strongly recommended as it simplifies and streamlines the process of updating to future versions of Salt.
- VMware will provide the ability to install vRA SaltStack Config through vRealize Suite Lifecycle Manager 8.3 (initially single-node only).
Salt Pre-Install
I have a Centos 7 fresh install in a VM with static IP and I have access as root user, if you do not have root user access you need a sudoer user. OK, let’s get started updating the OS, you don’t have to restart the server unless you are getting a message (from yum) that explicitly encourages you to do so or if kernel was updated.
# yum clean all
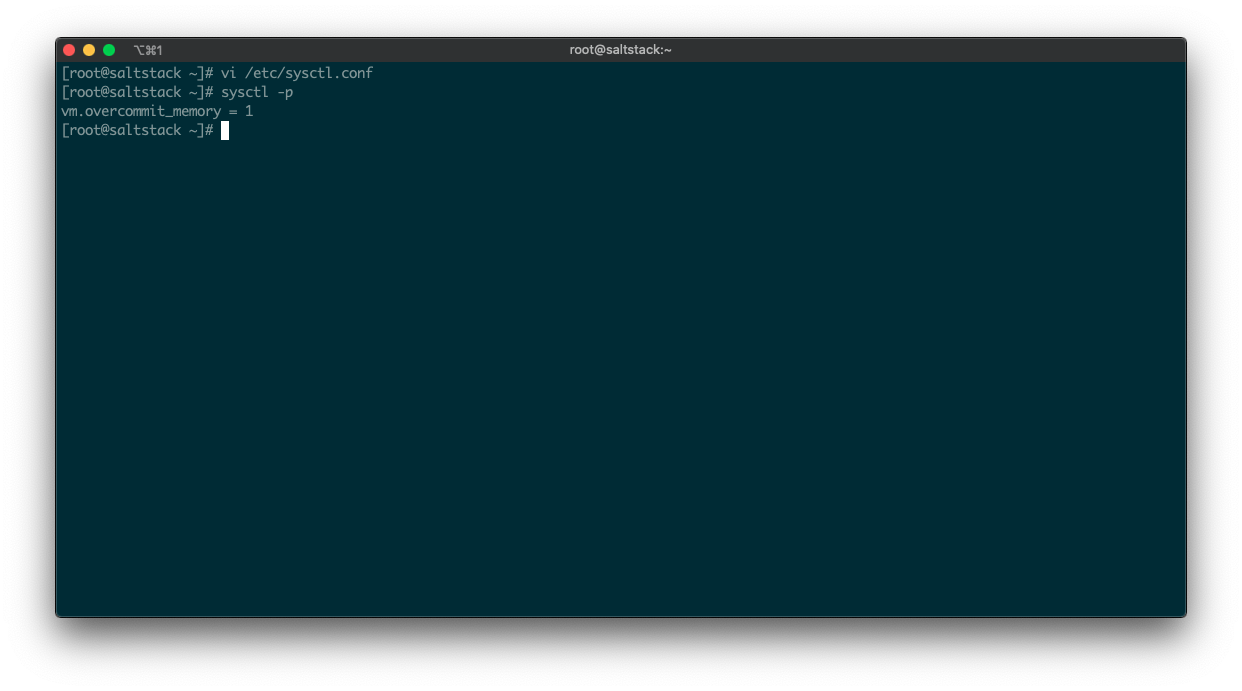
# yum updateConfigure OS enabling kernel handling of memory. You can either edit /etc/sysctl.conf with your editor of choice (see my screenshot below) or append the required setting using echo as in the snipped below.
# echo "vm.overcommit_memory=1" >> /etc/sysctl.conf
# sysctl -p
Your output should be like the following picture (I will not put a screenshot for every configuration as it would be a bit redundant).
Configure transparent huge page.
# echo never > /sys/kernel/mm/transparent_hugepage/enabled
# cat <<EOF >> /etc/rc.local
echo never > /sys/kernel/mm/transparent_hugepage/enabled
EOF
Unset proxy environment variables, unless you need to use proxy.
# unset http_proxy
# unset https_proxy
Install required tools and packages.
# yum install -y unzip jq epel-releaseConfigure firewalld. Of course you can also turn it off in a lab env, but Salt/vRA SaltStack Config is designed to work in secured envs and it just requires few ports open … so why not keep firewall protecting your system?
# firewall-cmd --permanent --add-port=443/tcp
# firewall-cmd --permanent --add-port=4505-4506/tcp
# firewall-cmd --reload
Salt Install
Set an environment variable with the Salt version you want to install (in my case 3001.3) and import the Salt repo.
# SALT_OS_VERSION=3001.3
# rpm --import https://repo.saltstack.com/py3/redhat/7/x86_64/archive/${SALT_OS_VERSION}/SALTSTACK-GPG-KEY.pub
Create the Salt repo file.
# cat <<EOF >> /etc/yum.repos.d/salt-repo-$SALT_OS_VERSION.repo
[saltstack-repo-${SALT_OS_VERSION}]
name=SaltStack repo for RHEL/CentOS \$releasever PY3
baseurl=https://repo.saltstack.com/py3/redhat/\$releasever/\$basearch/archive/${SALT_OS_VERSION}
enabled=1
gpgcheck=1
gpgkey=https://repo.saltstack.com/py3/redhat/\$releasever/\$basearch/archive/${SALT_OS_VERSION}/SALTSTACK-GPG-KEY.pub
EOF
Install Salt components required for vRA SaltStack Config. Hereafter I am doing things a bit automated (hey, at the end of the day I am an automation guy!), but you can install components one by one manually there is nothing wrong with that (In the screenshot below you can see the full product name made up by name-version to be used with yum install command).
# yum clean expire-cache
# PRODUCTS="salt-master salt-minion salt-cloud salt-api salt-ssh"

# INST="";
# for product in $PRODUCTS; do INST="$INST ${product}-${SALT_OS_VERSION}"; done
# echo $INST
# yum install -y $INST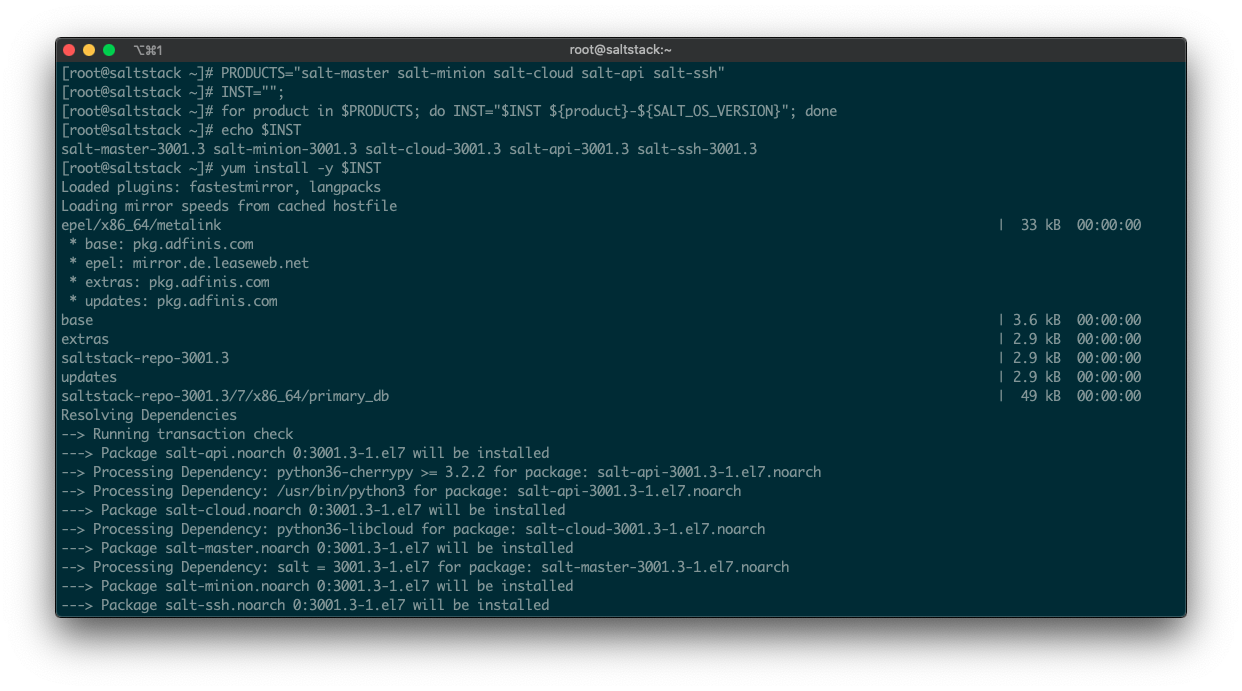
Salt Post-Install
First thing to do after installing Salt is apply some basic Salt configuration. Make sure to change the second command replacing “saltstack” with the hostname of your server, what you place in the /etc/salt/minion_id file is the ID of the Minion as it will be seen from the Master and ultimately in vRA SaltStack Config.
# echo "master: 127.0.0.1" > /etc/salt/minion.d/master.conf
# echo "saltstack" > /etc/salt/minion_id
# echo "timeout: 60" > /etc/salt/master.d/timeout.conf
Start the Master and Minion services (yes, we have both Salt Master and Minion components running on the server hosting the vRA SaltStack Config).
# systemctl enable salt-master --now
# systemctl enable salt-minion --now
Look for the Minion key to show up (it can take a couple of minutes) and then accept the key of your first Minion (that is the Master it self). Make sure to change the second command replacing “saltstack” with the hostname of your server (or whatever you placed in the /etc/salt/minion_id file).
# salt-key -L
# salt-key –a saltstack –y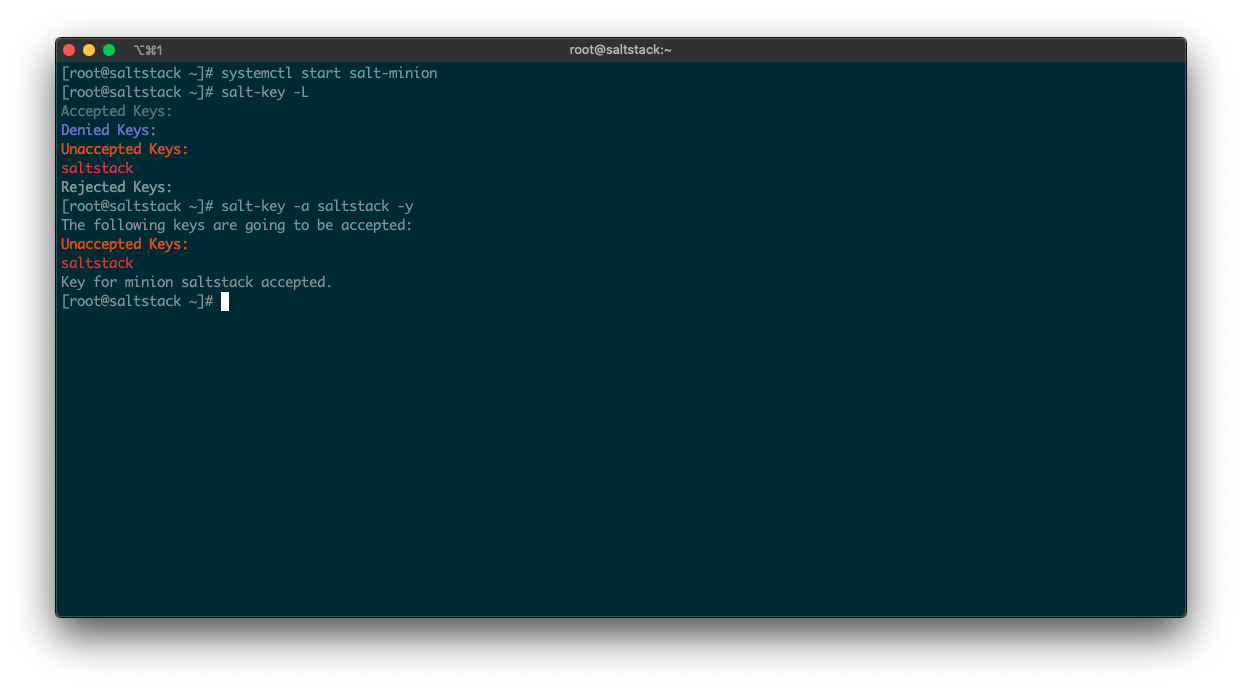
This completes Salt installation and its initial basic configuration. This provides you with a fully operative open source Salt deployment. On top of this we are going to install vRA SaltStack Config.
vRA SaltStack Config Pre-Install
Verify that these dependencies are installed on the systems:
# yum list installed | grep openssl
# yum list installed | grep epel-release
# yum list installed | grep python36-cryptography
# yum list installed | grep python36-pyOpenSSL
If any of the dependencies above is not present, install the missing dependency(ies) accordingly with the following:
# yum install openssl
# yum install epel-release –y
# yum install python36-cryptography
# yum install python36-pyOpenSSL
Download the vRA SaltStack Config Automated Installer, place it in the /tmp directory and unpack it. From this URL https://enterprise.saltstack.com/en/latest/docs/downloads.html you can downlaod either SaltStack_Enterprise-6.4.0+3_Installer.tar.gz or SaltStack_Enterprise-6.4.0+3_Installer.zip, this is up to you.
If you downloaded the .tar.gz file do the followings:
# cd /tmp
# tar –xvf SaltStack_Enterprise-6.4.0+3_Installer.tar.gz
If you downloaded the .zip file do the followings:
# cd /tmp
# unzip SaltStack_Enterprise-6.4.0+3_Installer.zip
vRA SaltStack Config Install
vRA SaltStack Config is actually installed using open source Salt 🙂
# salt-call --local --file-root=/tmp/sse-installer/salt state.sls sse -l infoIn my case the procedure completed with the error reported below:
Summary for local
-------------
Succeeded: 37 (changed=34)
Failed:     1
Scrolling up the terminal I found the error details as reported below, this is a glitch of the installer and if you are experiencing the same error you can ignore it.
----------
      ID: install_xmlsec
Function: pkg.installed
  Result: False
 Comment: Error occurred installing package(s). Additional info follows:

  errors:
    - Running scope as unit run-10415.scope.
      Error: Package: 1:openssl-1.0.2k-19.el7.x86_64 (/openssl-1.0.2k-19.el7.x86_64)
        Requires: openssl-libs(x86-64) = 1:1.0.2k-19.el7
        Installed: 1:openssl-libs-1.0.2k-21.el7_9.x86_64 (@updates)
            openssl-libs(x86-64) = 1:1.0.2k-21.el7_9
        Available: 1:openssl-libs-1.0.2k-19.el7.x86_64 (base)
            openssl-libs(x86-64) = 1:1.0.2k-19.el7
vRA SaltStack Config Post-Install
Add the License Key (the file named raas.license VMware provided to you) to /etc/raas folder on the system where you are installing vRA SaltStack config, then change owner and access permissions. If you do not have a License Key, you can leverage the 14 days trial that comes with the installer. If it is the case you can jump to the access the vRA SaltStack Config user interface.
# sudo chown raas:raas /etc/raas/raas.license
# sudo chmod 400 /etc/raas/raas.license
Restart the raas service:
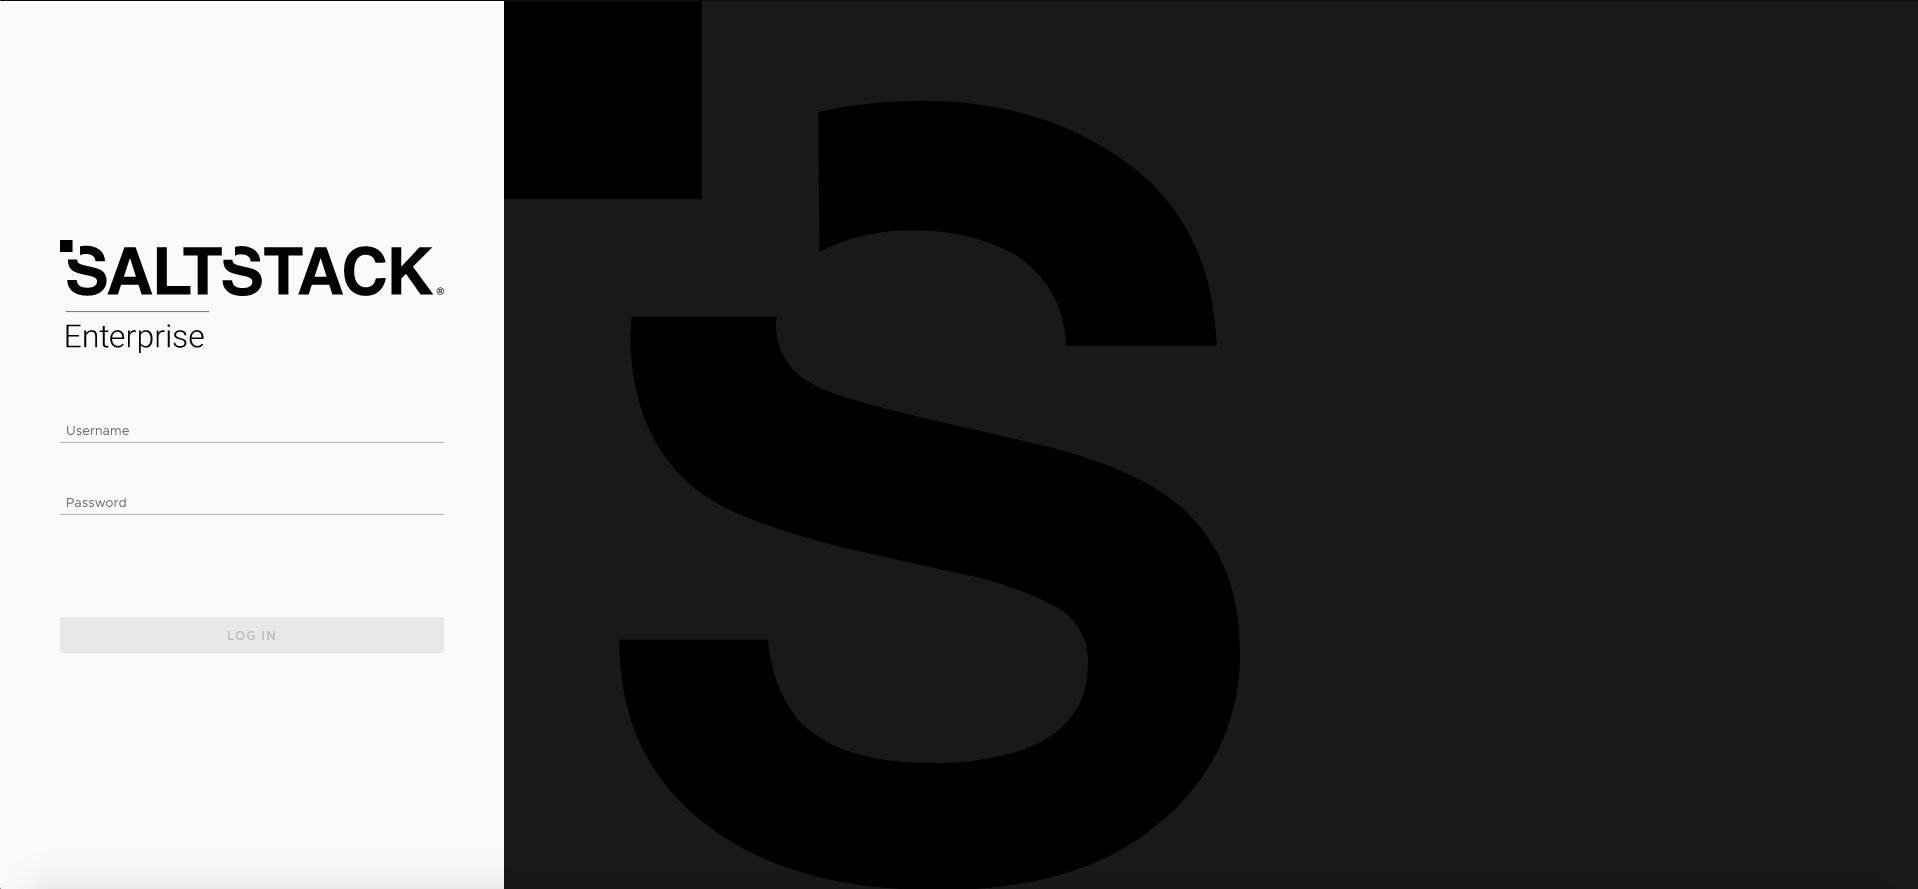
# systemctl restart raasYou are now ready to access vRA SaltStack Config user interface, using either Google Chrome or Mozilla Firefox browse to https://saltstack (be sure to replace saltstack with the IP or the FQDN of the system where you installed vRA SaltStack Config). Default account is username root and password salt.
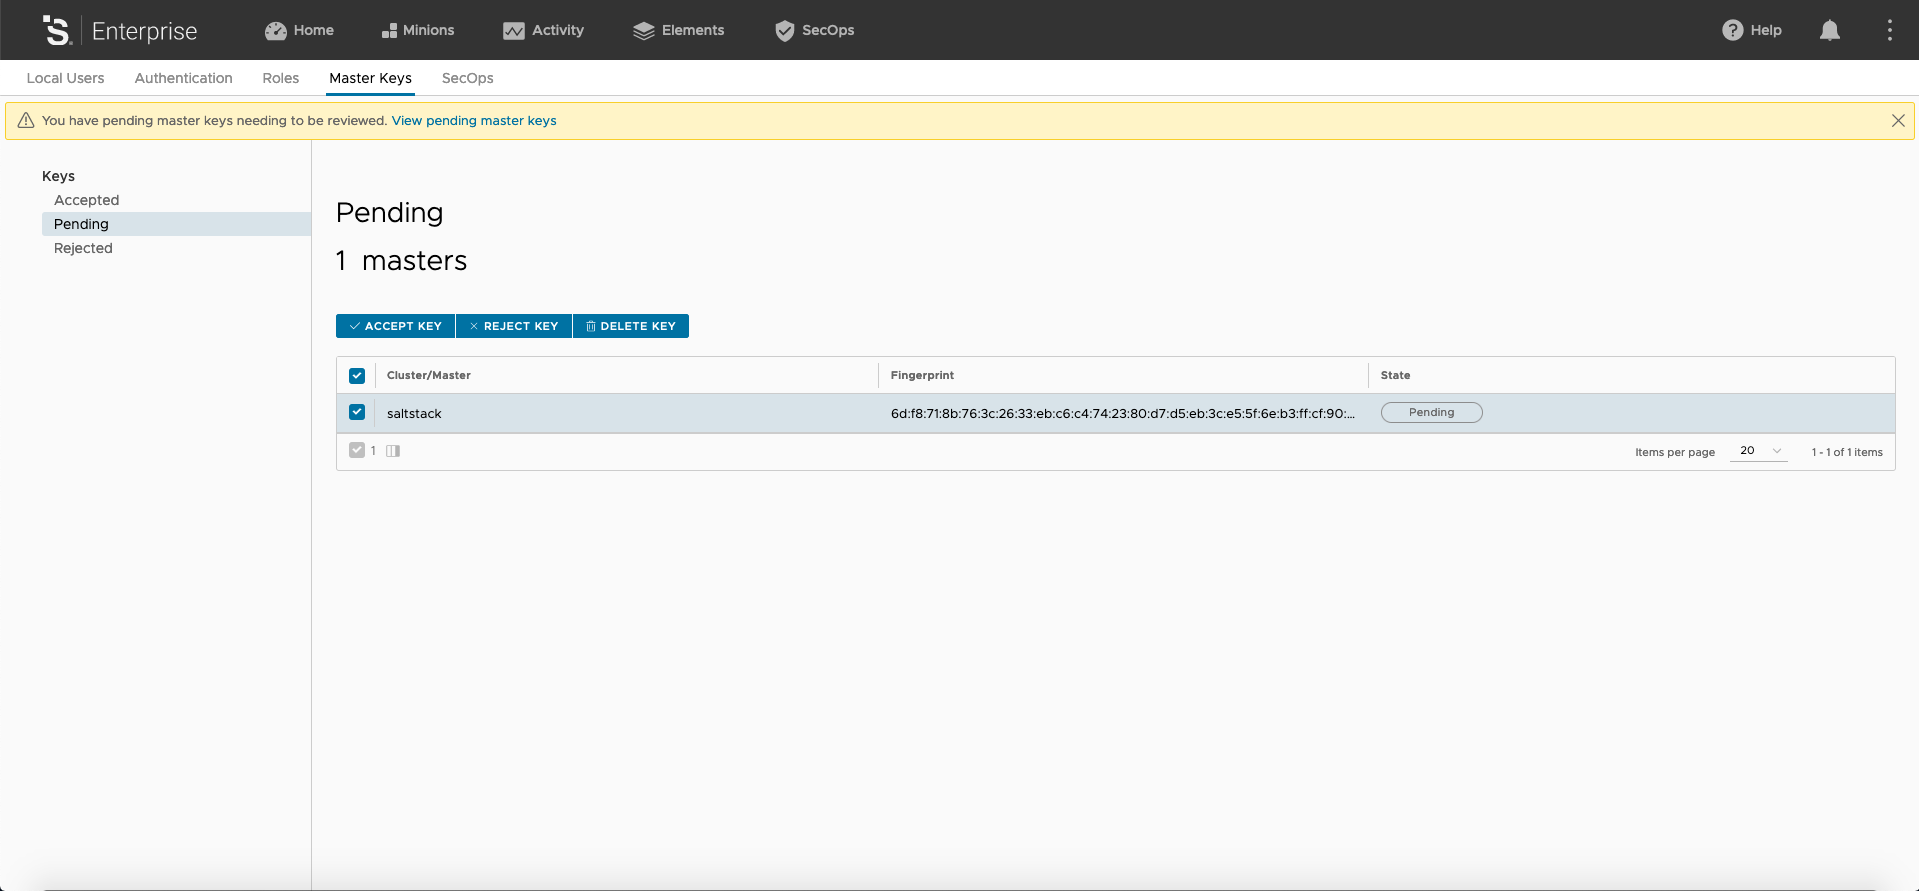
Once in the system as first step you have to add the Salt Master as the first vRA SaltStack Config Minion. You can either click on the link that appears in the warning in the upper part of the user interface or browse to Master Keys > Pending. Once there select the Master and that click “Accept Key” button.
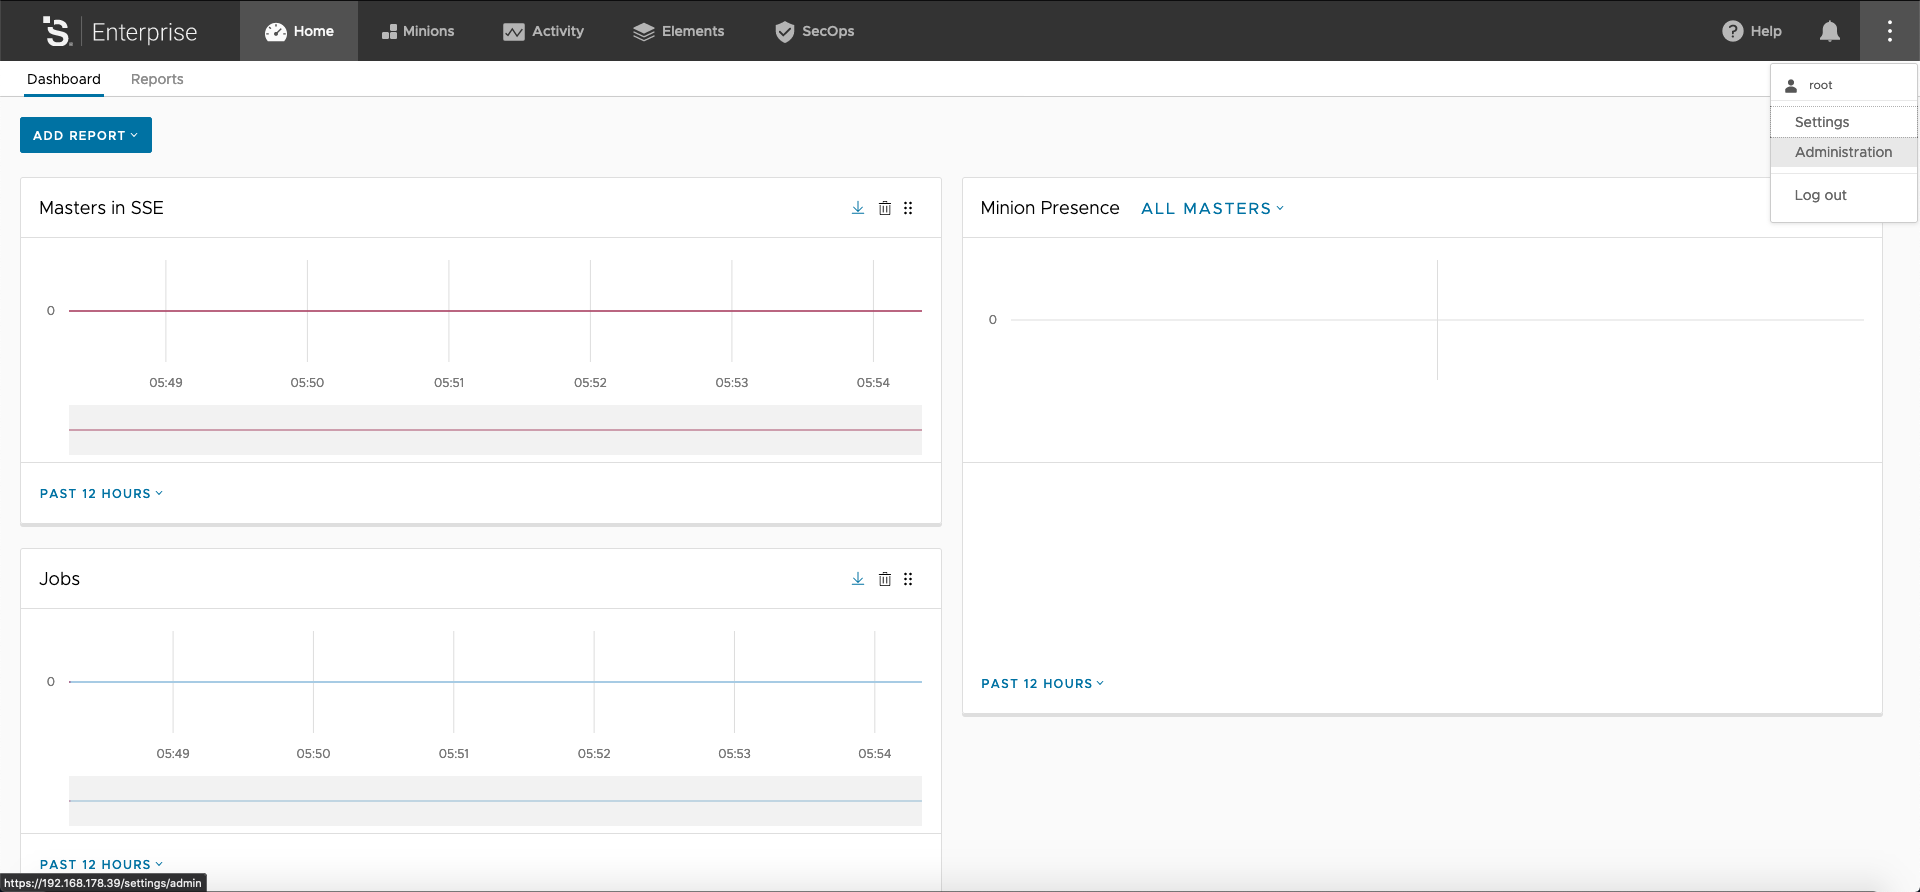
Change the default password for the root user. In the upper right corner of the user interface, click on the three dots icon and than you can select Settings, this brings you to the page to change password for your current user.
We have now a fully working vRA SaltStack Config and in the next posts we will start playing with it by adding and configuring Minions.