Now that we have our vRA SaltStack Config (with Master) up and running it’s time to start playing with it and the first things to do is to add some minions and issue our first commands. Let’s do this.
Before with get started
Adding new minions is very straightforward you just need to install the salt-minion on the machines you want to manage (will see agentless in a future post) and then accept their keys on the vRA SaltStack Config/Master. You may ask yourself what is the Minion key? Why do I need to accept it on Master? Here is why: each connection between the Salt Master and Salt Minion is managed and secured using cryptographic keys. After installation, each Salt Minion sends its public key to the Salt master, where it eagerly waits to be accepted. Salt Minion keys must be accepted before systems can receive commands from the Salt Master. This is the default (pretty secure) behaviour in Salt for accepting connections, however in some situations it is not convenient to wait for a Minion to start before accepting its key on the Master. For instance, you may want the Minion to bootstrap itself as soon as it comes online. You may also want to let your developers provision new development machines on the fly. To address this need there are many options, one of them is to preseed minions keys (still pretty secure). It is also possible to automatically accept Minion keys that match certain conditions, to do this in a secure way we need a couple of Salt concepts that we’ll see in upcoming posts. In this post we stick with the default behavior.
Add Minions
In order to add a new Minion you need to have the Salt Minion installed on the machine you want to manage, as stated before we’ll cover agentless in another post. There are a couple of options to install Minions, in this blog post we make use of the Salt Bootstrap, for Linux distros this is a shell script (bootstrap-salt.sh) while for Windows it is a PowerShell script (bootstrap-salt.ps1). I like this script as it allows to install the Salt Minion (or Master) on a variety of system distributions and versions, it runs through a series of checks to determine the operating system type and version and then installs the Salt binaries using the appropriate methods. The bootstrap script comes with a huge set of options, to view the latest options and descriptions for salt-bootstrap, use -h in the terminal. In the following section I’ll go trough installation on a Centos 7 machine.
Here we install the latest stable release (default approach) using curl and passing the Salt Master FQDN or IP address (-A option, the Master DNS/IP will be stored under${BS_SALT_ETC_DIR}/minion.d/99-master-address.conf). If you copy and paste the snippet below make sure to replace <my-master-fqdn> with your actual Master FQDN or IP.
curl -o bootstrap-salt.sh -L https://bootstrap.saltproject.io
sudo sh bootstrap-salt.sh -A <my-master-fqdn>
By default the Minion ID is set as the machine FQDN, this value can be set to anything you want in the minion config file, and can be specified using the -i option in the bootstrap script. Once you have installed the Minion you can check if it went well as follow:
sudo systemctl status salt-minionYour output should be something like the following (click on the image to enlarge).
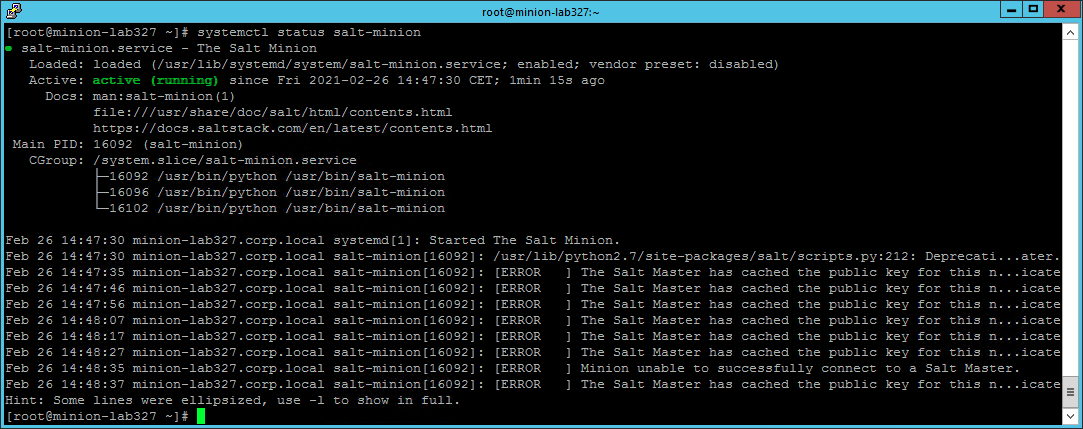
The errors in the service log are caused by the Minion waiting to have its key accepted on the Master. To accept the Minion key you can do it either on the product UI or through the Master CLI. I am here showing the procedure on the product UI, so access your vRA SaltStack Config user interface and login with a user with administration grants. In the home page a message is informing you there a Minion key waiting for being accepted.

To accept the key you can click on the link in the message as this will get you straight to the section for accepting pending keys. Alternatively click on Key tab and then select Pending.
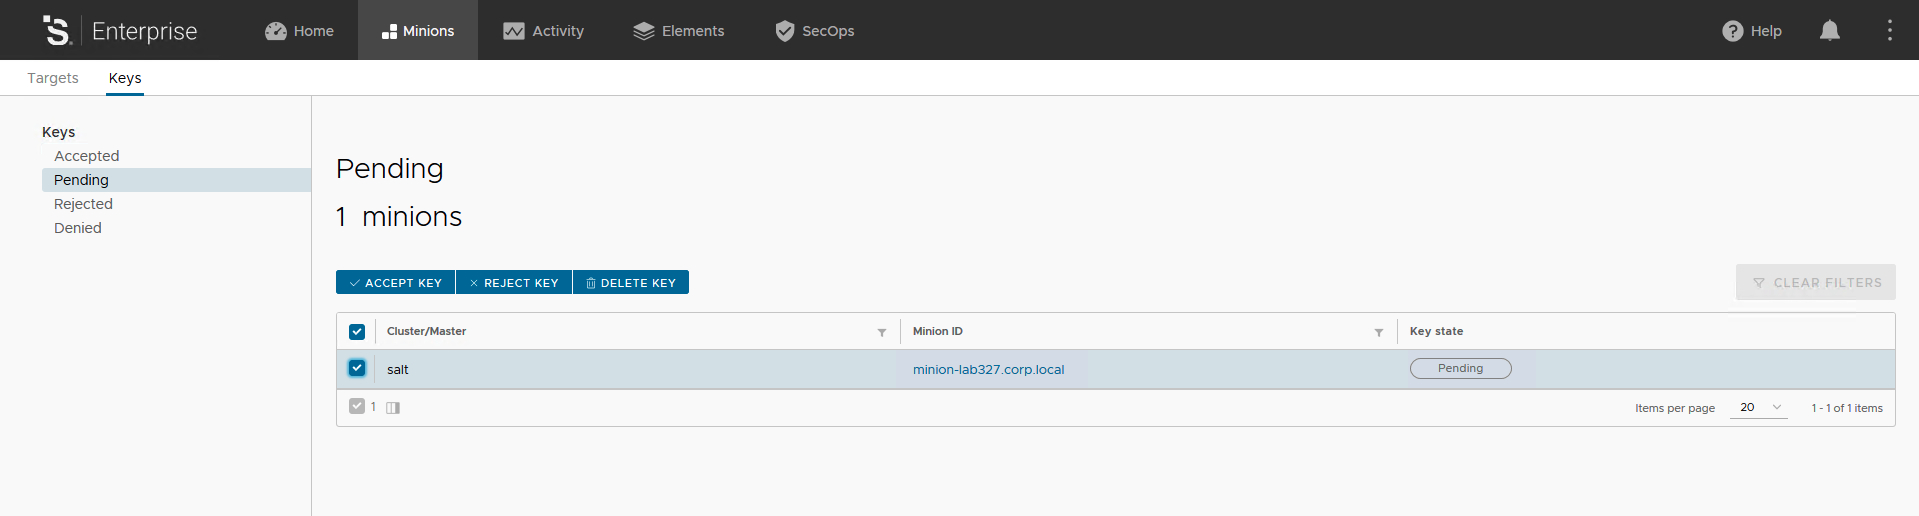
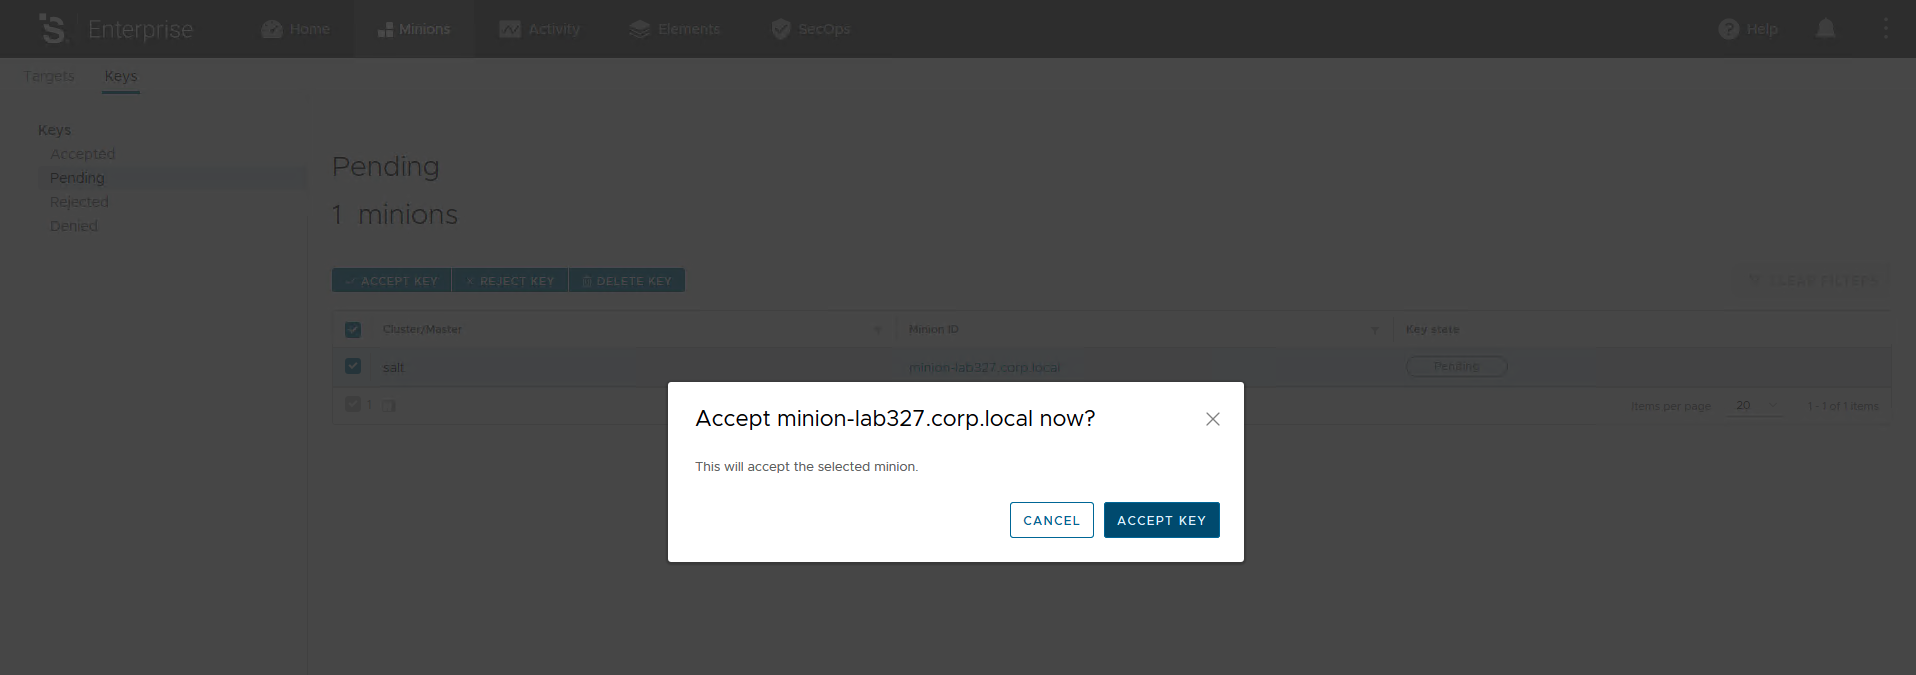
Here you can review the Minion ID waiting for key acceptance, select it and then click on the Accept Key button. A confirmation pop-up appears, just confirm your decision.
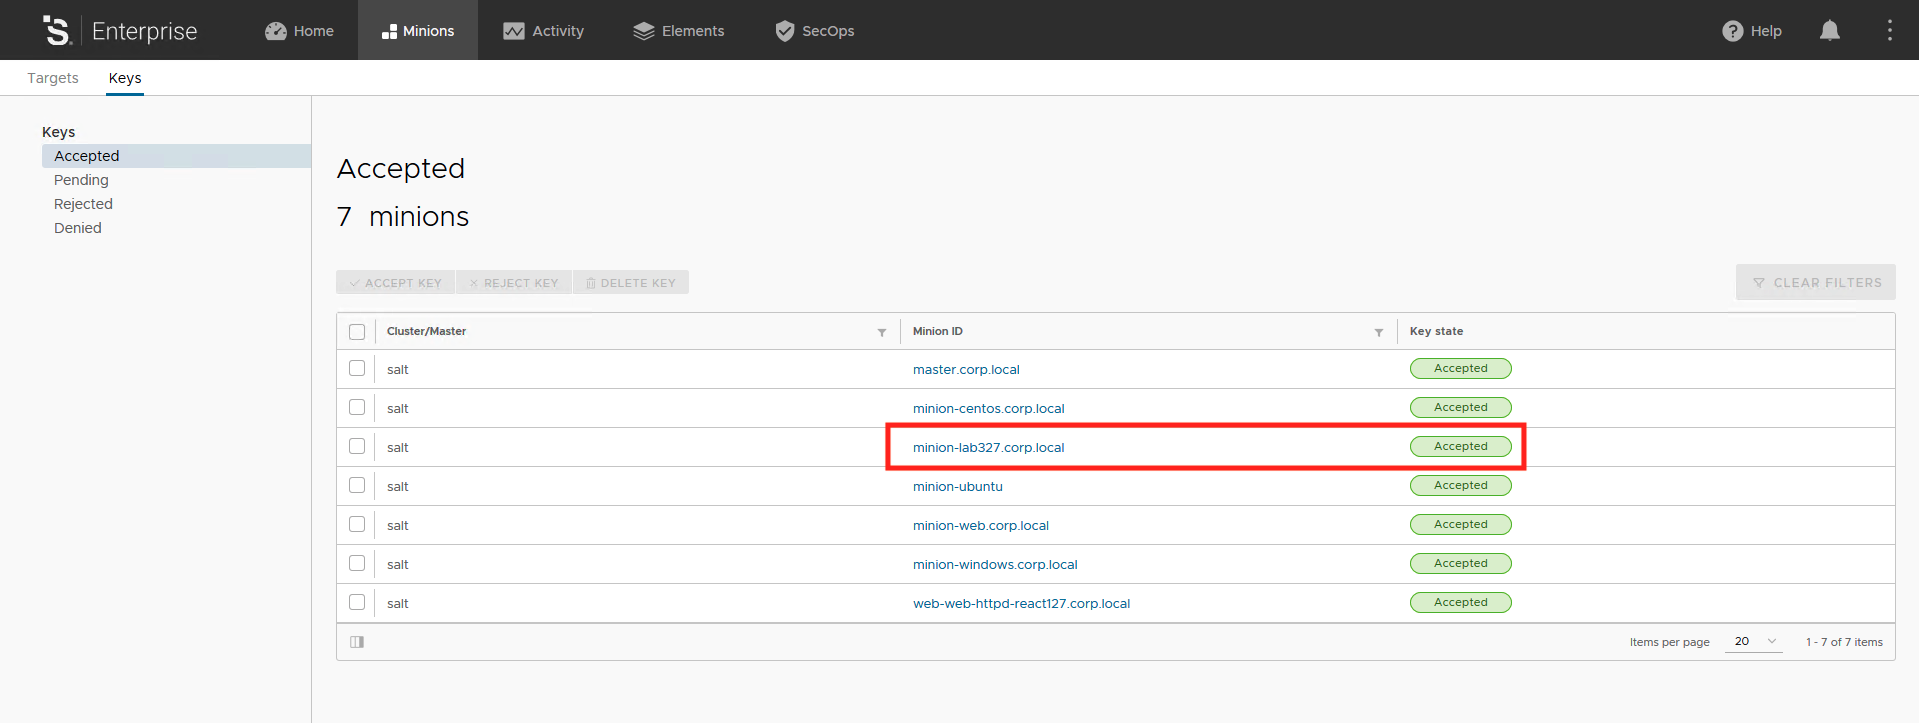
Your newly accepted Minion ID is now available among the others accepted Minions. This Minion is now under Salt management and you can start playing with it.
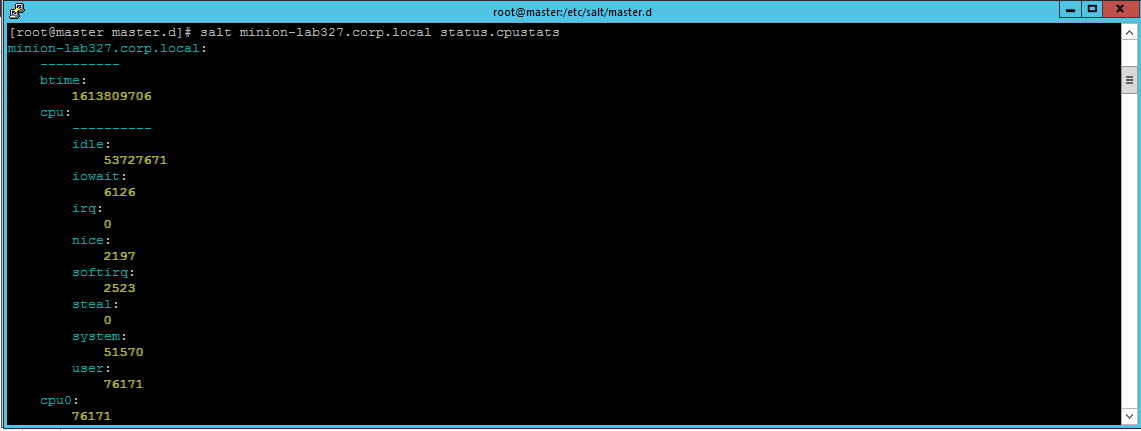
In order to check if everything went well you can SSH to the Master and issue the following command that show the CPU statistics for the newly installed Minion’s machine. As always, make sure to replace the content in the angle brackets with your new installed Minion ID.
salt <your_new-minion-id> status.cpustatsThe output should be something like this
Execute Commands
You just executed your first Salt CLI command, this means after you install SaltStack you are immediately ready to run shell commands, update packages, and distribute files to all managed systems simultaneously. Commands responses are returned in a consistent, configurable format so you can easily see what did and didn’t work.
Salt commands are executed using a common structure (to me really clean and straightforward syntax):
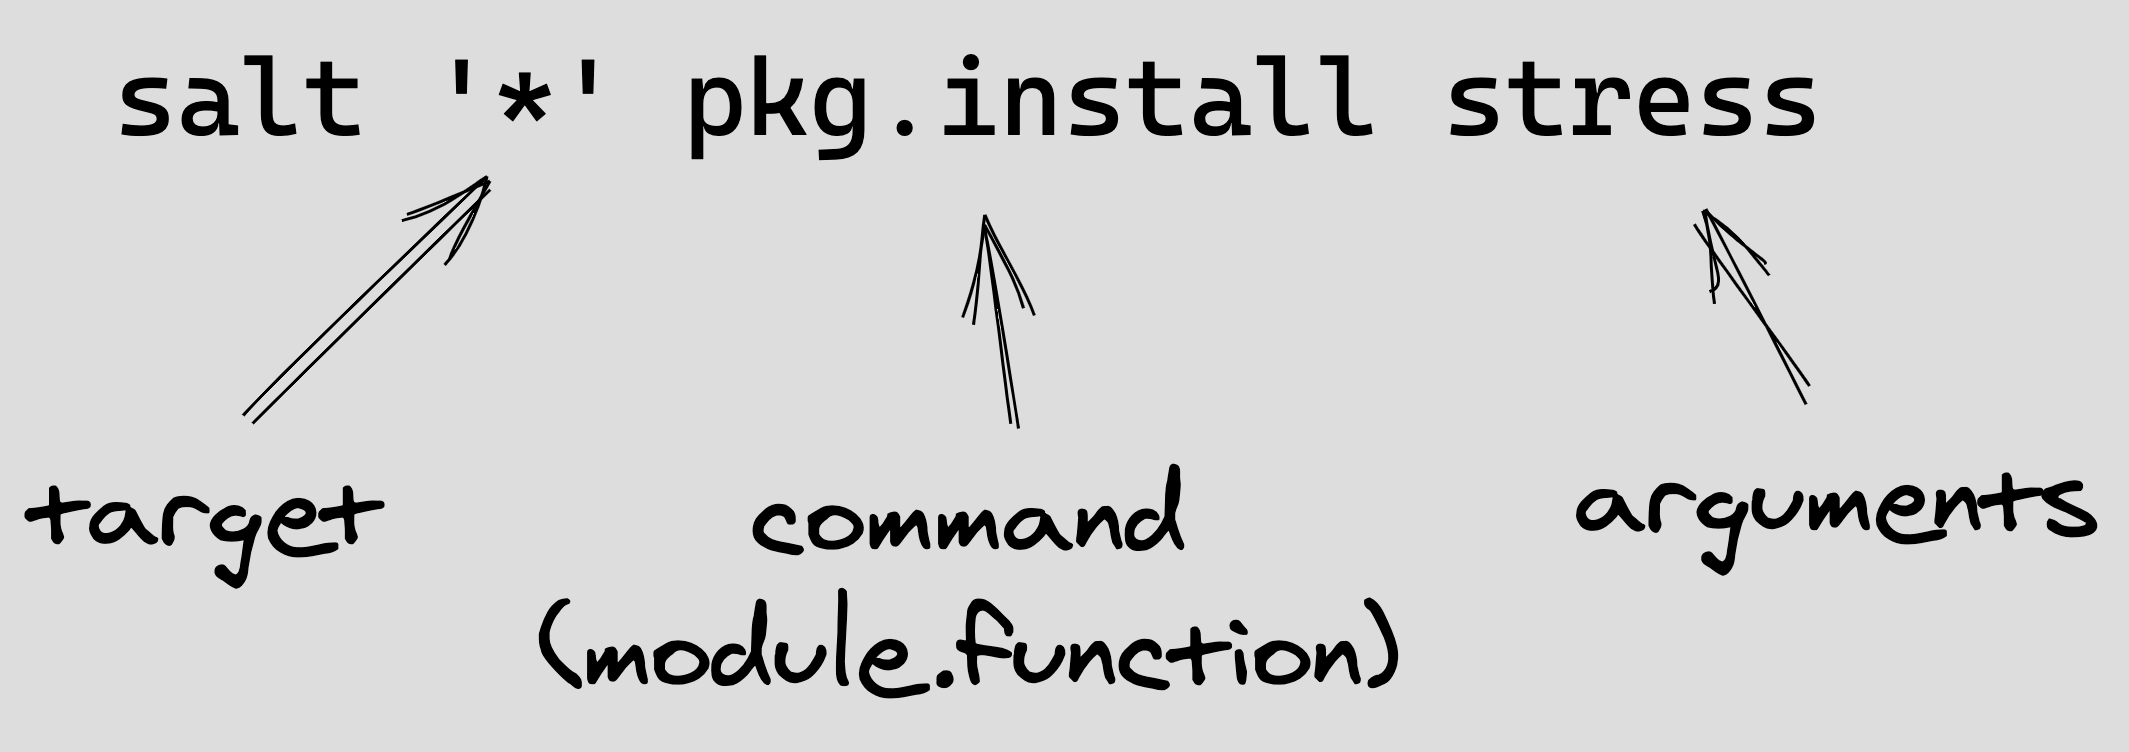
- target: determines which systems apply the command. Uses hostname globbing by default, but there are many other ways to select and filter that we’ll get into my next blog post. For now, it is enough to know that
*targets all managed systems; - command (module.function): this is how you leverage the real power of Salt. Commands consist of a Execution Module and a Function, Salt comes with built-in modules to install software, copy files, check services, and most other tasks you want to automate;
- arguments: provides any extra data needed by the function you are calling. For example, the
pkg.installfunction likes to know which packages you want to install. You tell it using an argument.
Hereafter there are some other commands you can use to check your newly installed Minion and get familiar with commands. The full list of Salt modules can be find here, have fun!
#tests the minion - master communication
salt <your_new-minion-id> test.ping

#shows the minion machine disk usage
salt <your_new-minion-id> disk.usage

#list network interfaces
salt <your_new-minion-id> network.interfaces

#shows the list of packages installed on the minions machine
salt <your_new-minion-id> pkg.list_pkgs

#runs a command on the minion machine
salt <your_new-minion-id> cmd.run 'ls -la /etc'
You can pass a module or function name to the sys.doc execution module to get details on any module directly from the command line. This list is filtered based on the target(s).
salt '*' sys.doc
salt '*' sys.doc pkg
salt '*' sys.doc pkg.install
Actually nobody wants to run commands on all their systems, so in my next blog post we’ll introduce the powerful targeting mechanism that lets you run commands on specific groups of systems.