Targeting
Targeting is how you select Salt Minions when running commands, applying configurations, and when doing almost anything else in Salts that involves a Salt Minion. You define a Minions Target by matching against hostnames or system information or defined groups, or even combinations of the previous.
Globbing
As we have seen in my previous post the simplest way to target is using the Salt minion ID and globbing on the Salt Minion ID by simply including a wildcard in the target. The following example targets all the minions whose hostname starts with “minion”:
salt 'minion*' disk.usageUnfortunately not always naming convention is there to help or if it is in place and enforced not always is enough for our purposes. For this reason Salt provides other options for targeting, in these post we’ll go through some options that are a good starting point for our purposes.
Targeting with Grains
Grains? What are Grains?
Grains
Grains are static information Salt collects about the underlying managed system. Salt collects Grains for the operating system, domain name, IP address, kernel, OS type, memory and many other system properties. In the vRA SaltStack Config you can see all the Grains that are available on a Minion by clicking on the Minion ID wherever it appears in the user interface, once in the Minion details section make sure to scroll down as Grains list is very long.

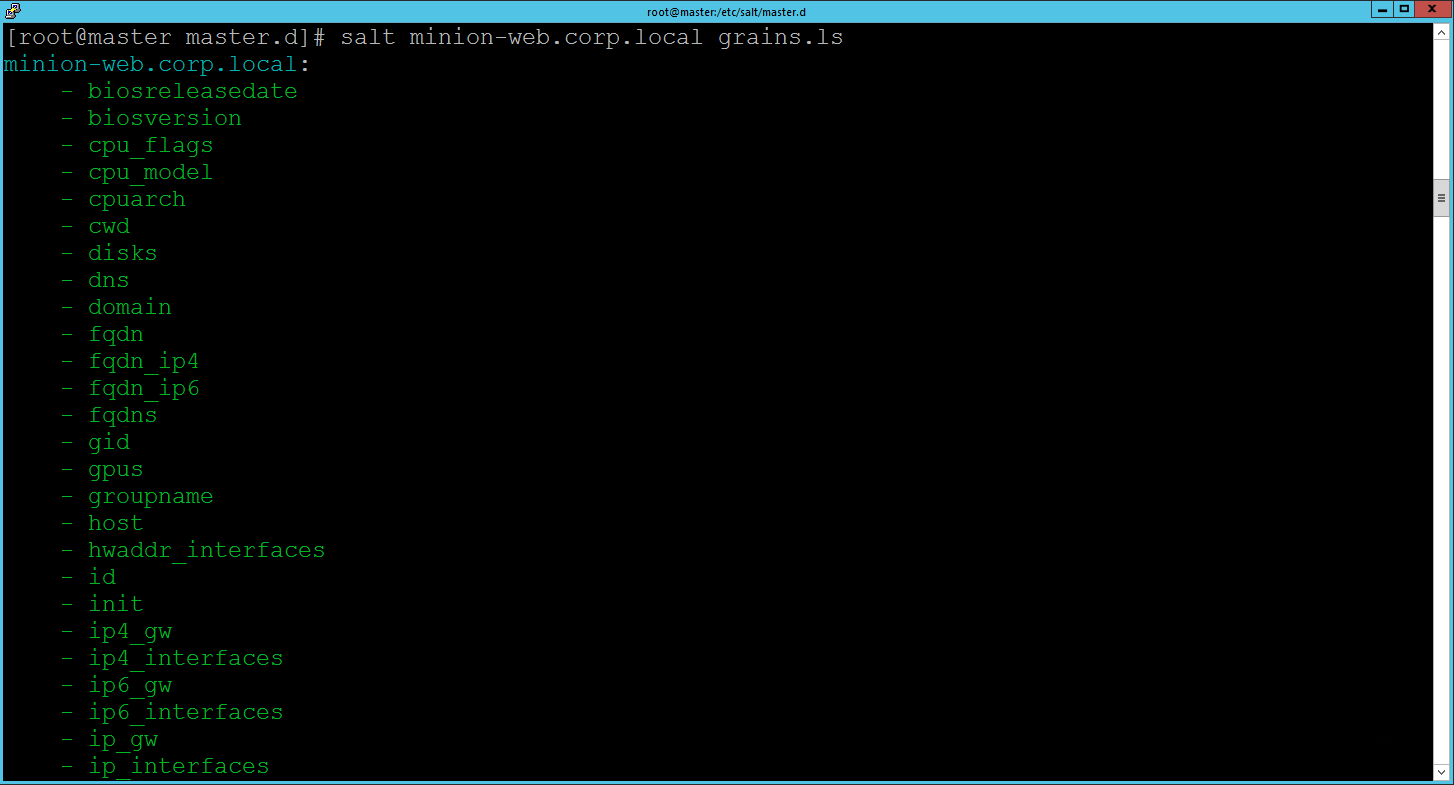
Of course you can also list Grains on a target using the CLI (in the snippet below replace the Minion ID with a valid Minion ID in your environment):
#lists all grains available on the targeted minion(s)
salt minion-web.corp.local grains.ls
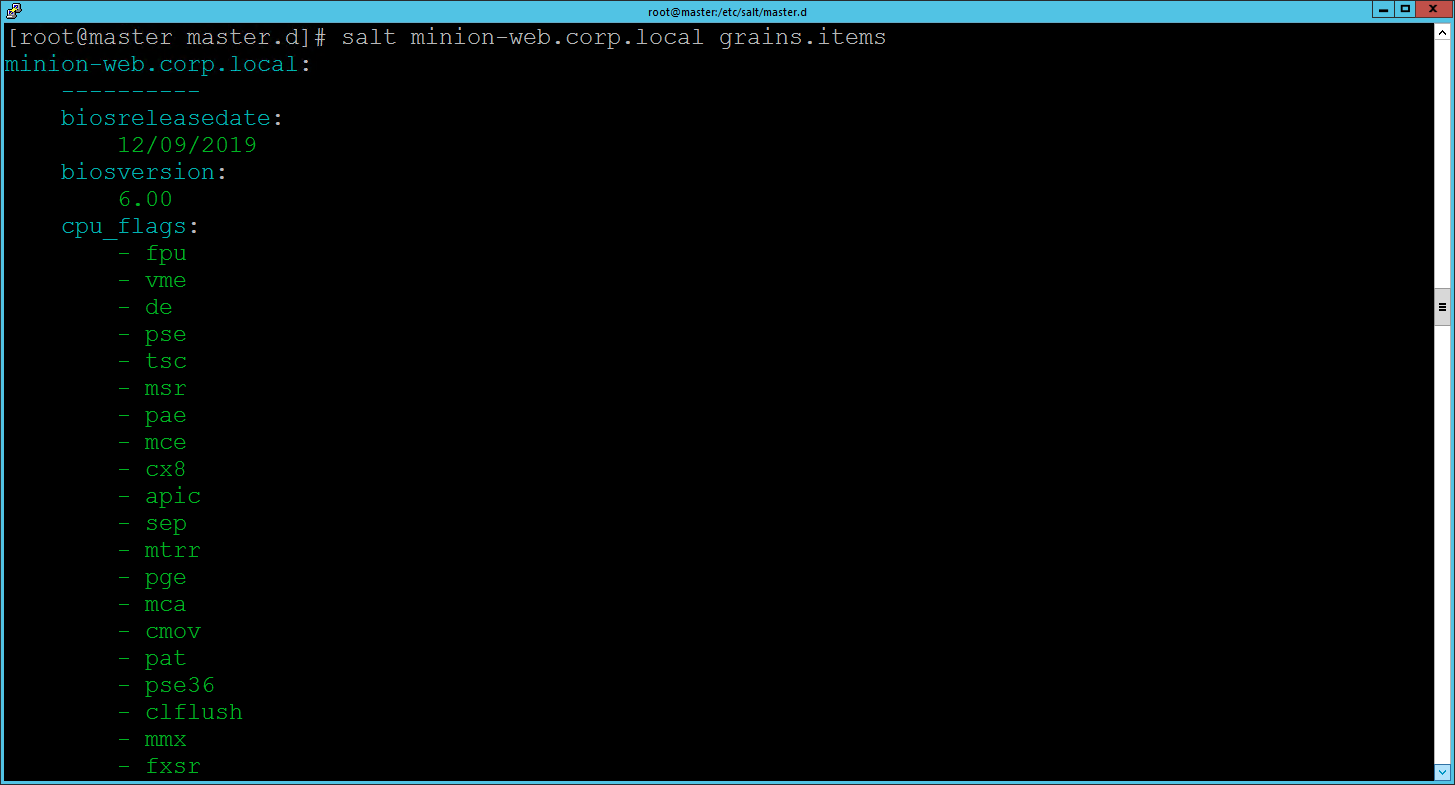
#list grains data on the targeted minion(s)
salt minion-web.corp.local grains.items
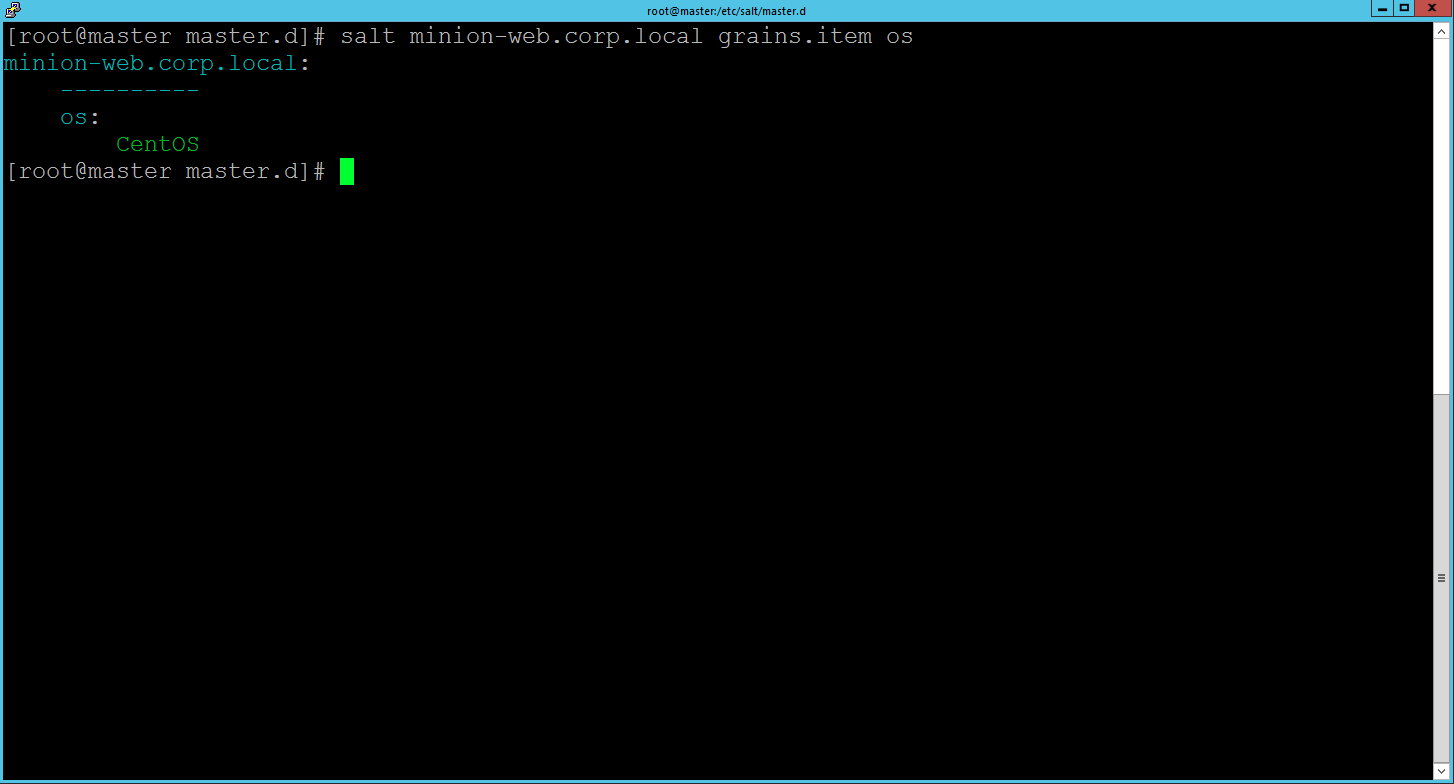
#show data for grain named "os" for the targeted minion(s)
salt minion-web.corp.local grains.item osHere is how outputs looks like, click on each image to enlarge it.
By default Salt provides a good list of Grains, but of course you can add your own Grains to Minions. As usual there are different options to do that: 1) you can statically assign custom Grain(s) with configuration files or through CLI and 2) you can dynamically assign custom Grain(s) by creating custom grains modules. There is a lot more about Grains capabilities that I cannot cover here, but you can go deeper in this interesting topic and discover more about the power of Grains by starting from here.
For the purpose of this post we will just add a custom Grain to a Minion using the CLI, the command syntax is:
salt '*' grains.append key val Where key is the Grain key to to be appended to and val is the value to append to the Grain key. If the Grain key doesn’t exist, the Grain key is added and the value is appended to the new Grain as a list item. With the following command we add a Grain key role with value webserver to the Minion ID minion-web.corp.local. As the Grain role doesn’t exist on my Minion it will be created. Please, note that using Globbing Targeting you can apply the same custom Grain to many Minions at the same time.
salt minion-web.corp.local grains.append role webserverHere is the outcome:
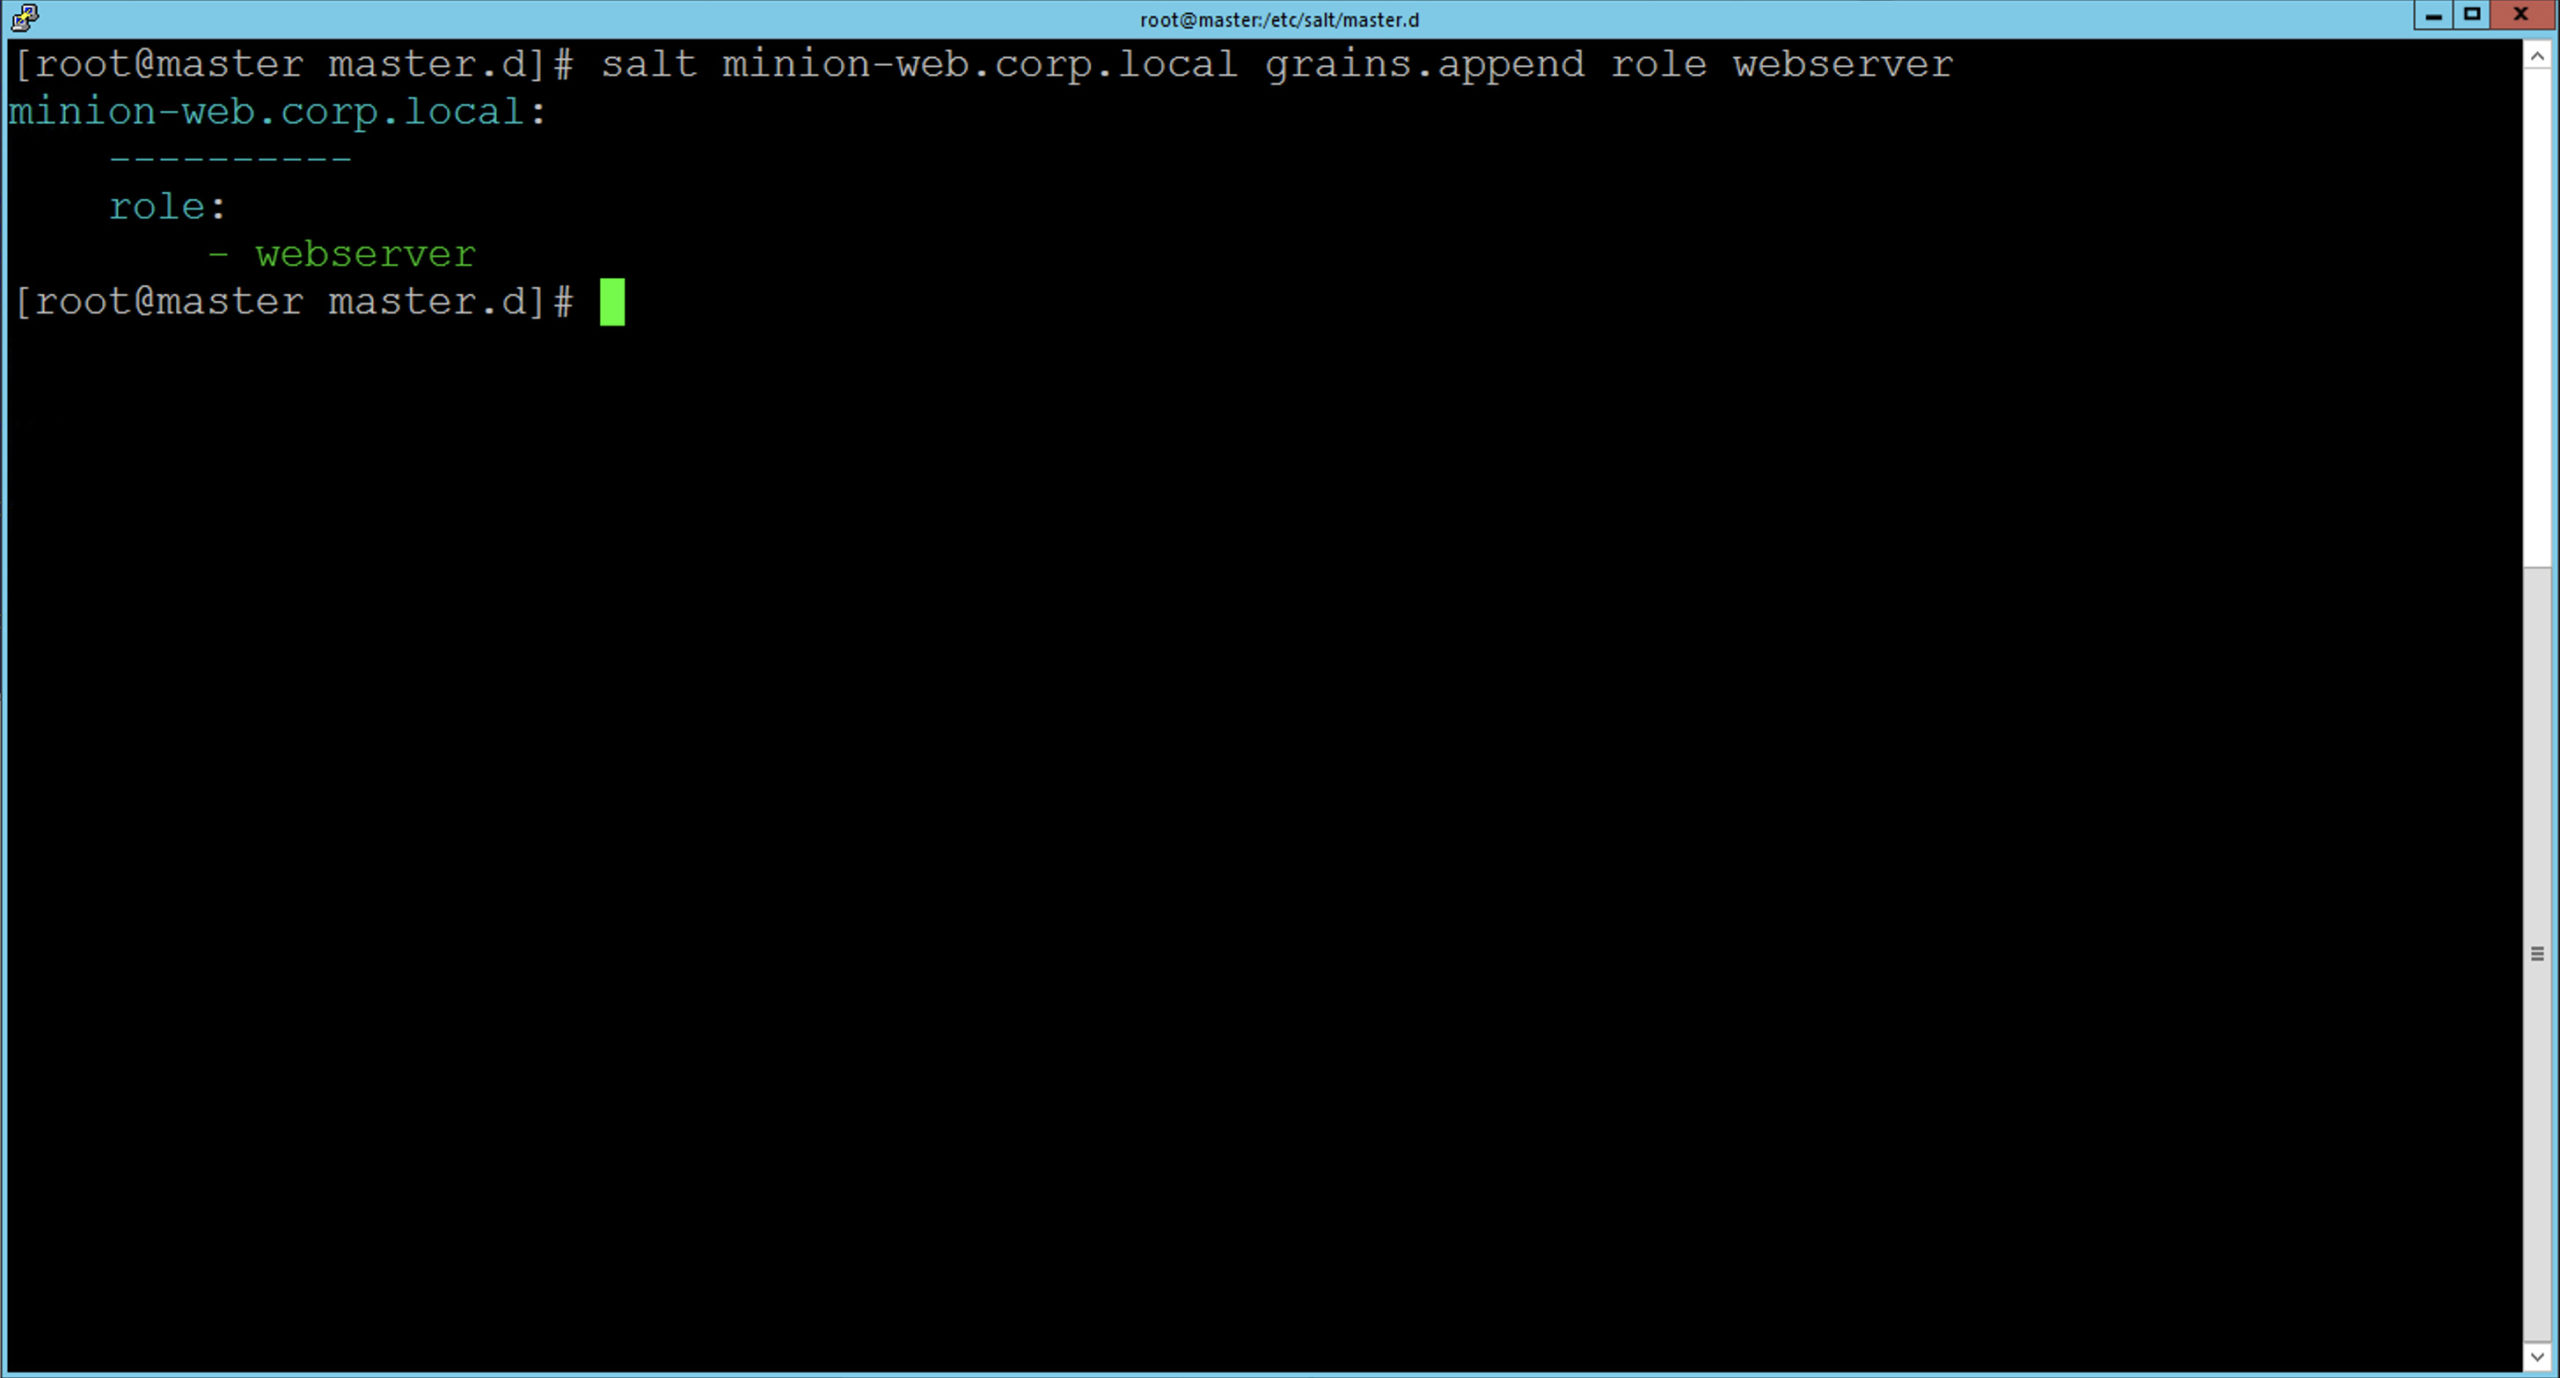
You can check the Grain was actually appended only to the targeted Minion either in the user interface or through the CLI as described earlier in this post.
Now that we are little familiar with Grains we can start targeting with Grains, targeting via a Grain is done by passing the -G option to salt, specifying a Grain and a glob expression to match the value of the grain. The syntax for the target is the Grain key followed by a glob expression i.e. "os:Arch*". The following example pings only the Minions with Ubuntu operating system:
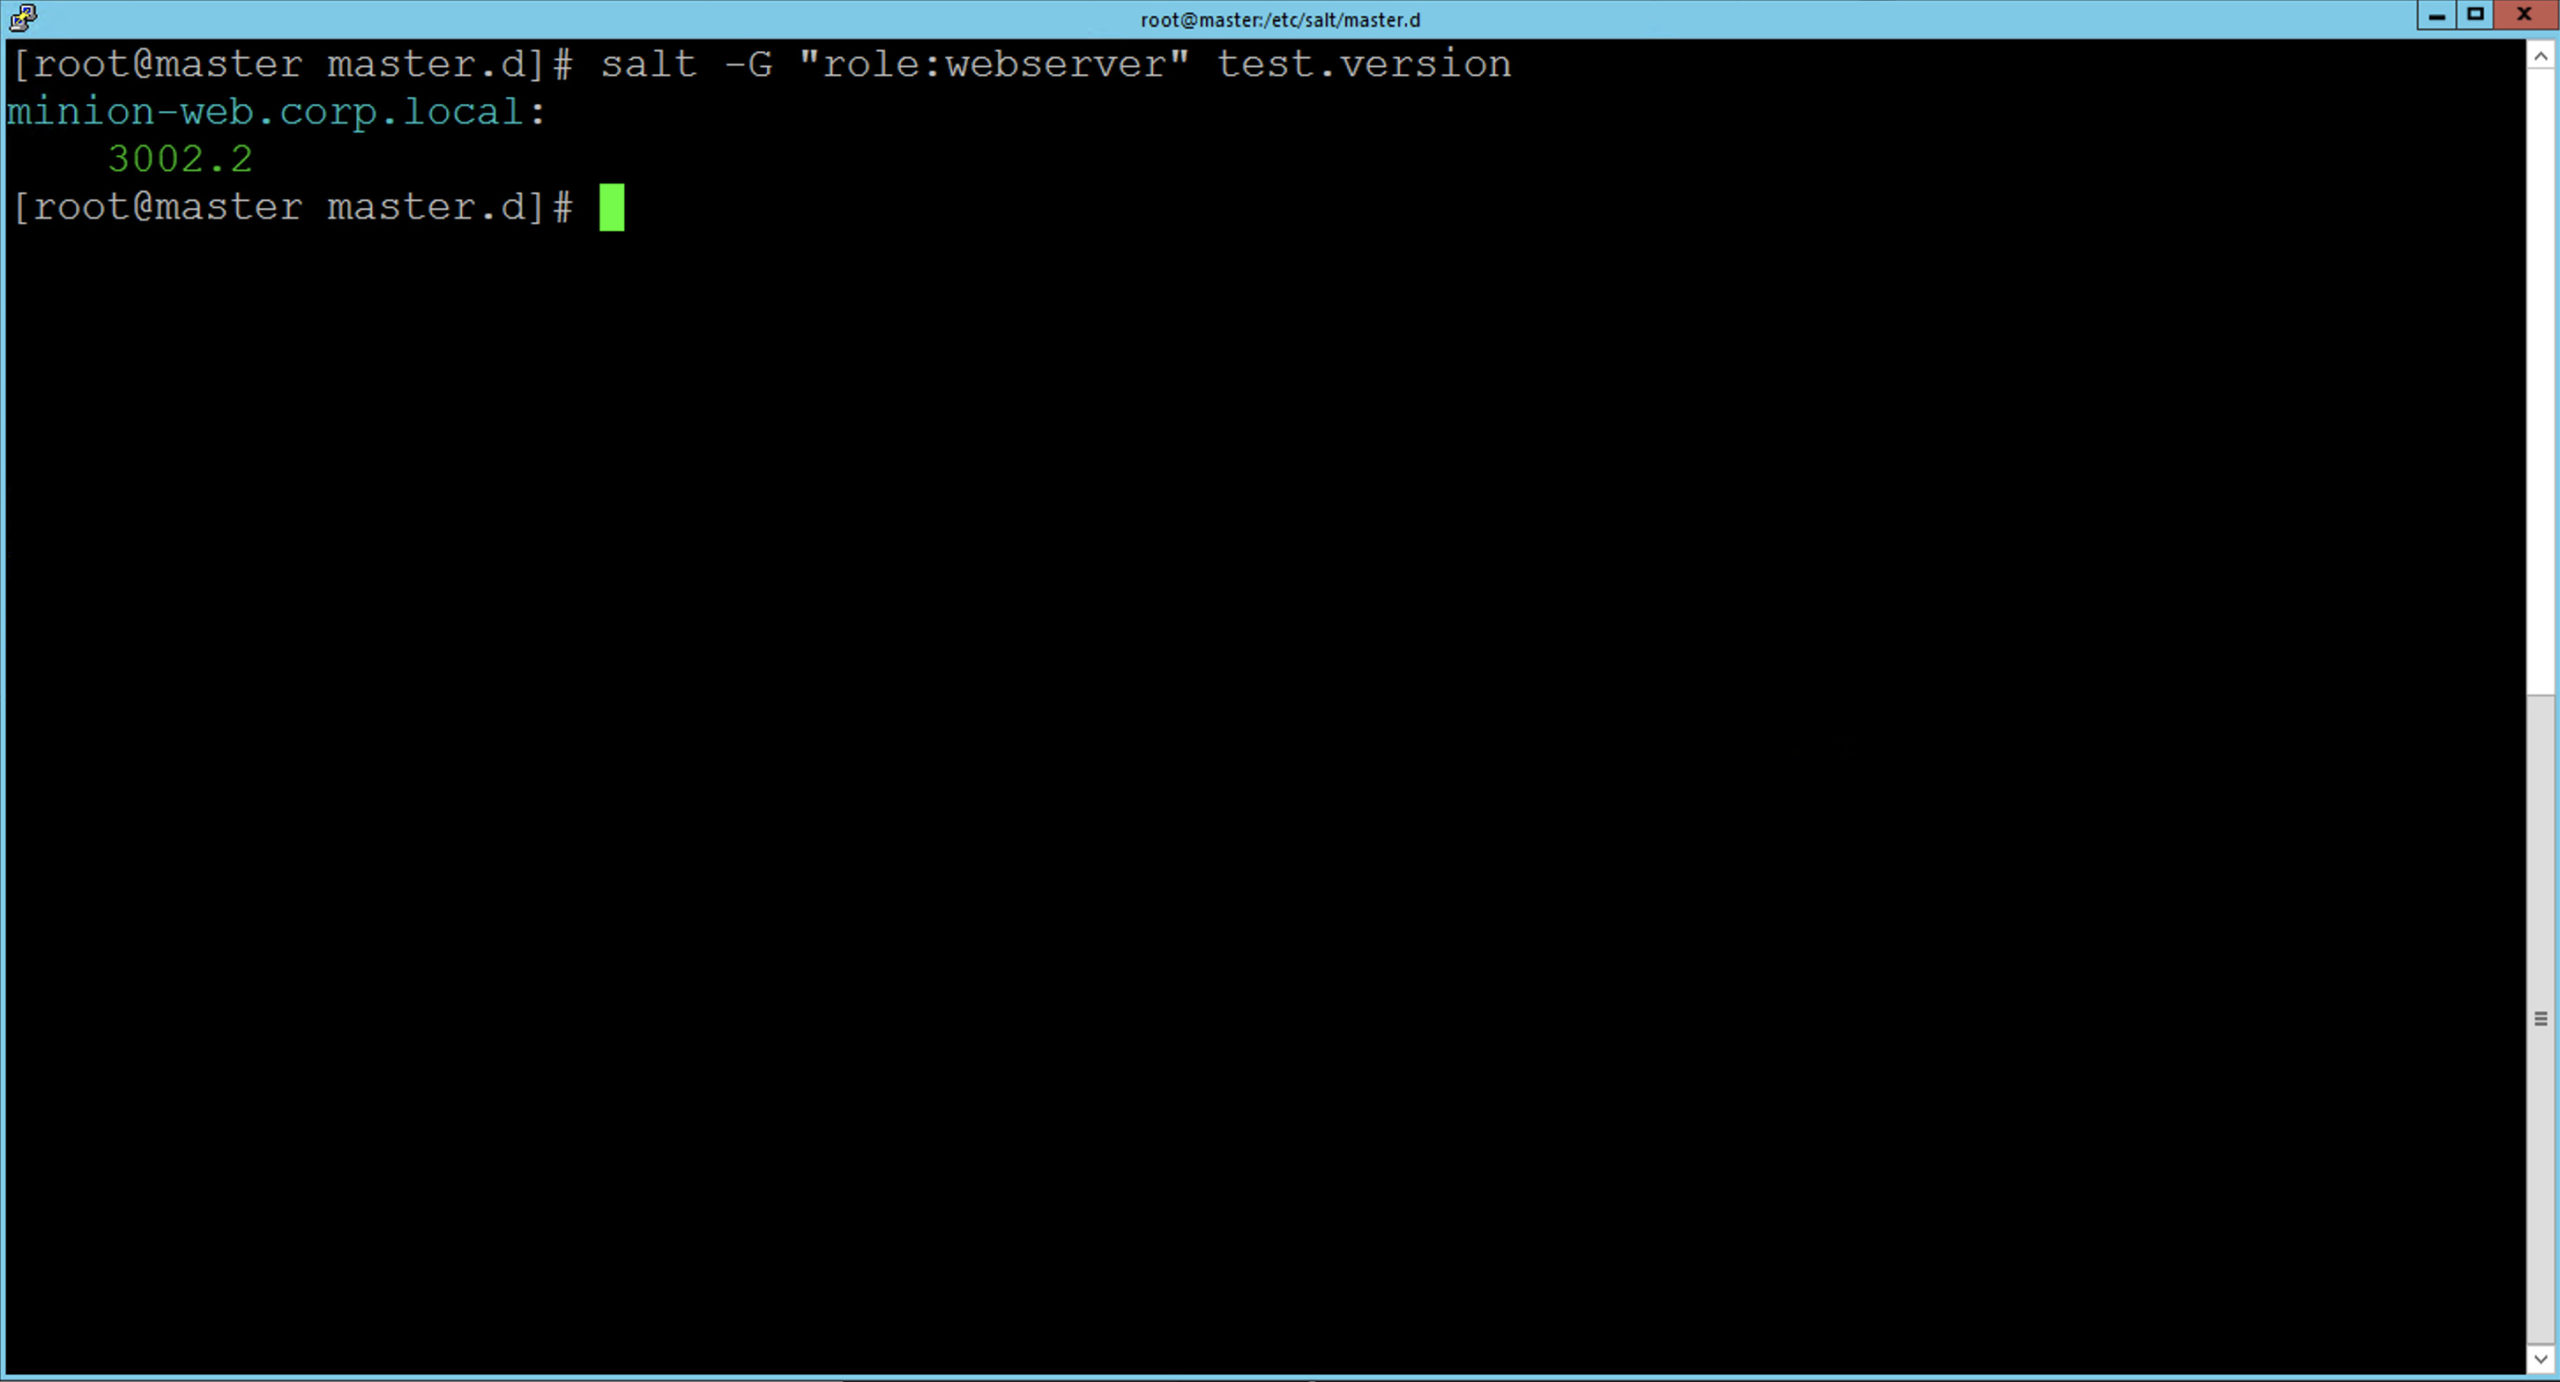
salt -G 'os:Ubuntu' test.pingIn the example below we check the Minions version of managed machines having assigned webserver role, we do this by leveraging the recently created custom Grain named role.
Other ways of Targeting
There are different ways of targeting that can also be combined together, here is some examples.
Instead of simply globbing, Targets can be filtered by leveraging regular expression by means of the option -E:
salt -E 'minion-[0-9]' test.versionTargets can be explicitly specified in a list by using the -L option:
salt -L 'minion-web.corp.local,minion-ubuntu.corp.local' test.versionMultiple Target types can be combined in one command compound with the -C option:
salt -C 'G@os:Centos and minion-*' test.versionPlease, note that other targeting methods are available and we are just scratching the surface here, to see more the documentation is the place to go.
Targets in the vRA SaltStack Config User Interface
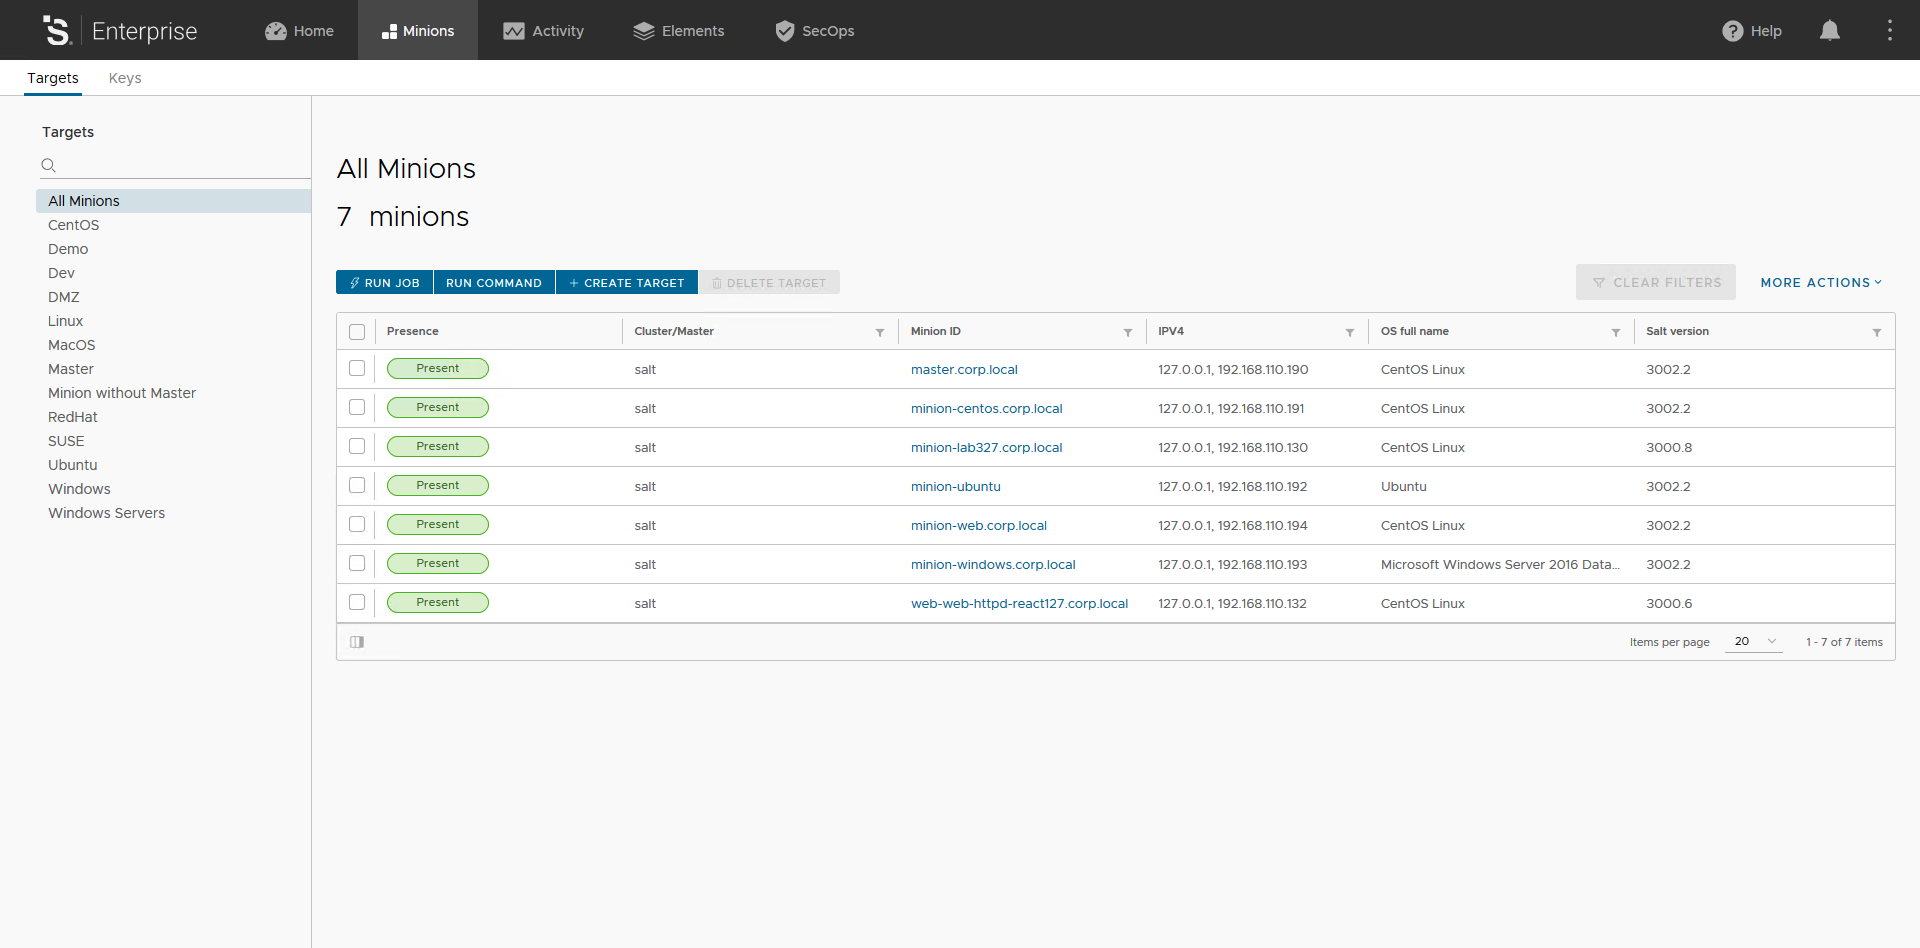
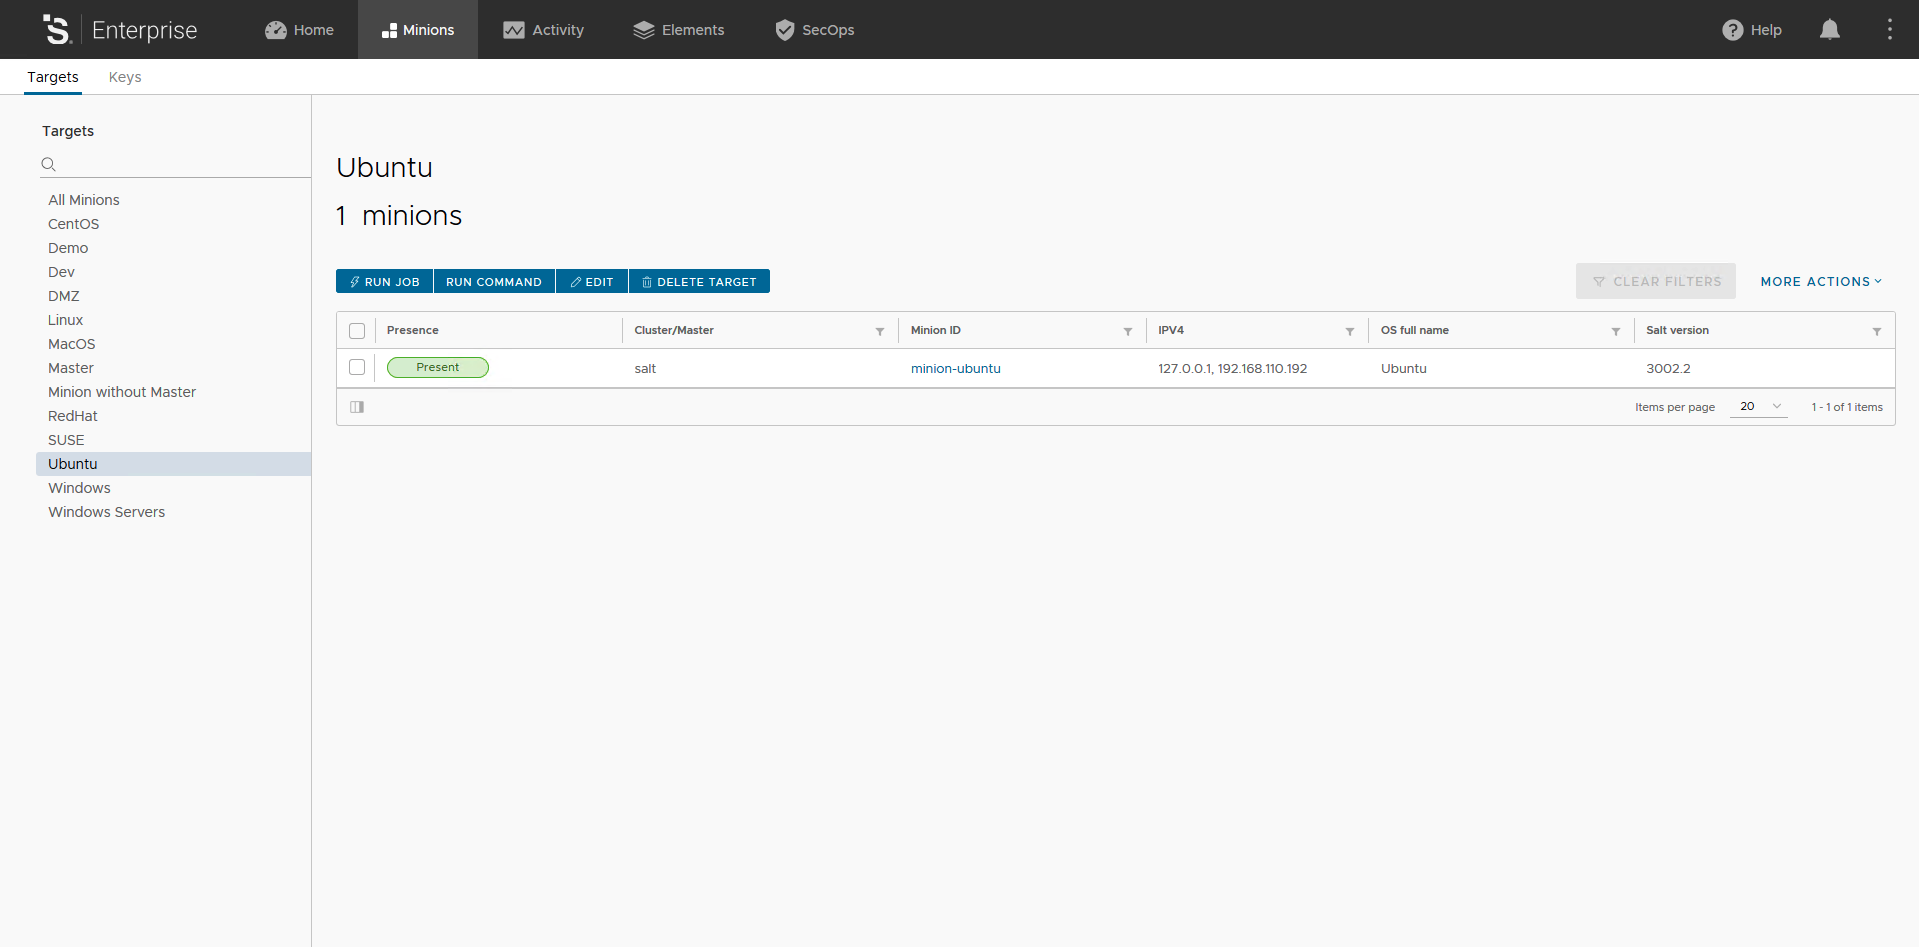
Of course Targeting is also available through the User Interface with the same expressive power of the CLI. In addition to this the User Interface allows user to save Targets to be reused. By default Salt provides some out of the box Targets (e.g. CentOS, Linux, MacOS, RedHat, SUSE, Ubuntu, Windows and Windows Servers), but you can easily create your own Targets. You can access Targets by selecting Minions tab and here you can review an existing Targets, for instance Ubuntu by simply clicking on it in the left side list.
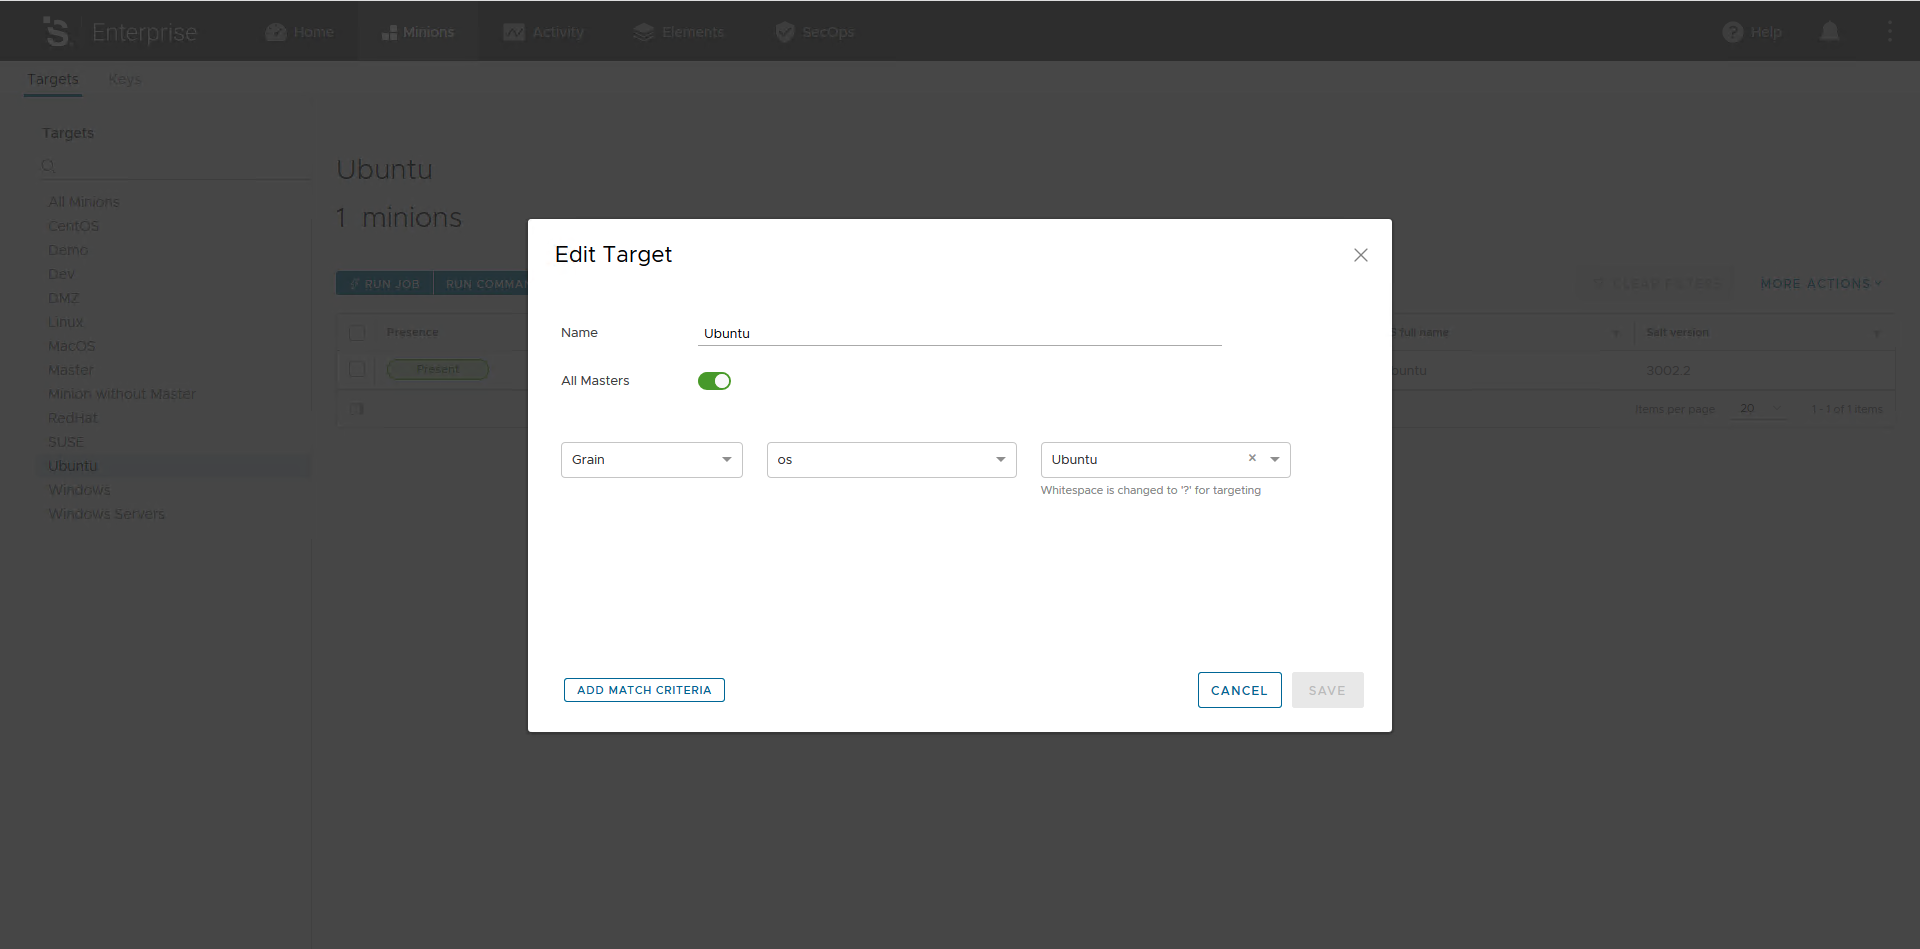
If you click on the Edit button you can access the criteria behind this Ubuntu Target, as you can see it is super easy.
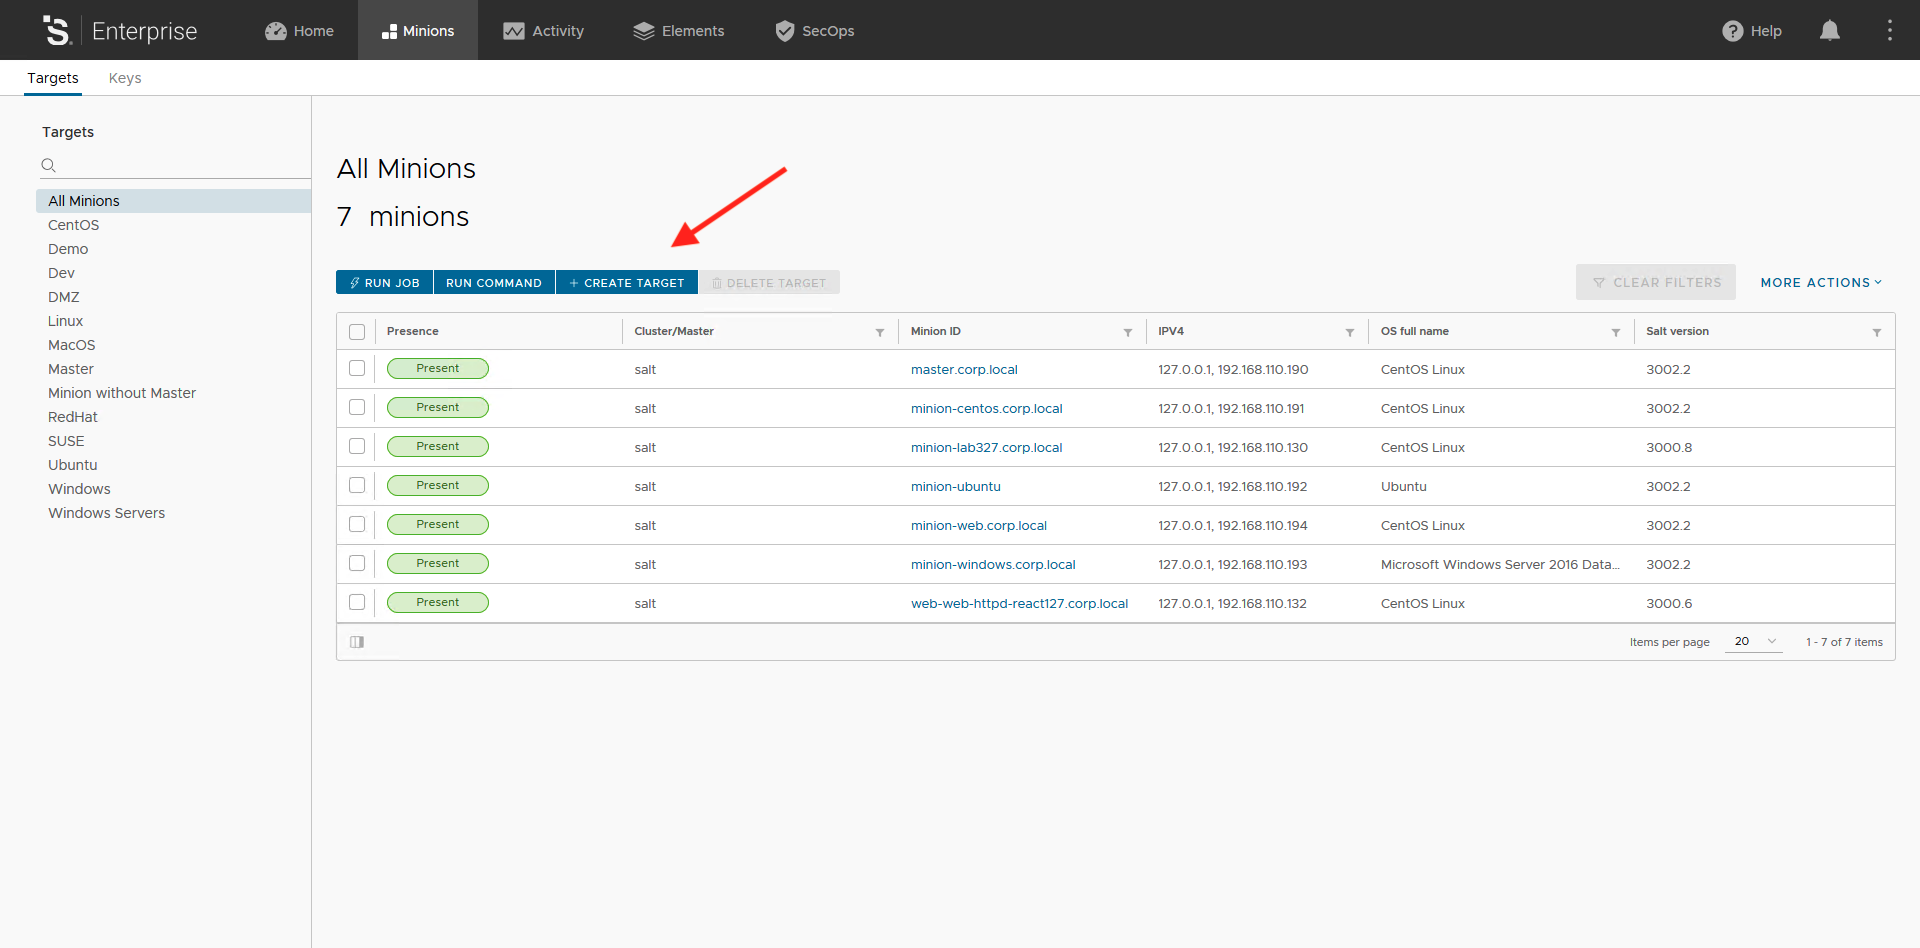
Now, if you want to create a new Target you just need to click on All Targets and then click the Create Target button.
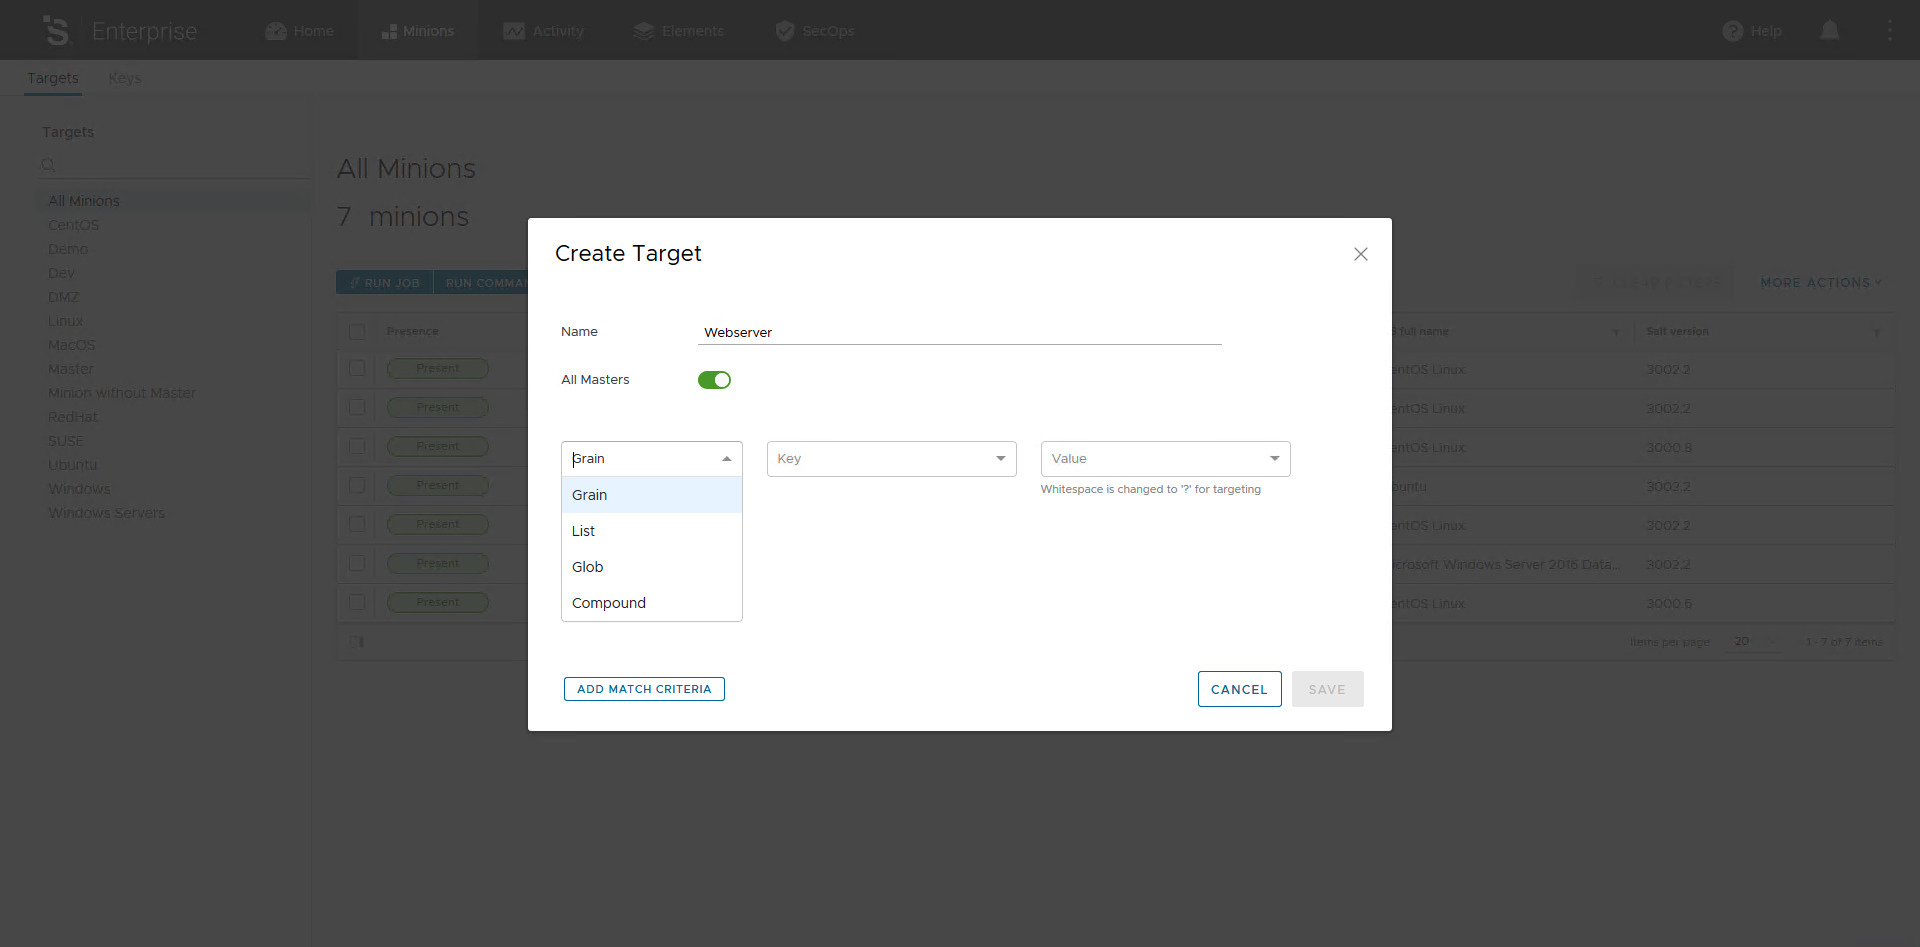
In this post we are going to create a new Target named Webserver using the custom Grain named Role we created before. As you can see there are some matching options: Grain, List, Glob and Compound and they are pretty self explanatory.
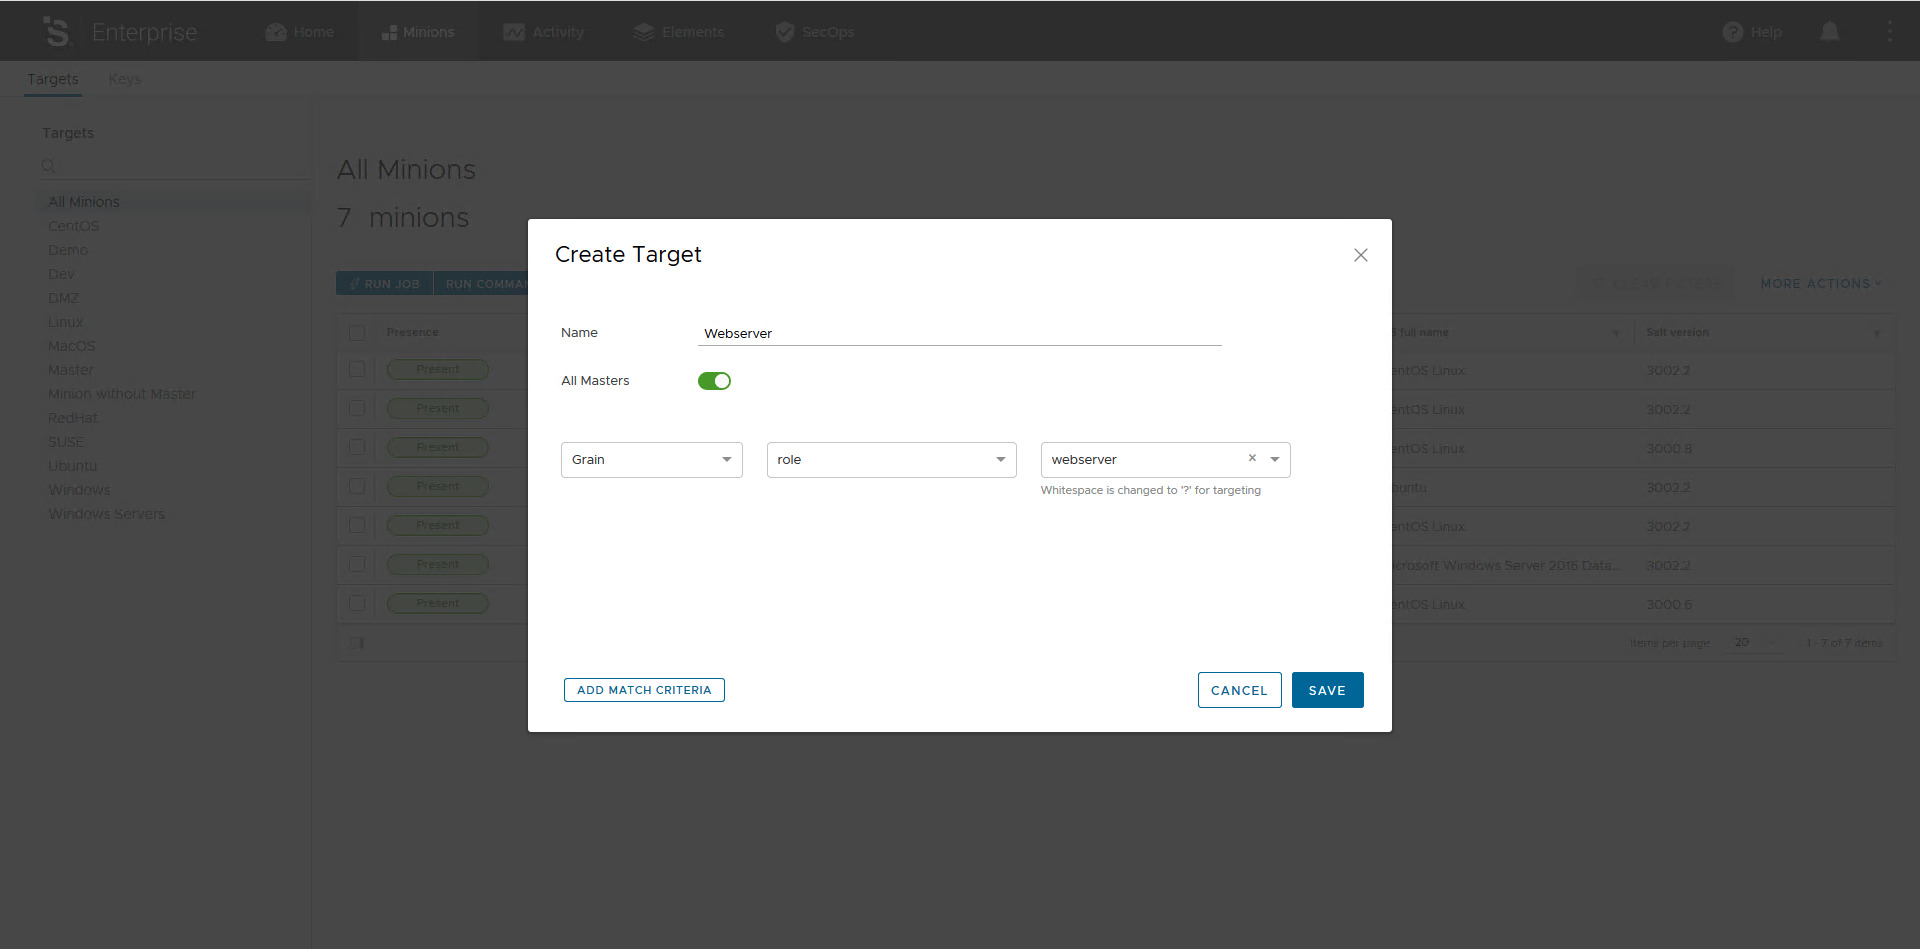
Configure the match criteria as in the picture below.
We can also create more complex Targeting by adding one or more match criteria and combine them using basic boolean logic AD, OR and NOT. Click on the button Add Match Criteria.
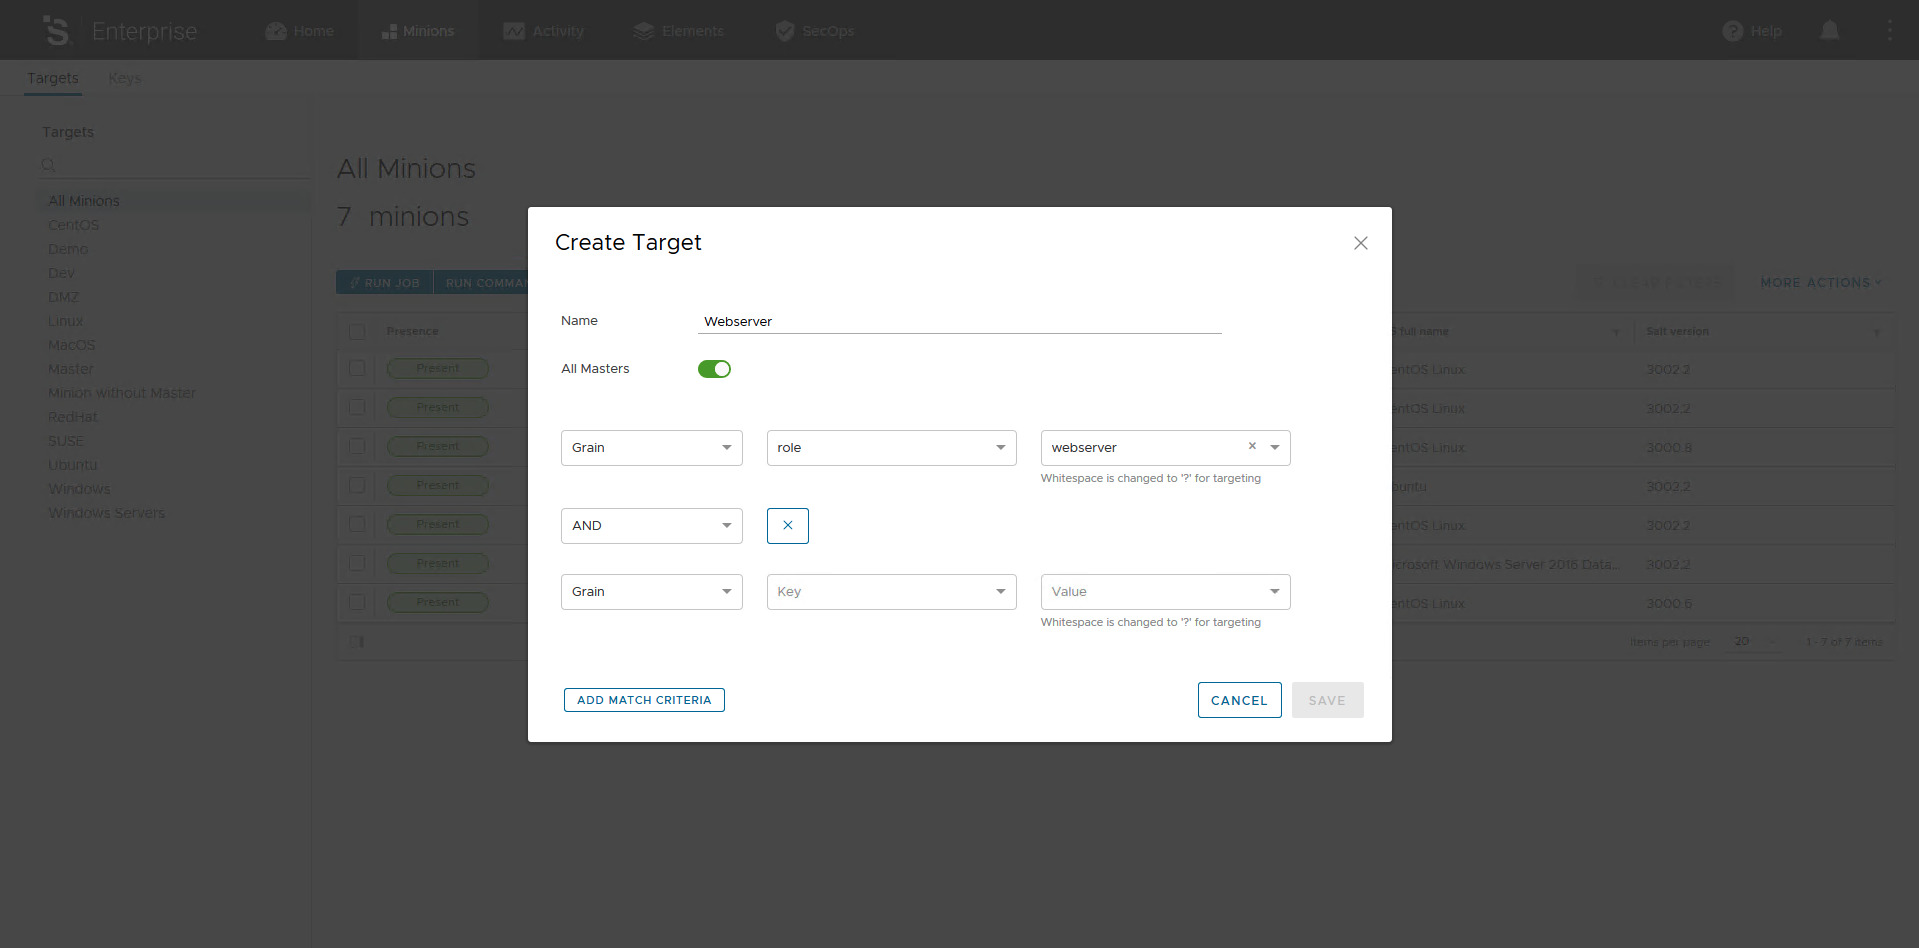
For our purpose the single match on the Grain role is enough, to remove the additional match criteria just click on the X button on the right of the boolean operator. Now, to save your criteria just click on the Save button.

To test our new Target we can simply click on the Target named Webserver, this should display only Minions having Grain role with value webserver.

We can now use our new Target, to do that we need to introduce a new friend: Job. Don’t worry, there is anything complex here.
Jobs
A Job is how you execute module in vRA SaltStack Config web console. Jobs are the UI counterpart of Salt CLI: remote execution Jobs are created by specifying the module, a function, and any necessary arguments. Having them in web console allows easy reuse of the commands. In vRA SaltStack Config job management consists of several areas:
- Jobs, where jobs are created and manually executed;
- Activities, which shows jobs in progress, upcoming and completed;
- Schedules, where you configure and manage scheduled job executions;
- Job History report, which shows the result of a job.
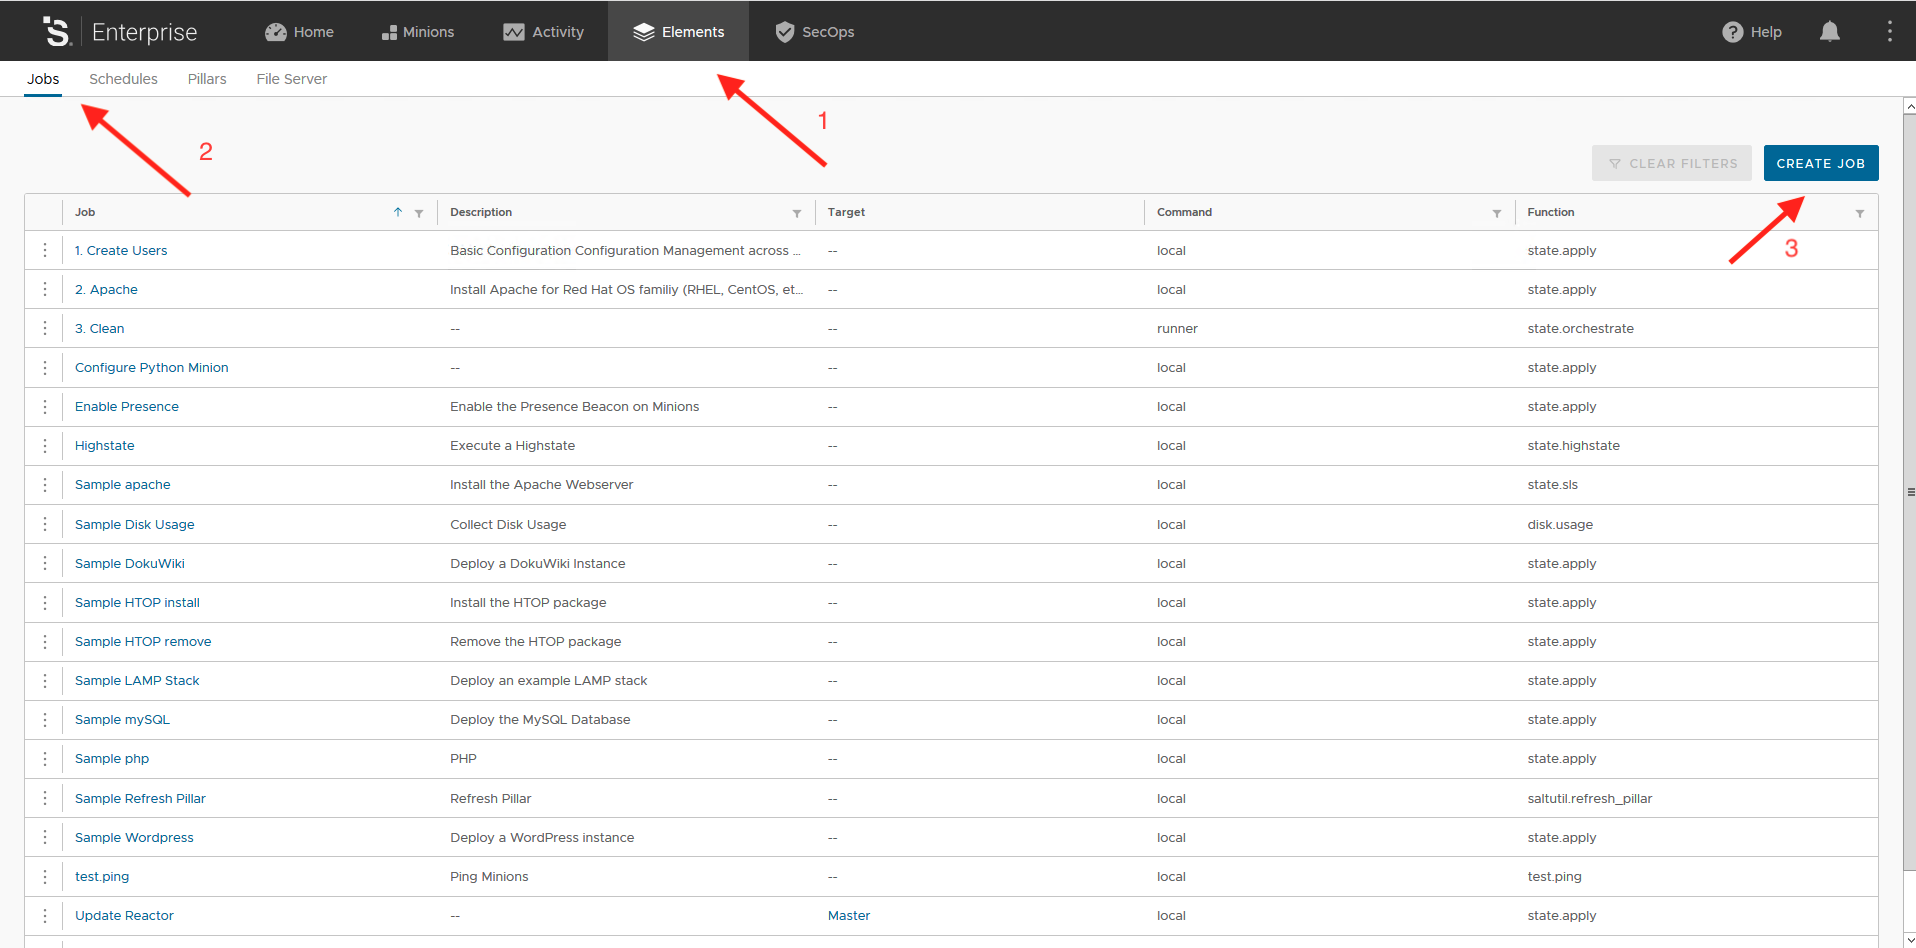
Click on the Elements tab and this will take you to the Job section. Here you can create a new Job by clicking on the Create Job button.
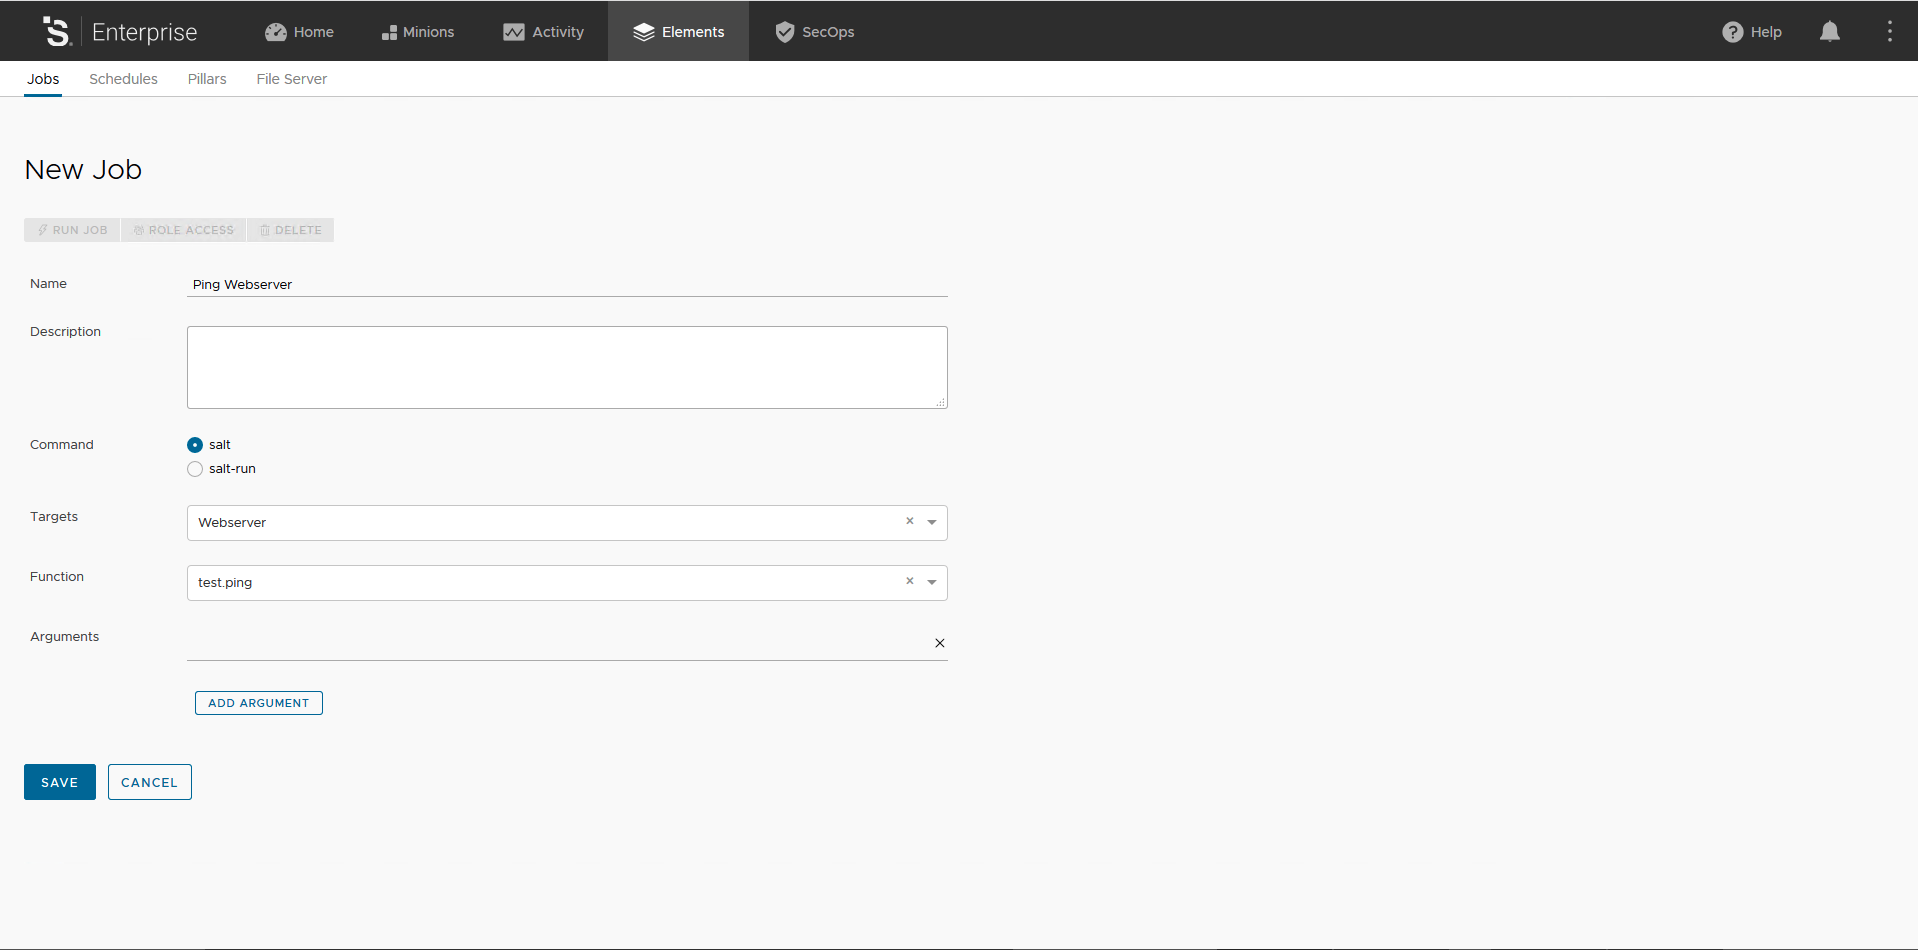
When creating a new Job, the following fields are presented:
- Name: the name of the job. Please, be descriptive;
- Command: salt or salt-run. salt-run is used to run a job on the master using a runner module, maybe I’ll cover runner modules in a future post;
- Target: you can assign the job to a Target here or leave it blank to let user specify Target at execution time;
- Function: the module/function you want to execute;
- Add Argument: this let you add optional arguments depending on the module/function you are using.
For our purposes here we create a Job to ping Minions using the newly created Webserver Target. Fill the form as in the picture below and hit button Save.
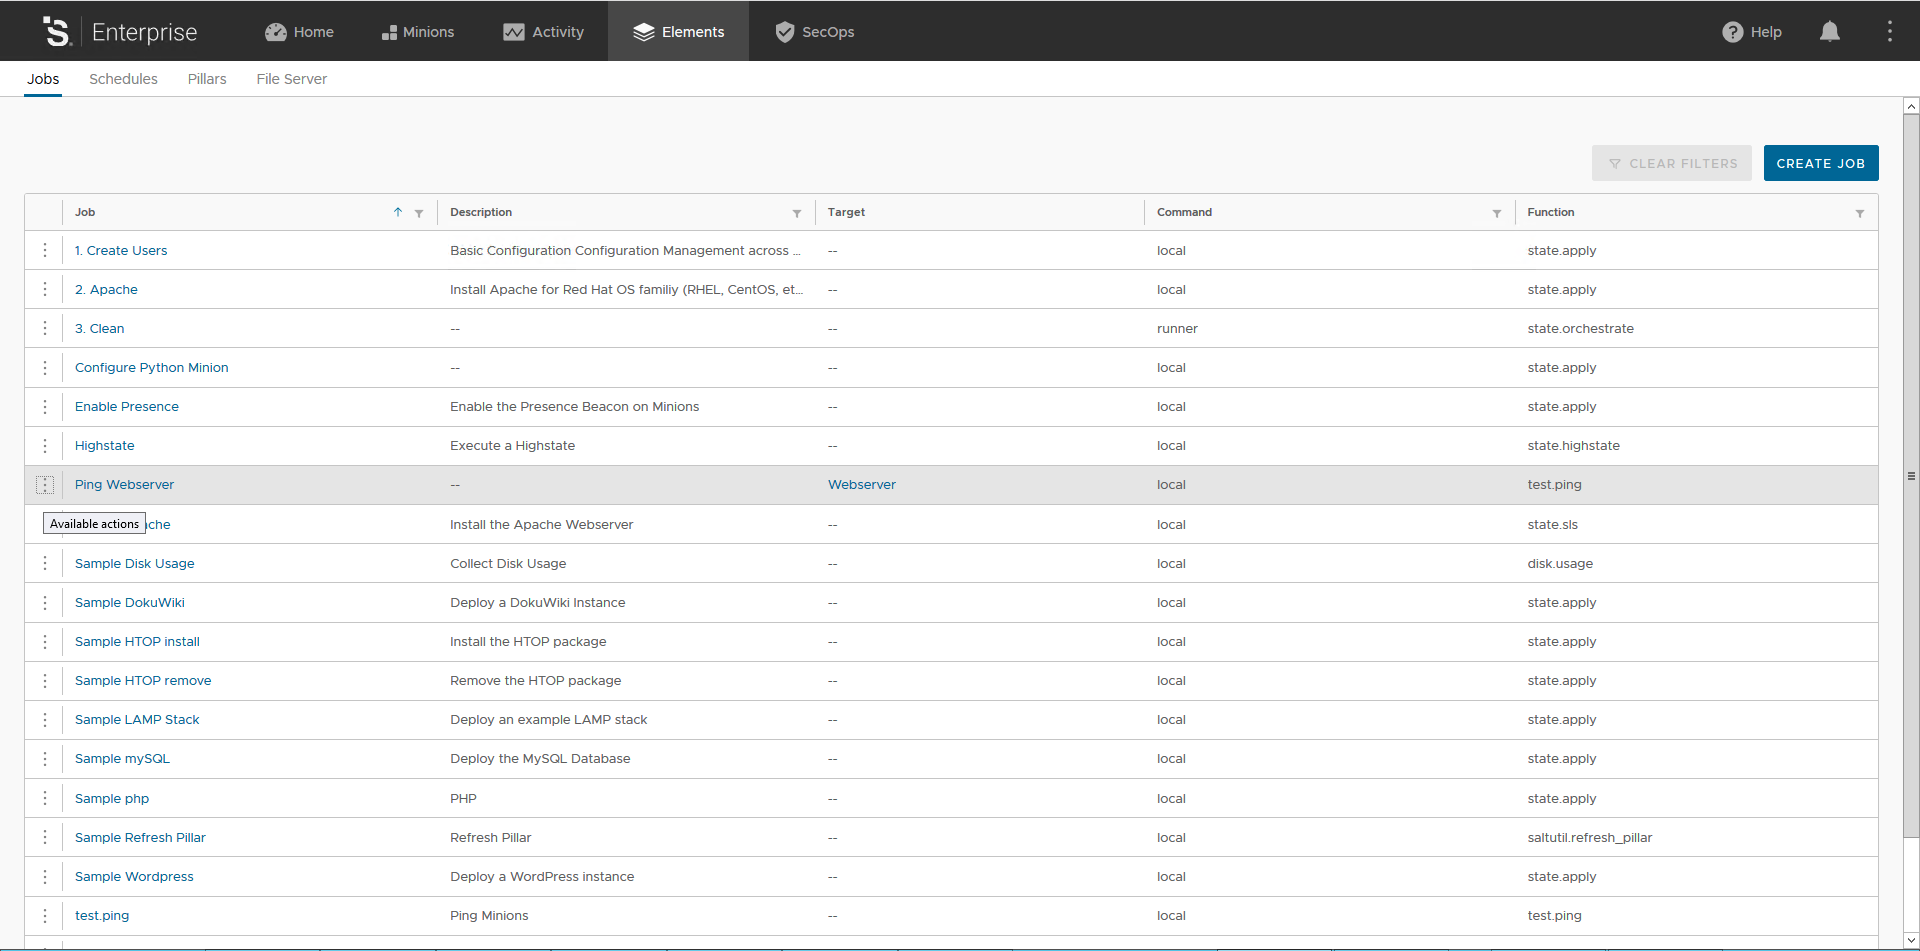
Once saved the UI takes you back to the list of available Jobs, locate your new Job and click on the 3 vertical dots icon and click Run Now.
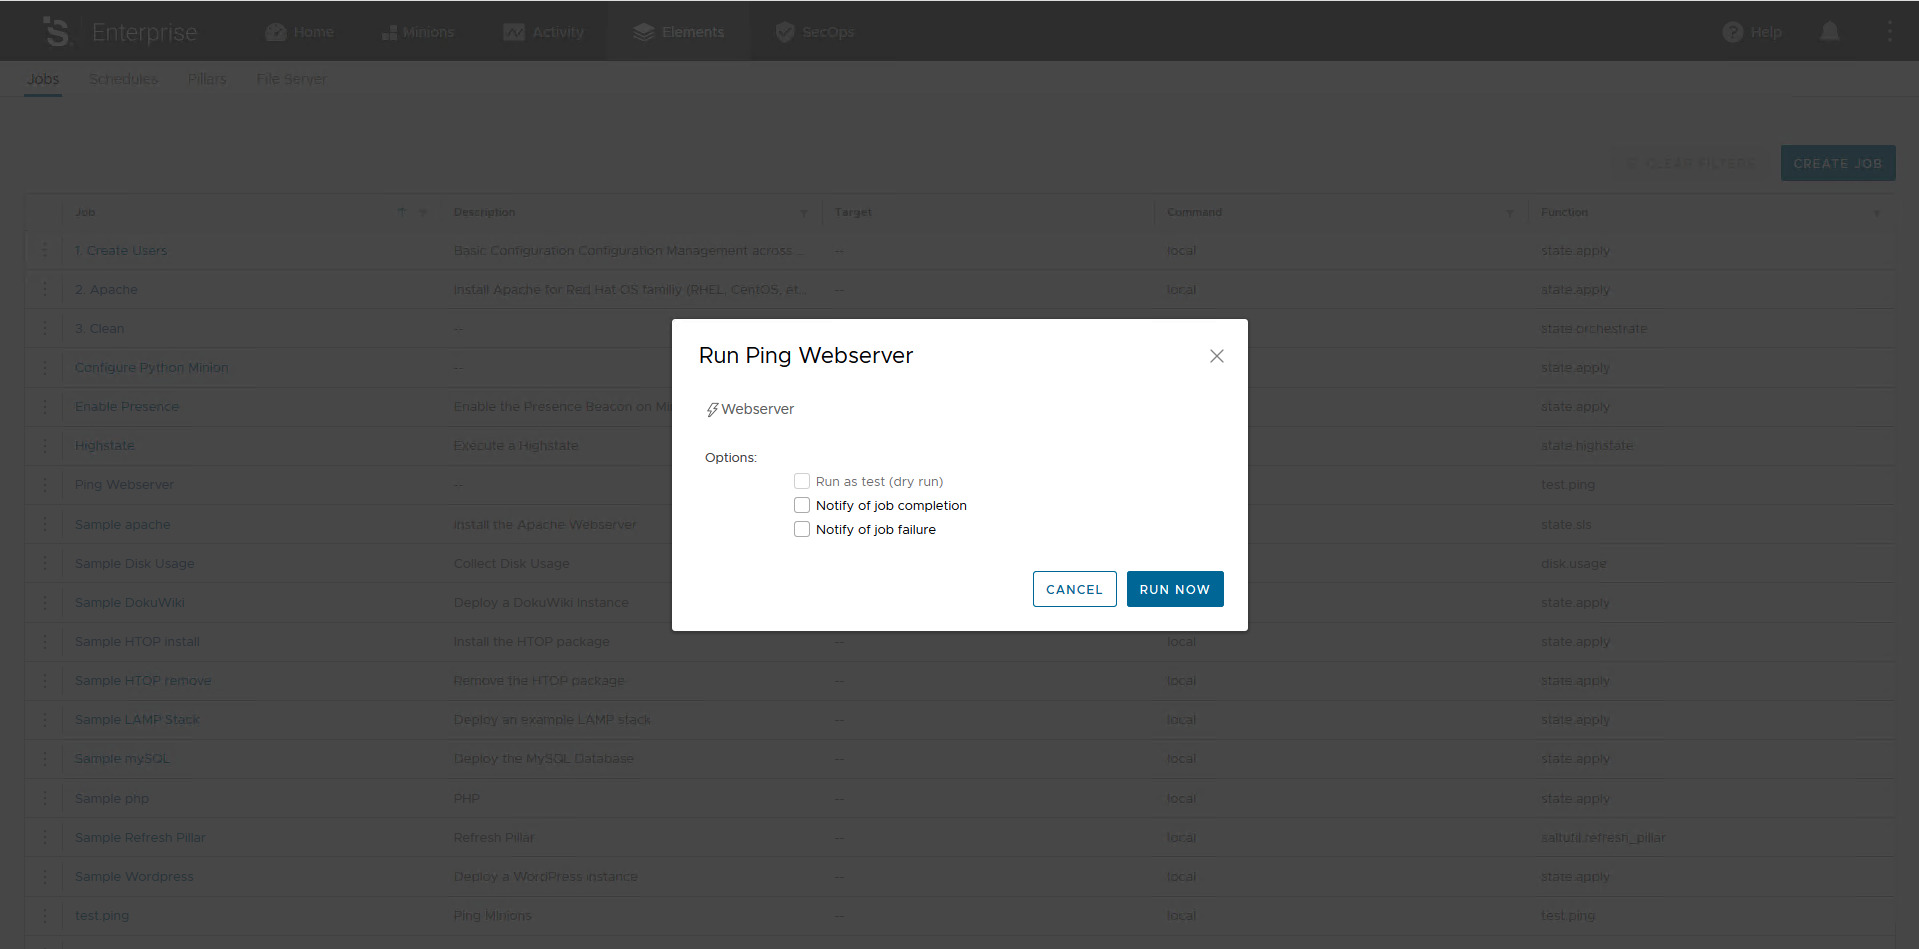
You are presented with some options as in the picture below, the most interesting to me is the ability to dry-run your job. Click the Run Now button to actually start the Job.
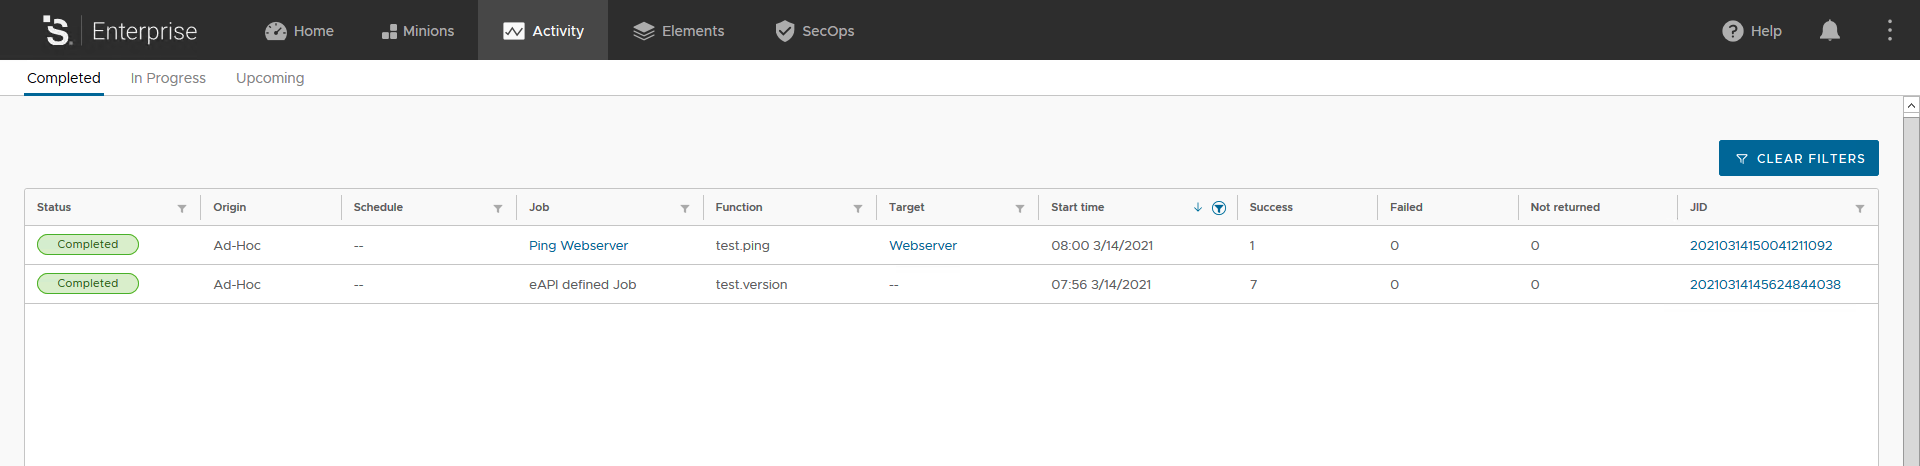
In vRA SaltStack Config the results of Jobs executions can be viewed in the job history. The job history can be accessed in several locations:
- From the Minions tab, selecting a single minion, Activities -> job id;
- From the Activities tab under Completed section selecting the job id.
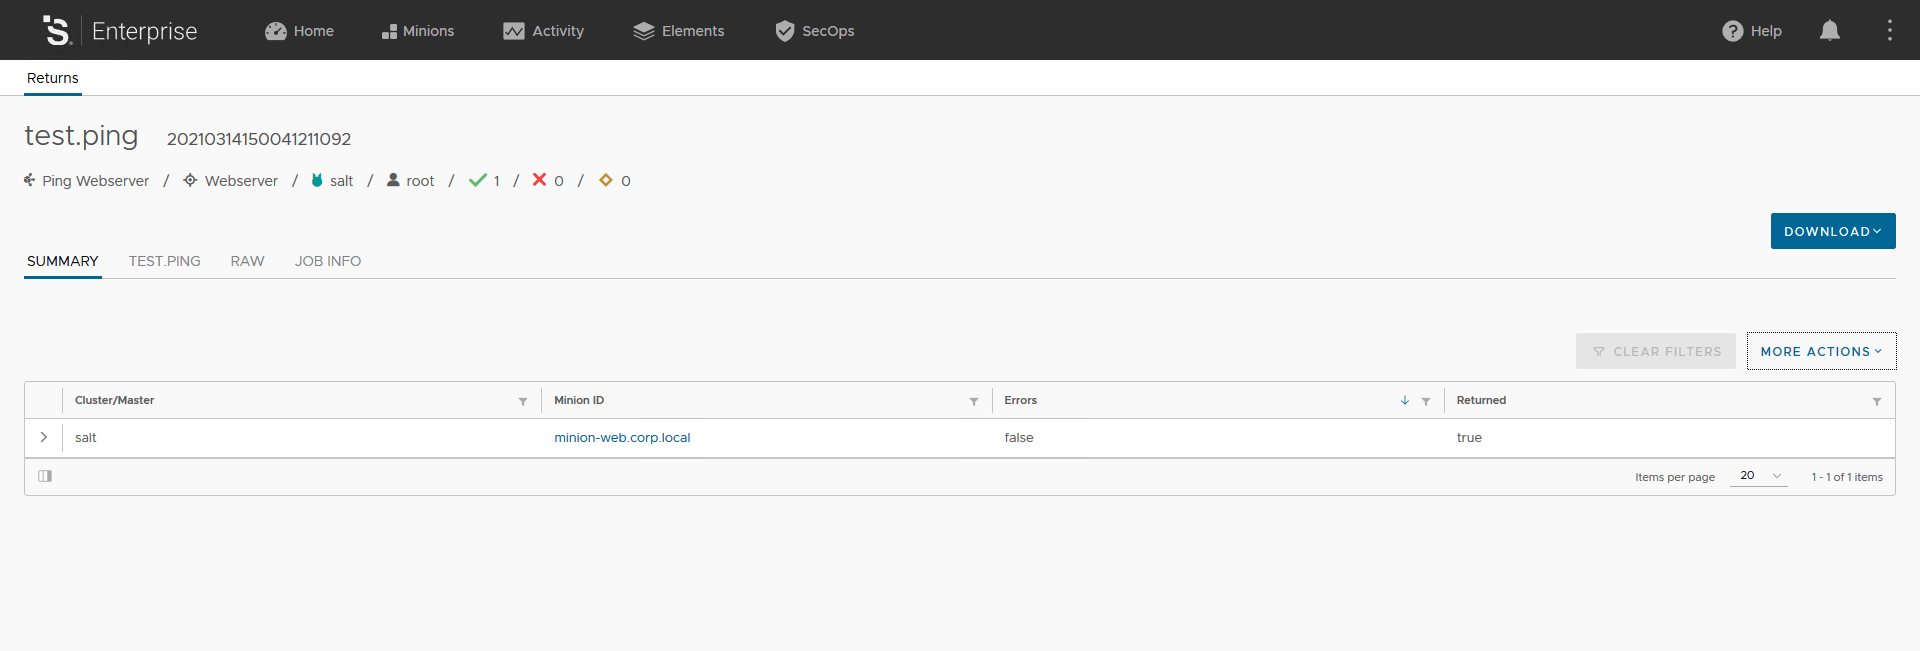
When you click on the Job ID it opens the Job results for the selected Job ID. In this view you will see a summary and different outputters of the results, depending on the module/function which was executed the results will be displayed with a different outputter. Your output should looks like the picture below. You can explore this section to familiarize with it, I would suggest you to click on the > icon to expand and explore the Job output.
With the concepts covered so far we have the foundation to approach the most interesting part of Salt: Declarative Configuration Management, Event-Driven automation, Infrastructure as Code and SecOps. We will start cover these topics in the next post. Stay tuned!